

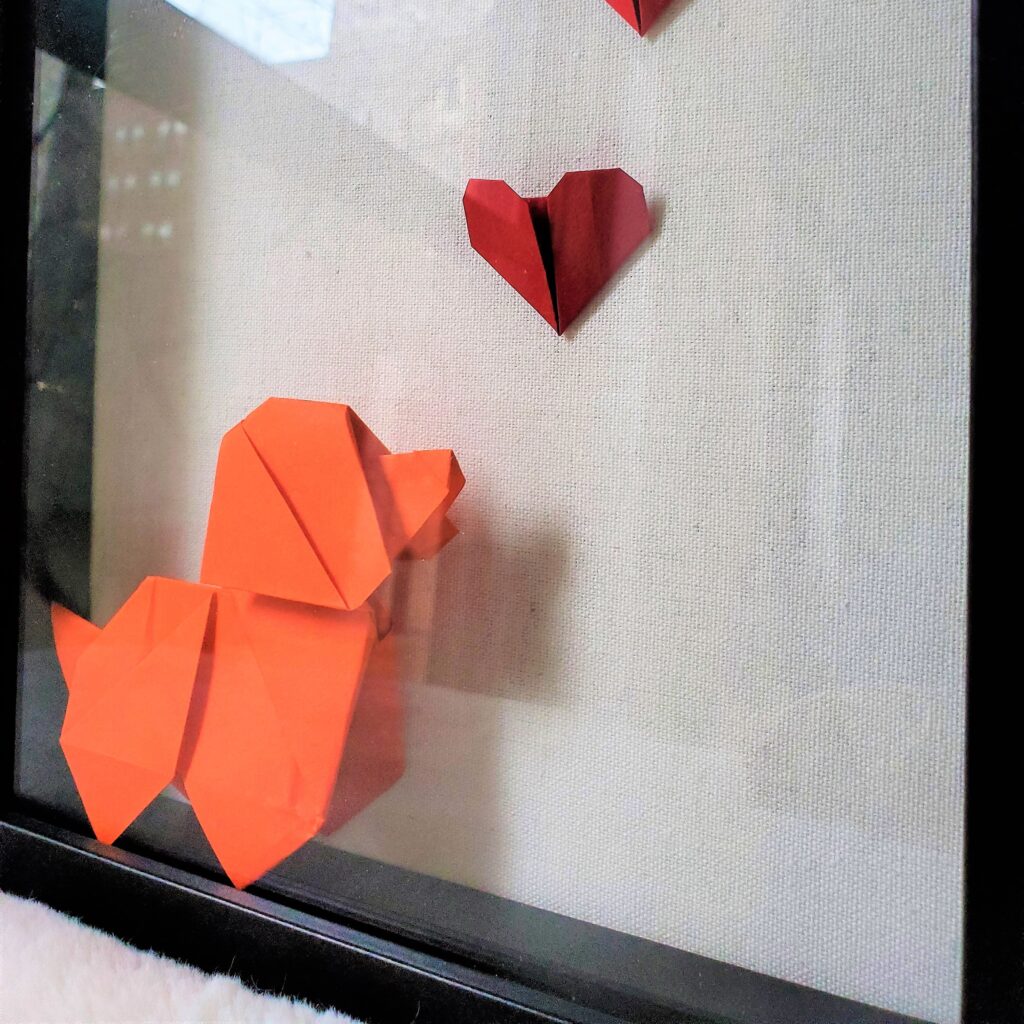
Dogs are more than just pets; they are family members who fill our lives with joy, loyalty, and unconditional love. Whether your beloved canine has crossed the rainbow bridge or is still your faithful companion, creating a dog shadowbox can be a heartfelt way to celebrate their presence in your life! 🐾
Inspiration Behind the Dog Shadowbox
The inspiration for the dog shadowbox comes from my love for dogs and the special bond we share with them. These shadowboxes have become a common purchase for those wishing to memorialize their furry friends. Each shadowbox tells a unique story, capturing the essence of your dog’s personality and the cherished moments you’ve shared.
For those who love to embrace their creativity, making your own dog shadowbox is a perfect way to honor your dog’s memory or celebrate their life. You’ll have the opportunity to personalize every aspect, from selecting the background to arranging the elements that best represent your pet.
How to Make Your Own Dog Shadowbox
Creating a dog shadowbox is a rewarding project that allows you to commemorate your furry companion in a unique and personal way. Keep scrolling for step-by-step instructions on how to create your own! ⬇️
Prefer a Custom-Made Shadowbox?
If you’d rather have a custom dog shadowbox made for you, check out my Etsy listing here! I would be honored to create a special piece that captures the unique spirit of your furry friend. ❤️
Whether you choose to create your own or have one made, a dog shadowbox is a beautiful tribute to the dogs that bring so much joy to our lives. Embrace your love for your canine companion with this heartfelt project!
Steps on How to Make Your Own Dog Shadowbox 🐕
Essential Supplies:
- 8×10 inch shadow box
- 1 sheet of 8×8 inch origami paper
- 1 sheet of 3×3 in origami paper
- 1 sheet of 2×2 inch origami paper
- Liquid Nails glue
- Sticky notes
- Toothpick
- Individual weights
- Ruler
- X-acto knife
- Pencil
- Cricut mat
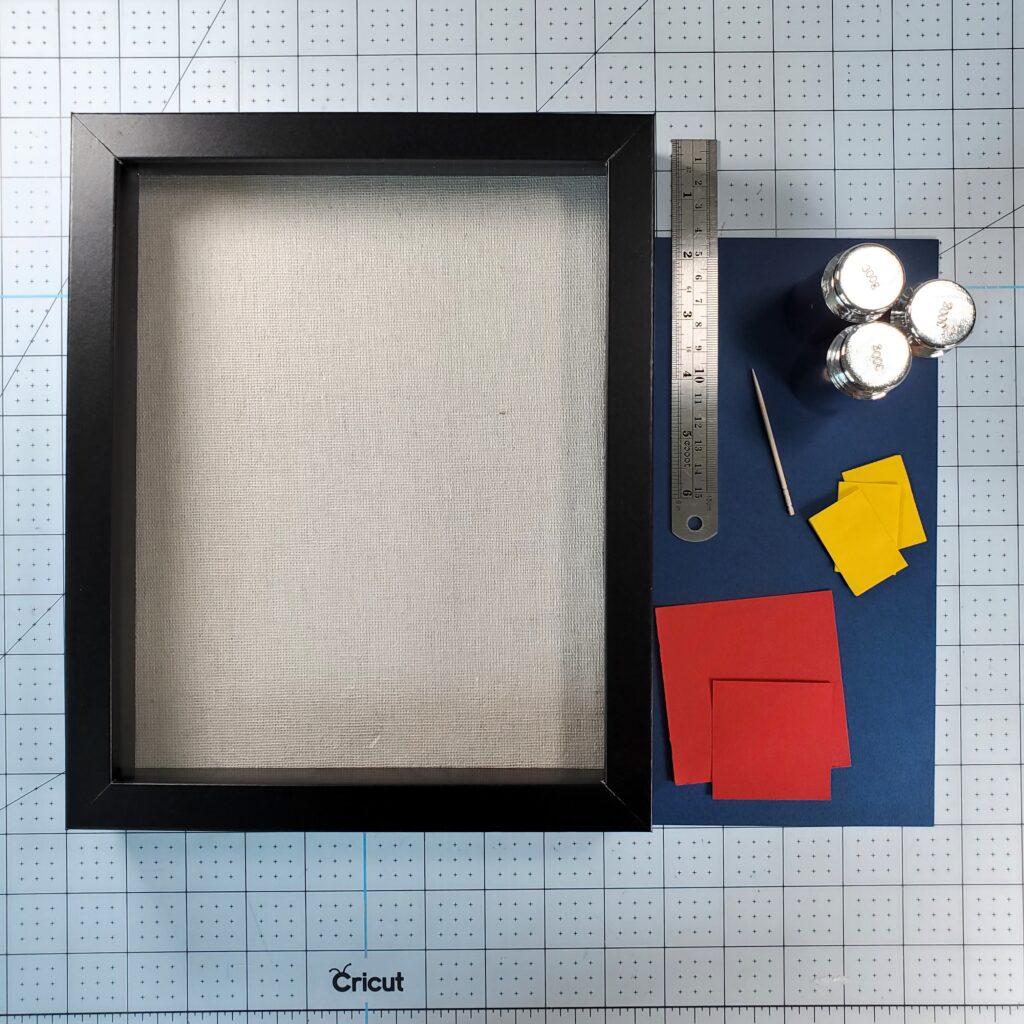
My crafting tools are essential. Liquid Nails glue ensures the pieces stay securely in place. I use toothpicks for precise glue application and sticky notes to protect the paper from the weights I use—individual calibration weights perfect for holding down the paper without damage. My ergonomic X-acto knife makes precise cuts, and my self-healing Cricut crafting mat ensures clean, accurate cuts.
Step-by-Step Instructions:
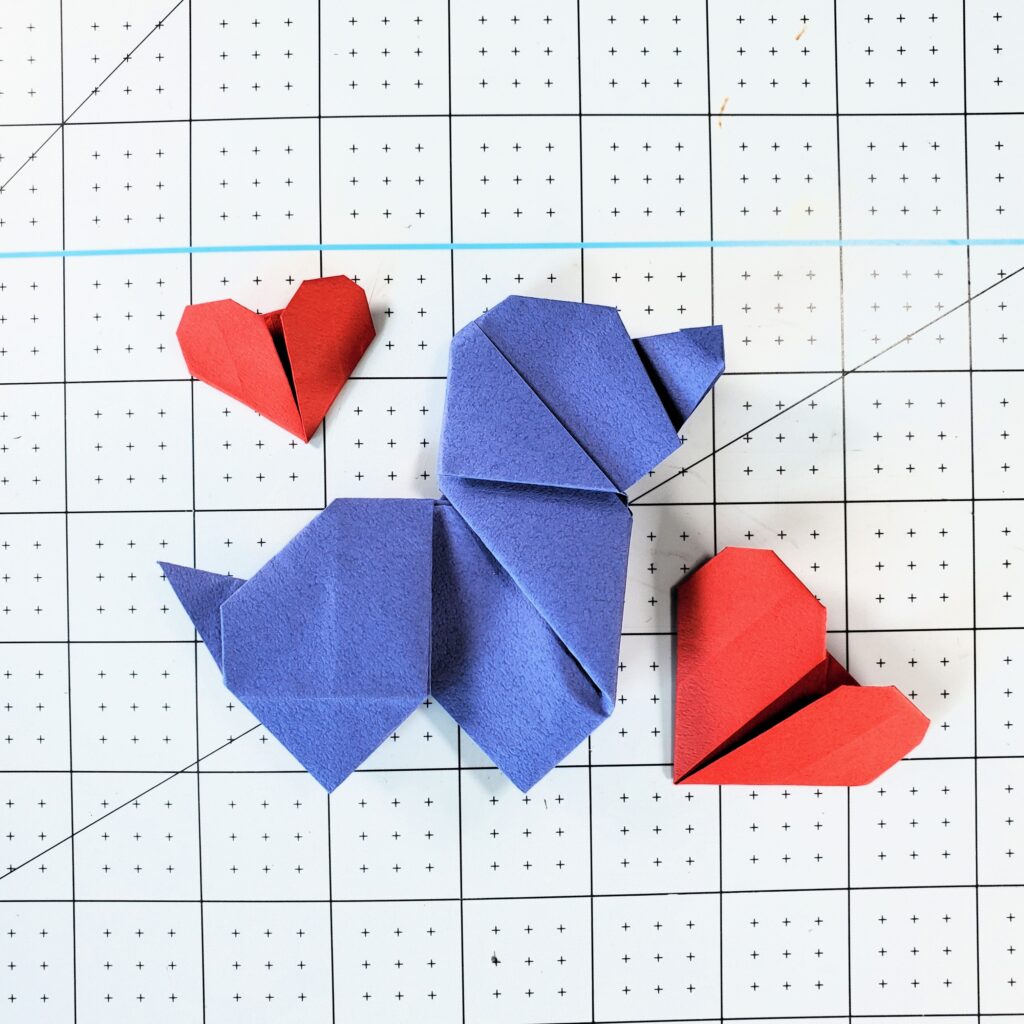
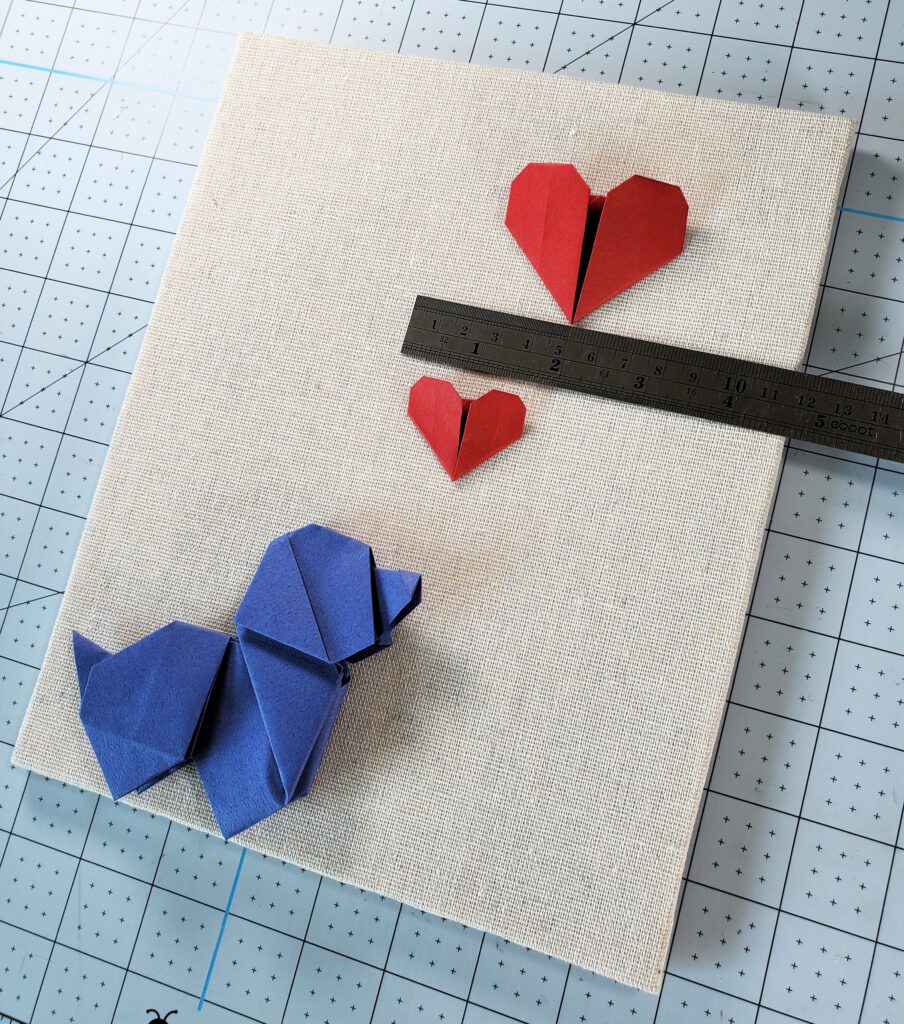
Open the shadowbox and remove the backboard. With the backboard, position the large heart slightly in the top right corner, the small heart just underneath on the left side of the large heart, and place the cat near the bottom left corner, as shown in the nearing and below pictures. I typically guesstimate their placements, but ensuring they are equal in length. 😅
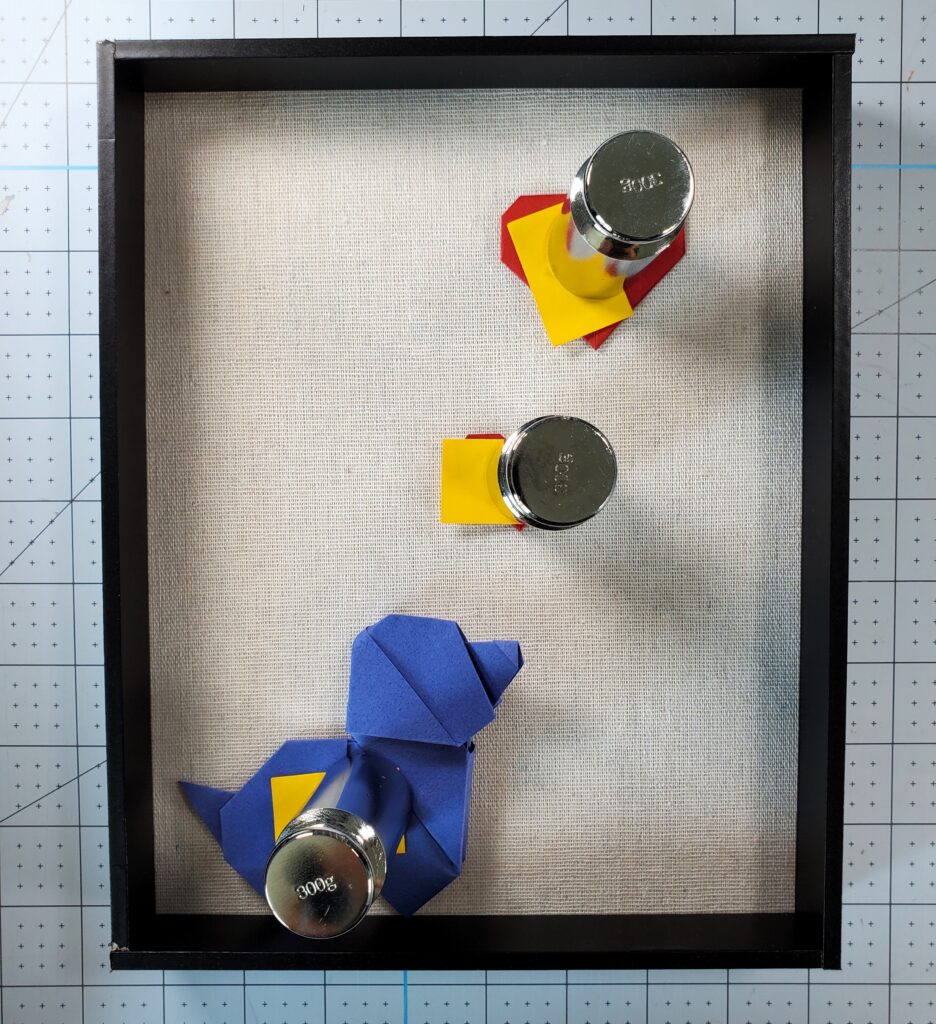
To create the illusion of the dog standing on a ledge within the shadowbox, position the inner border on top of the backboard as shown in the left picture. Carefully place the dog at the bottom of the inner border, making it appear as if it’s perched on the ledge.
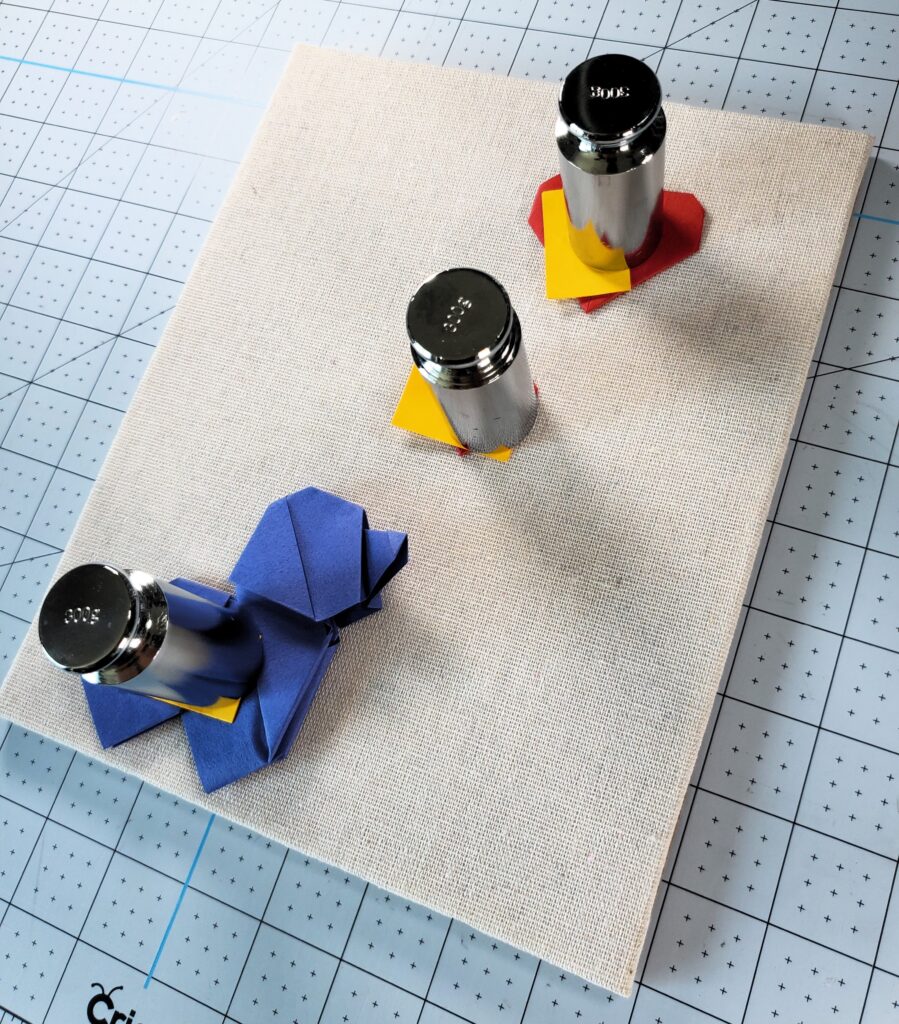
Using a toothpick, apply a small dab of Liquid Nails glue under the hearts. Cover the hearts with a sticky note and place a weight on top to hold it in place while it dries. Repeat this process for the dog: apply glue behind it, cover with sticky notes, and place weights on top. Allow the glue to dry completely. I typically wait 1 hour minimum.
Once the glue is dry, reattach the backboard to the shadowbox frame and secure it.
Ta-da! You’ve crafted your very own dog shadowbox! 🥳🎉 Please be sure to share your creations with me at @orikim_creations on Instagram! I can’t wait to see all the beautiful dog shadowboxes you make. 🐶
If you’re a cat lover, check out this blog post on how to create your own cat shadowbox! 😺
These supplies can be found on my Origami Supplies page.