

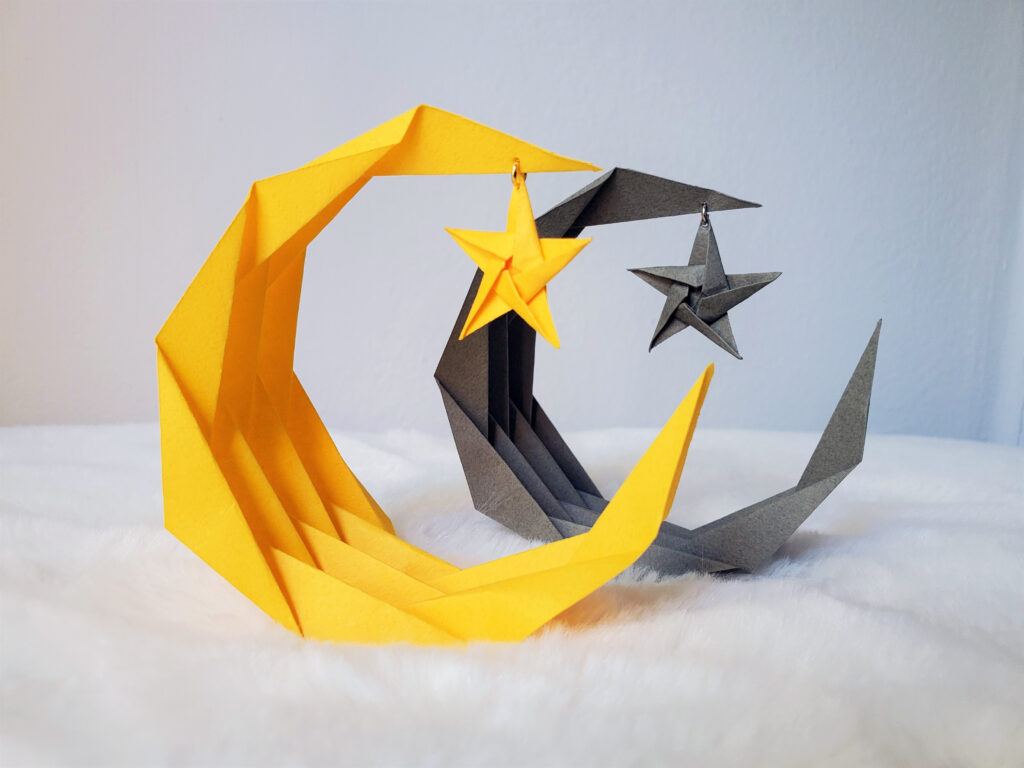
Inspired by the endless allure of space and everything sci-fi, I’ve always been fascinated by the cosmos. To bring a piece of that wonder into my world, I decided to create my own celestial bodies – with paper! Whether you’re a seasoned space explorer or just starting your cosmic journey, let’s embark on a paper-folding adventure to create a cool origami crescent moon and star. 🌟
Ready to blast off? Scroll down for easy-to-follow instructions and helpful video tutorials. Or, if you prefer a shortcut to starry-eyed decor, check out this link here for pre-made origami moon and star sets. Let’s begin our cosmic crafting adventure!
Steps on How to Make Your Crescent Moon & Star 🌙⭐
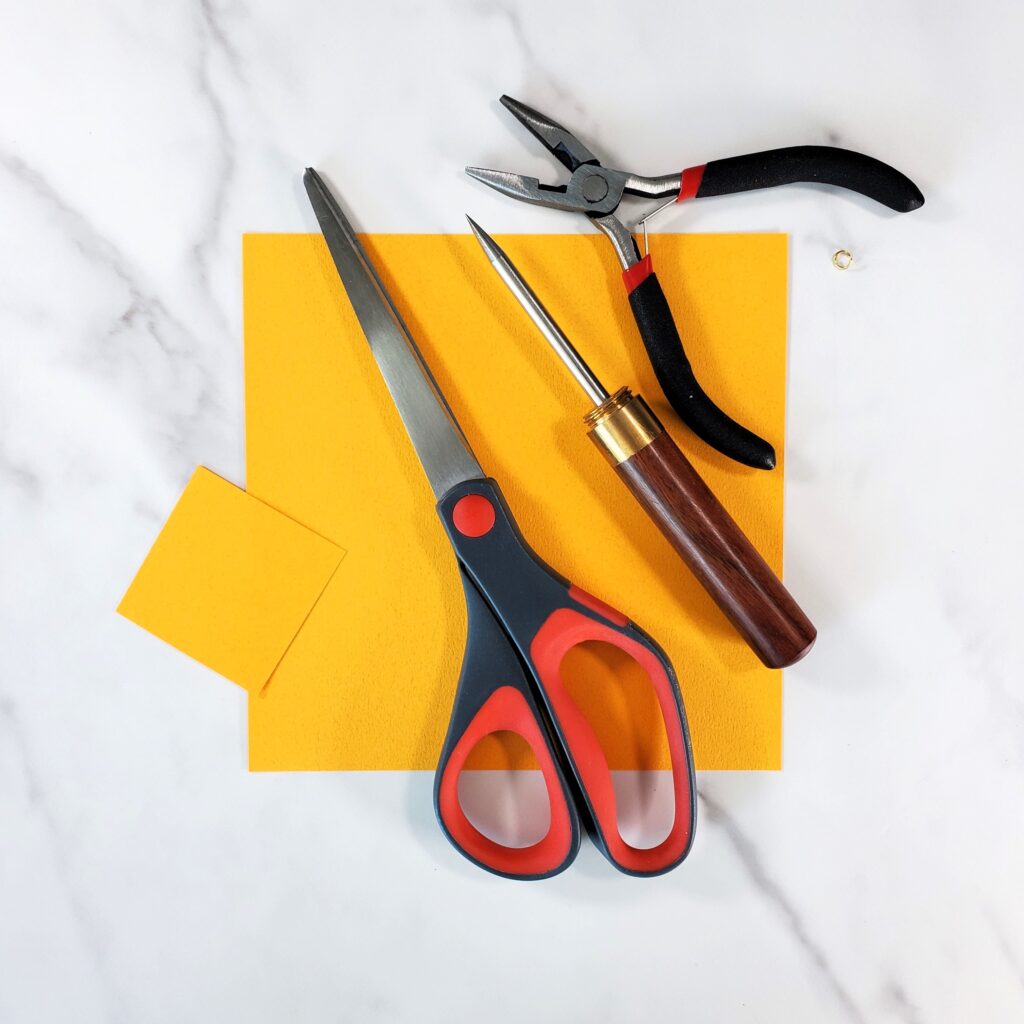
Essential Supplies:
- 1 sheet of 6×6 inch origami paper
- 1 sheet of 2×2 inch origami paper
- Scissors
- Ice pick or similar
- Pliers
- Jump ring
Step-by-Step Instructions:
➡️ Check out this tutorial on how to put together your crescent moon and star!

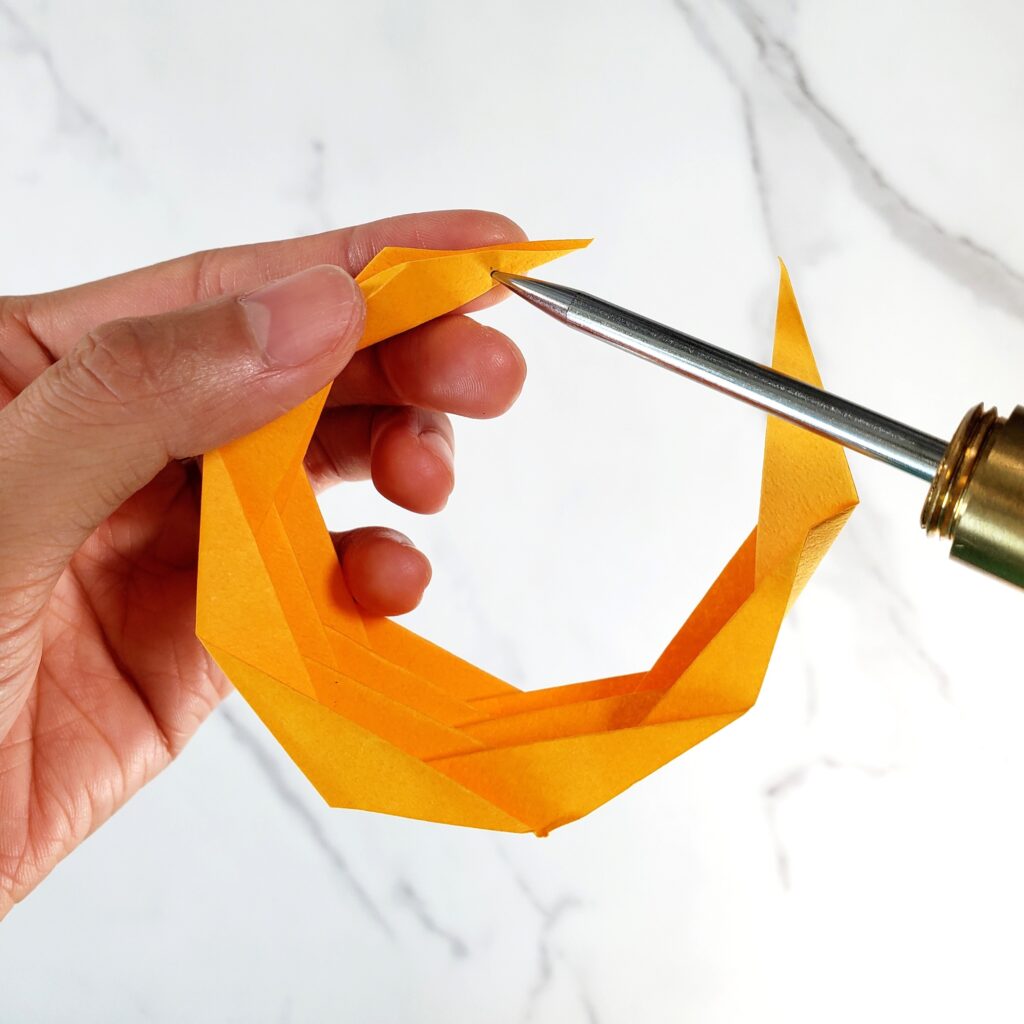
Using an ice pick, carefully puncture a hole near the tip of the top portion of the crescent moon.

Repeat the above step by puncturing a hole near the tip of one of the star’s points.

Use pliers to open a jump ring slightly. Insert the jump ring into the punctured hole of the star.

Attach the jump ring containing the star to the punctured hole of the crescent moon. Ensure the jump ring is securely closed with the pliers.
Reshape and adjust the crescent moon and star so that the assembly can balance on its own.
Ta-da! You’ve crafted your very own crescent moon and star! 🥳🎉
These supplies can be found on my Origami Supplies page.