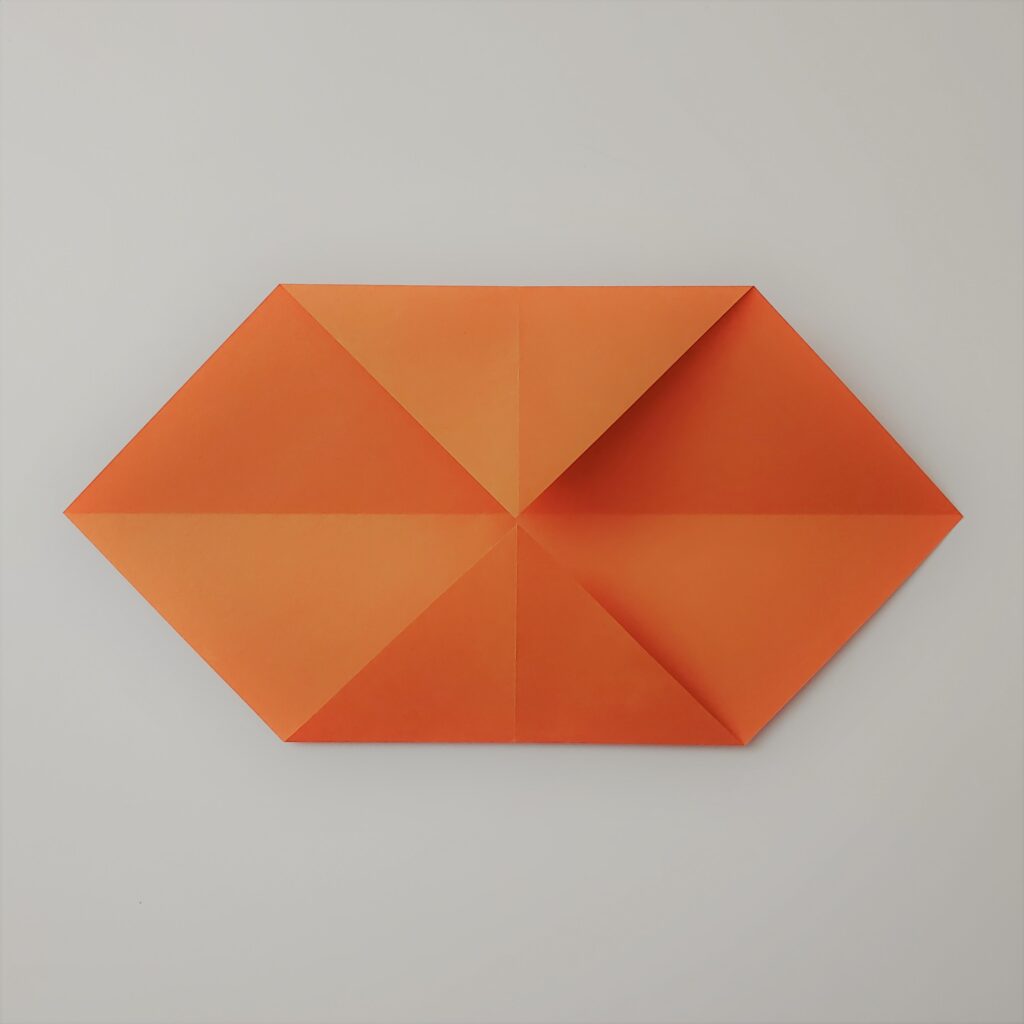
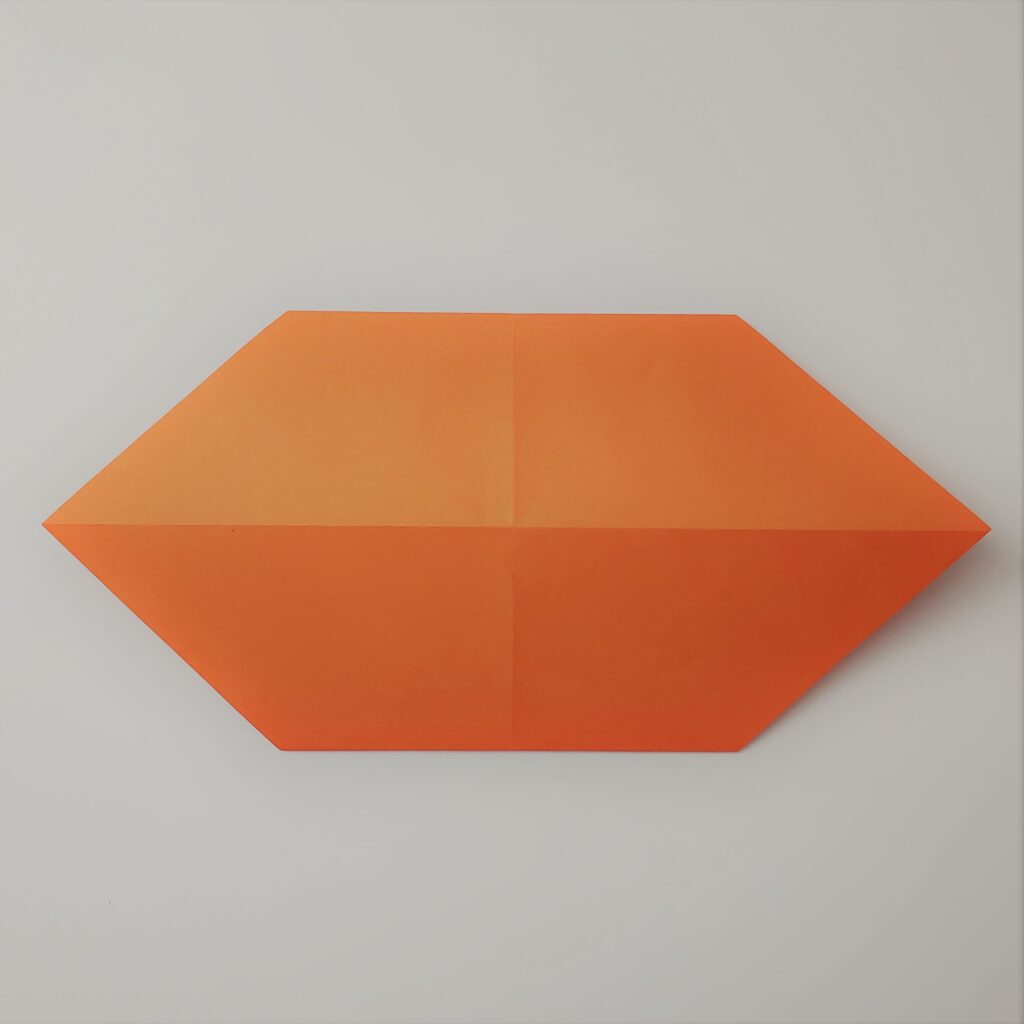
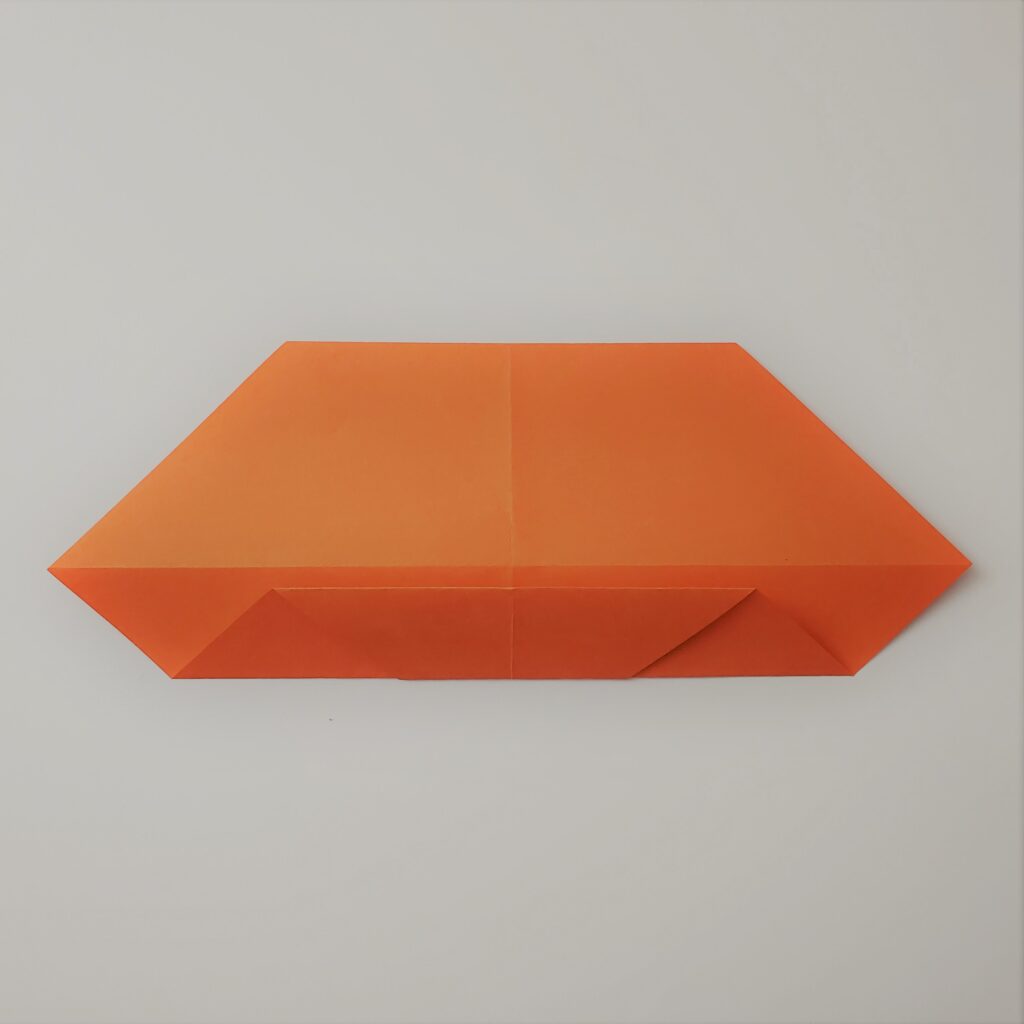
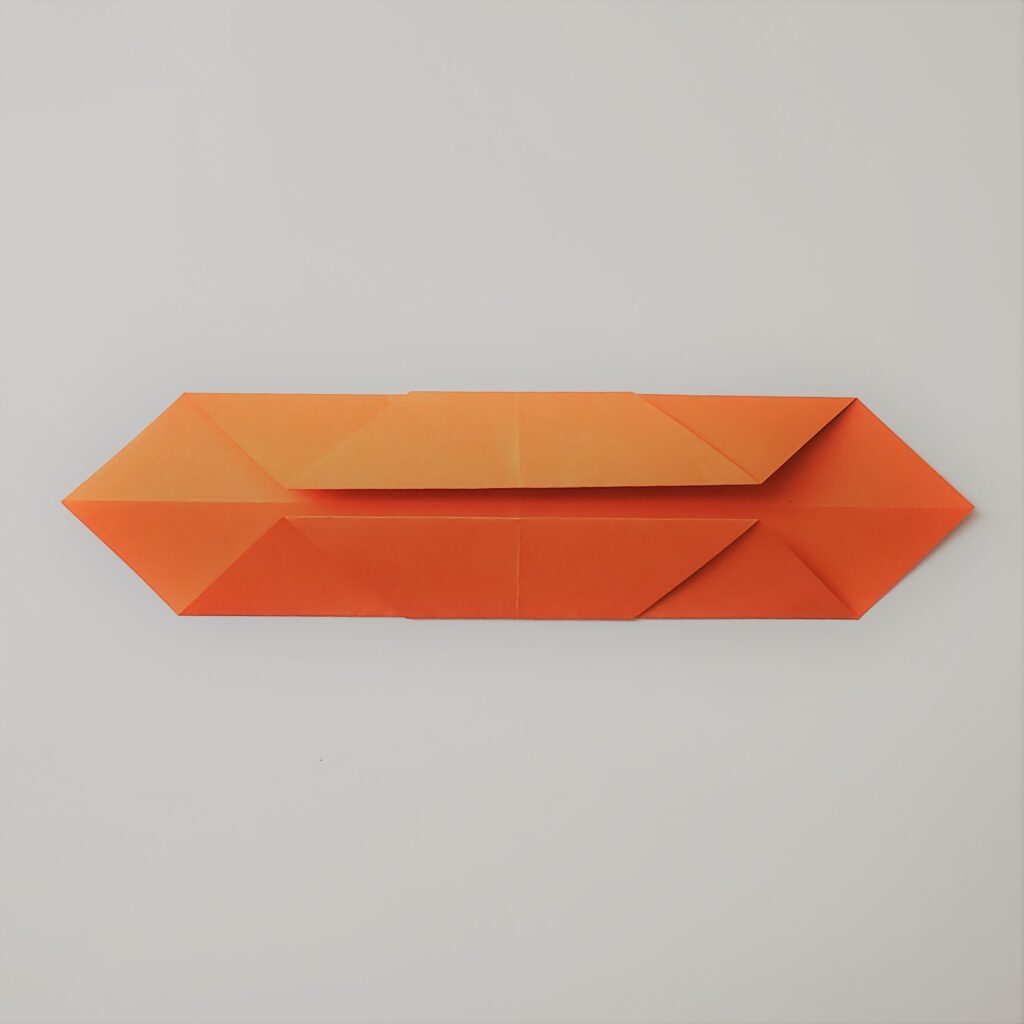
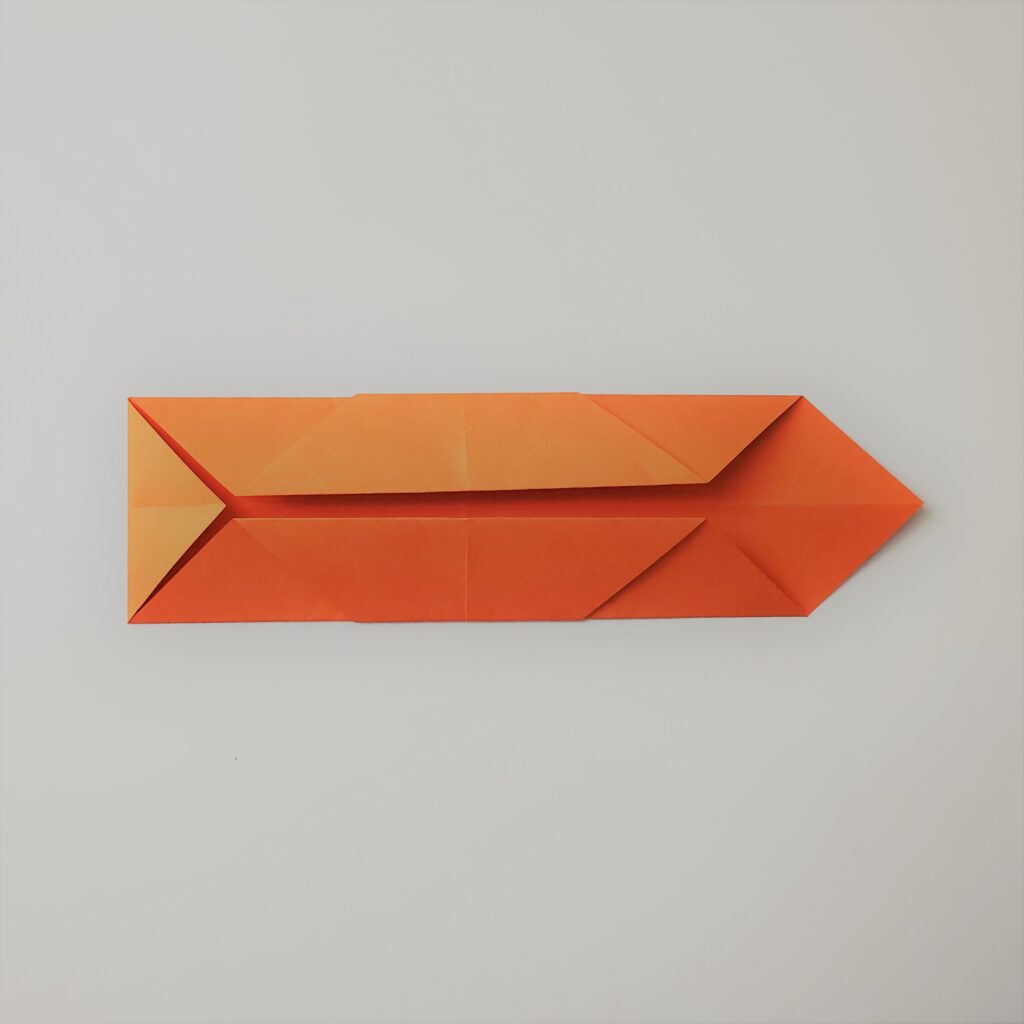
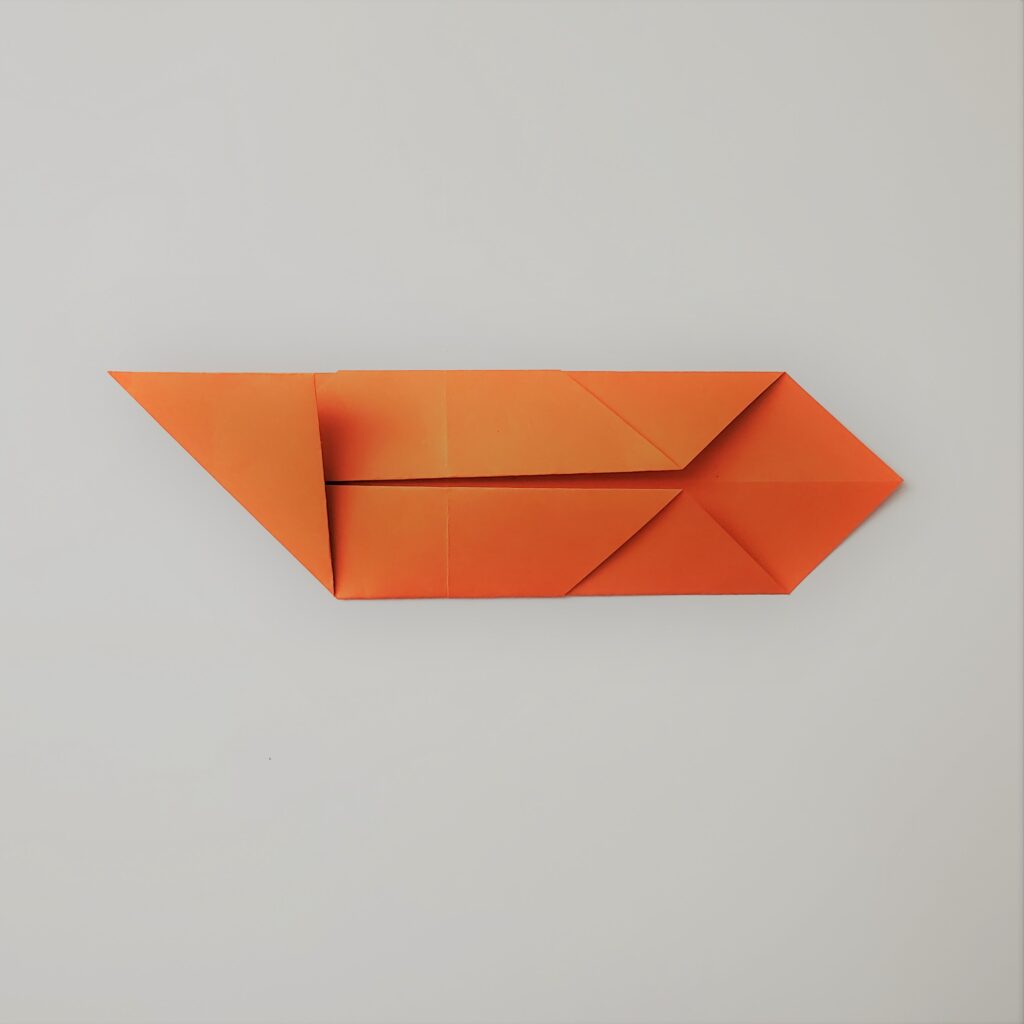
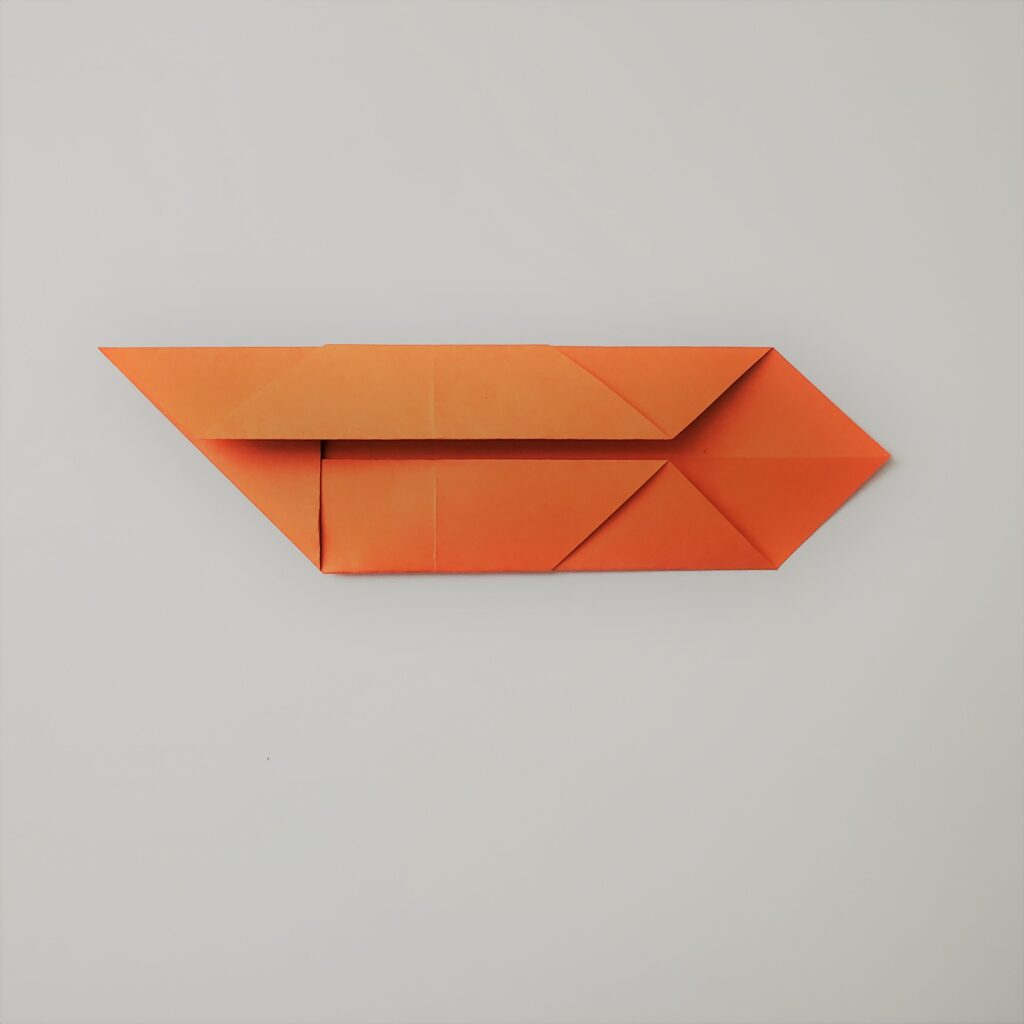
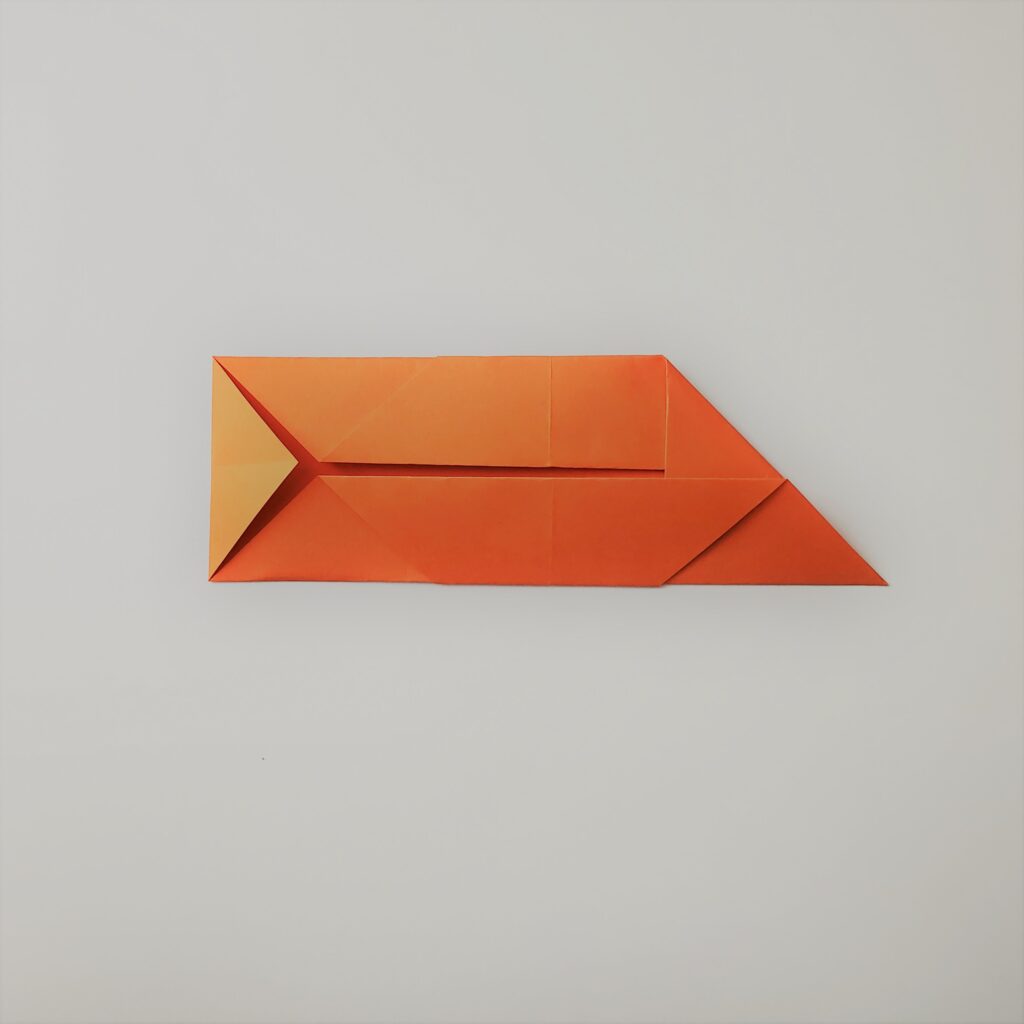
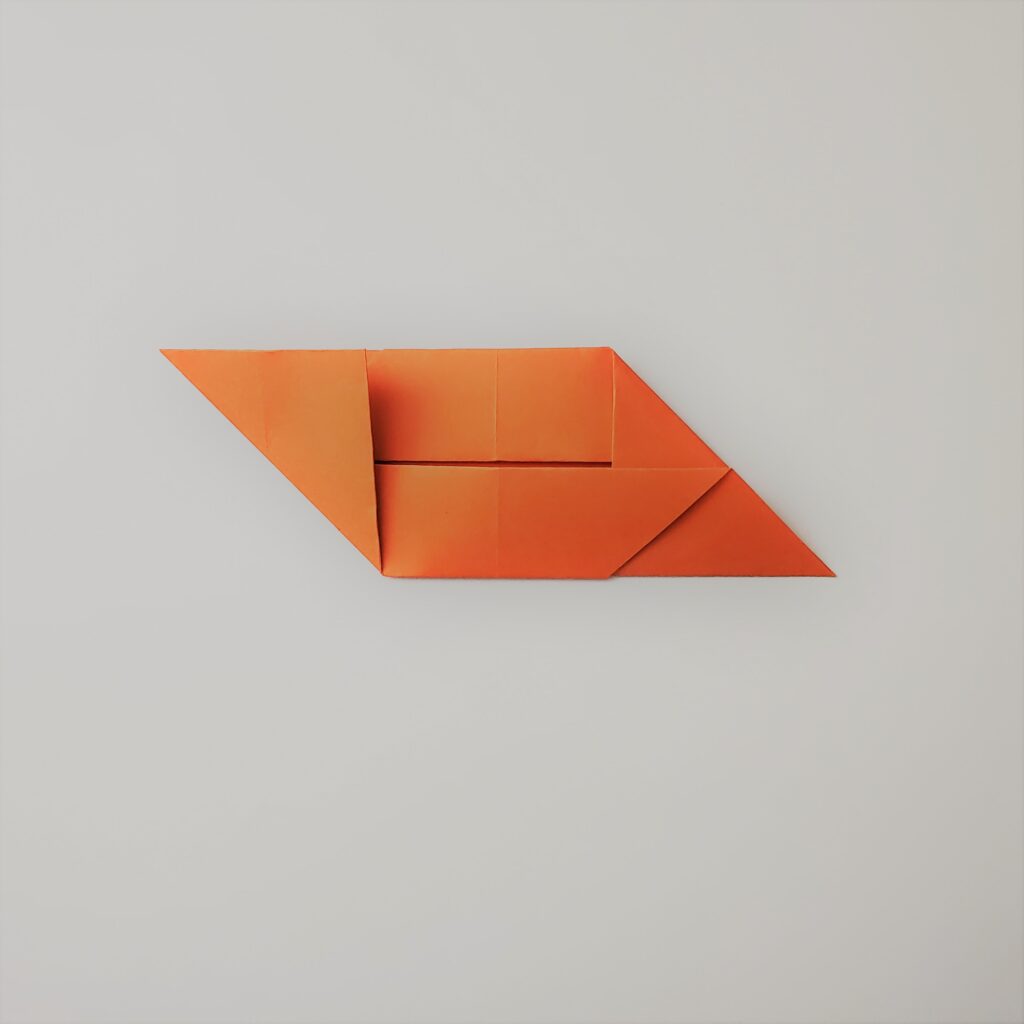
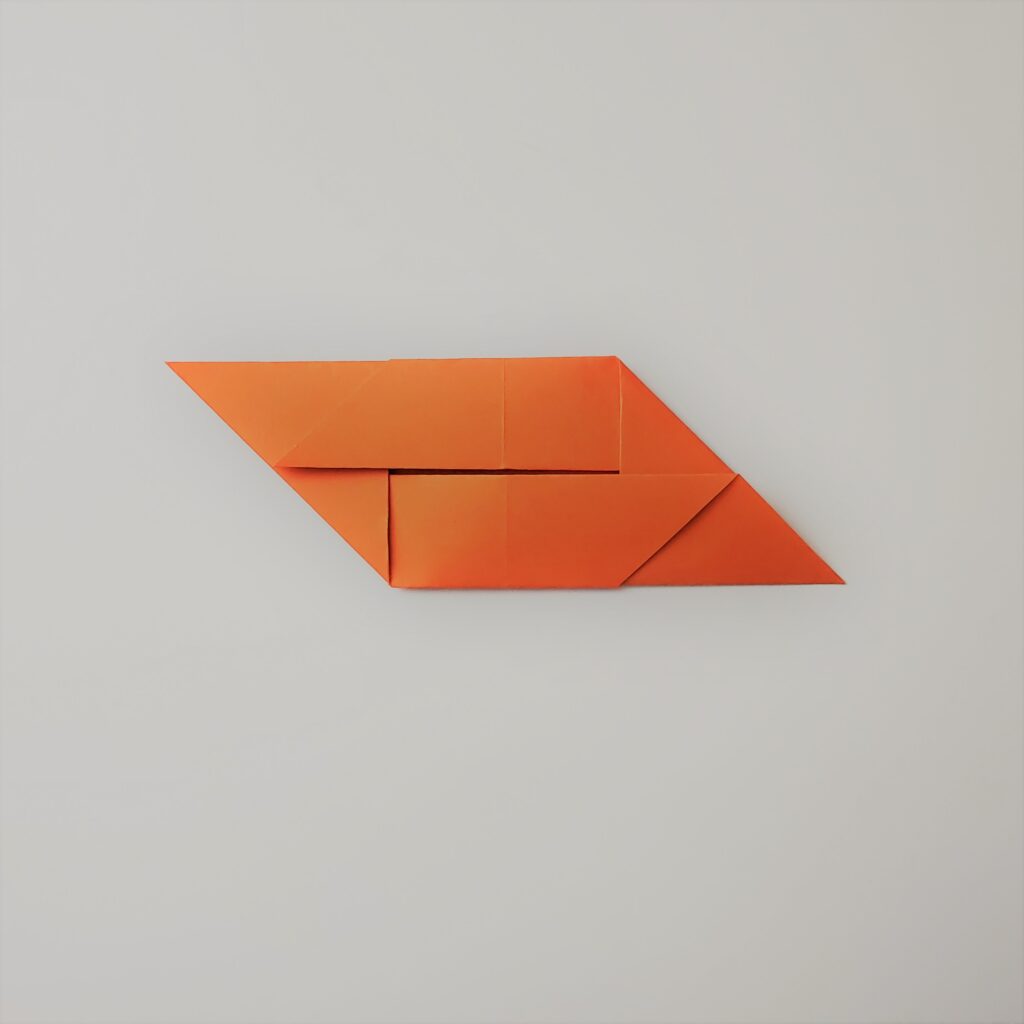
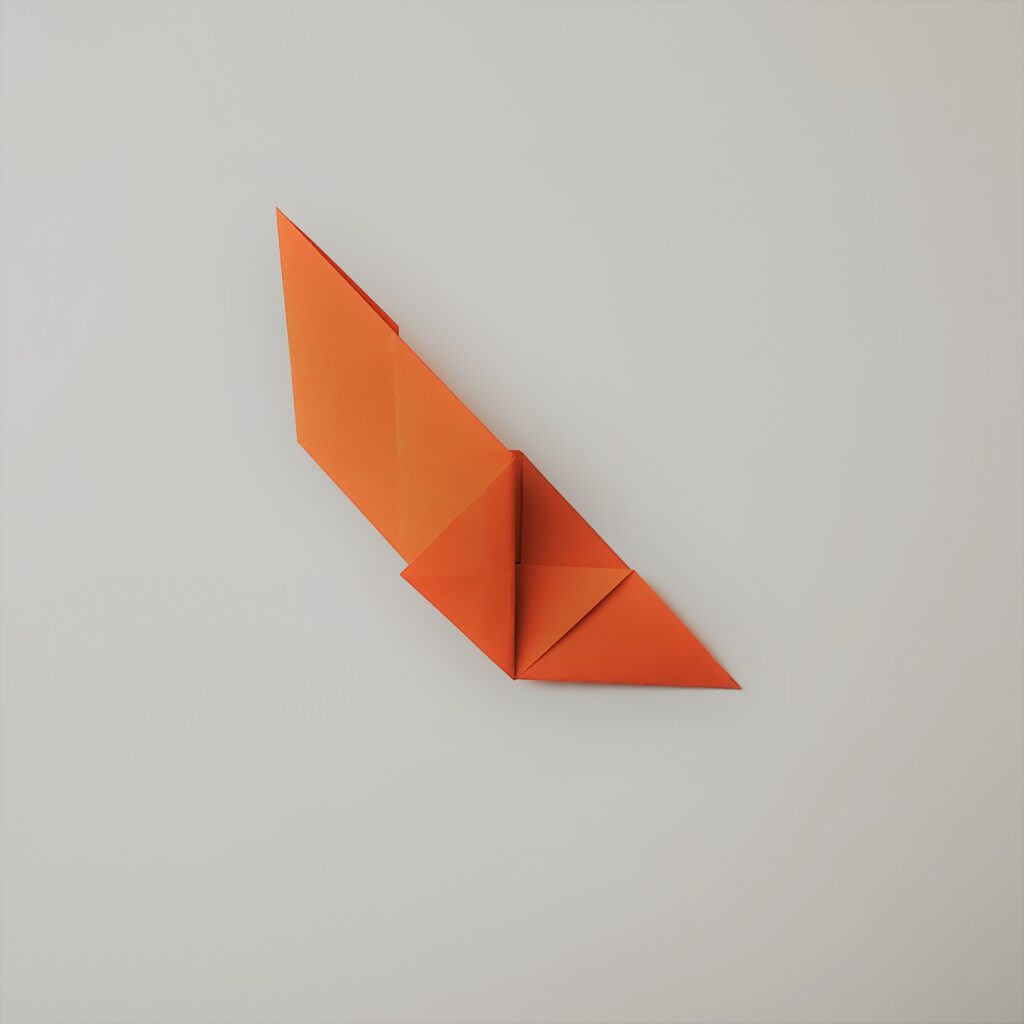
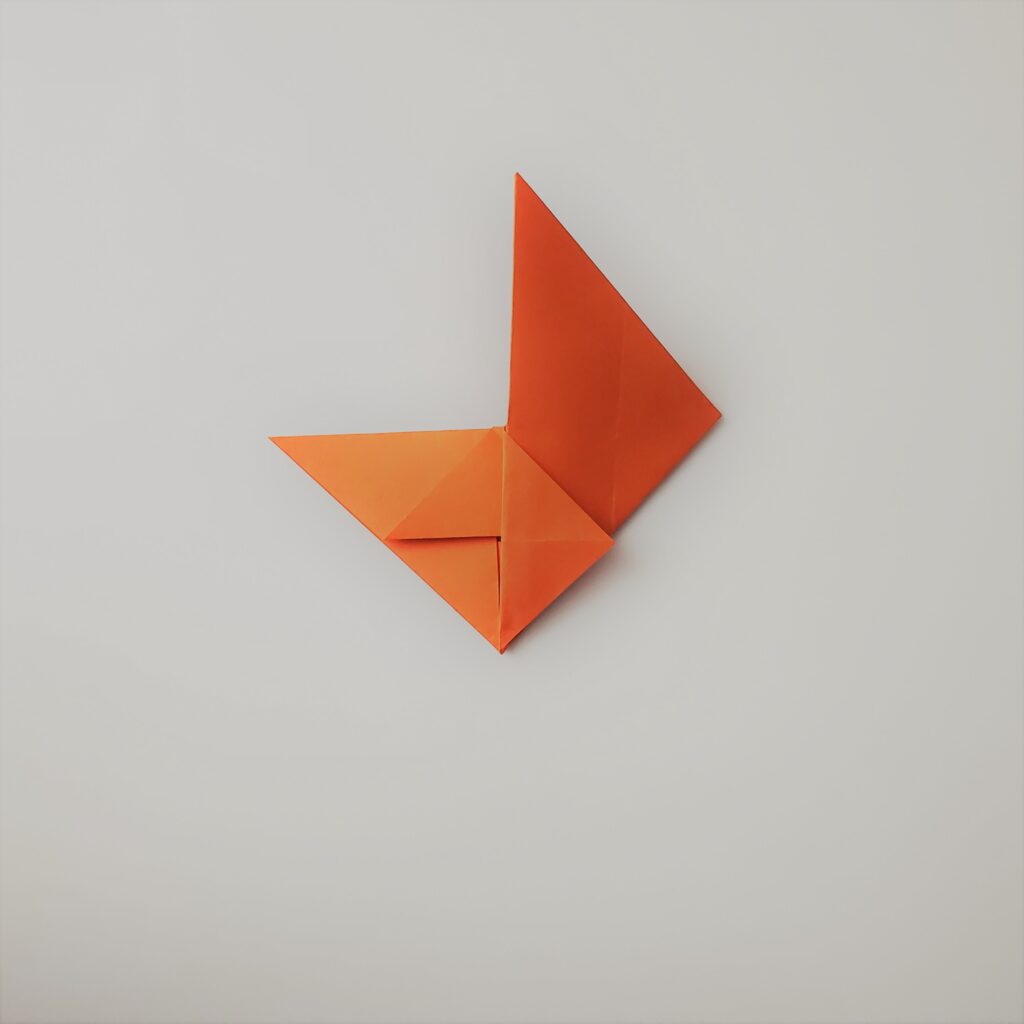
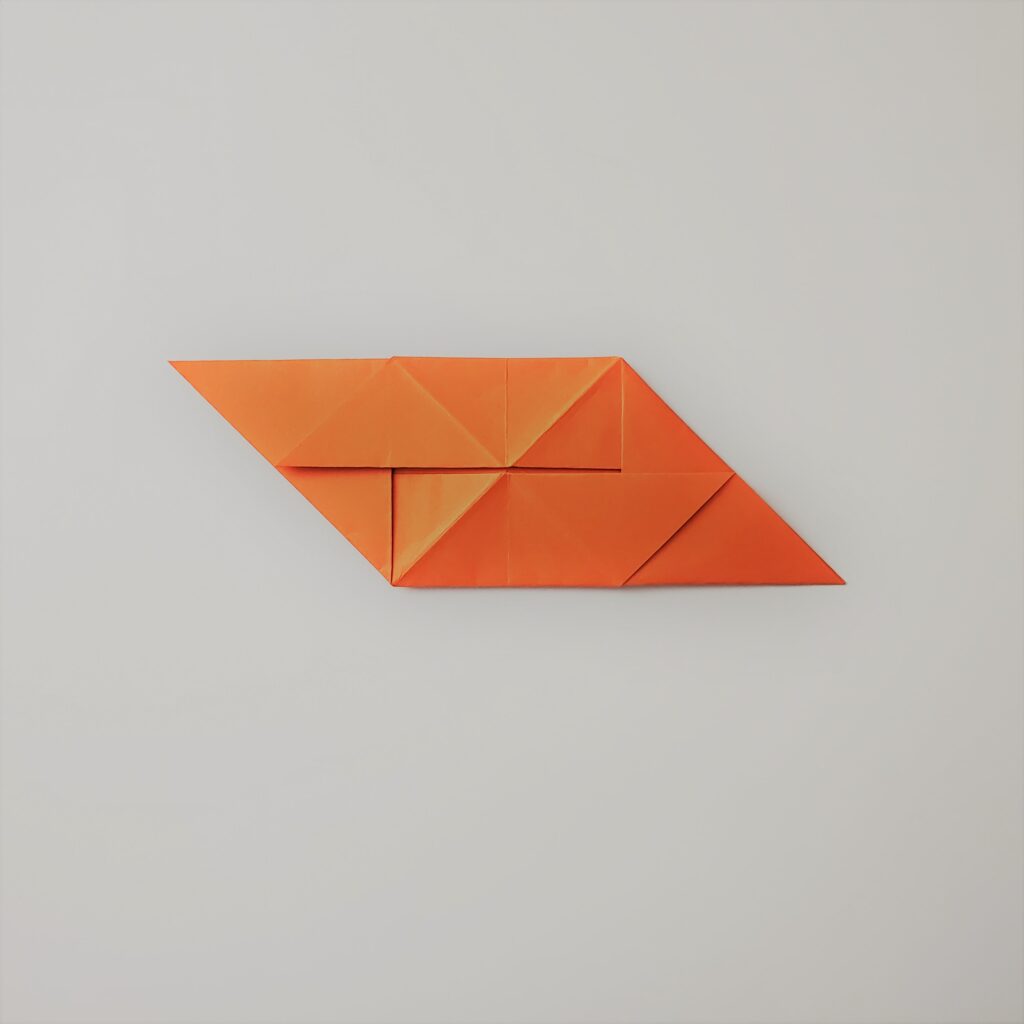
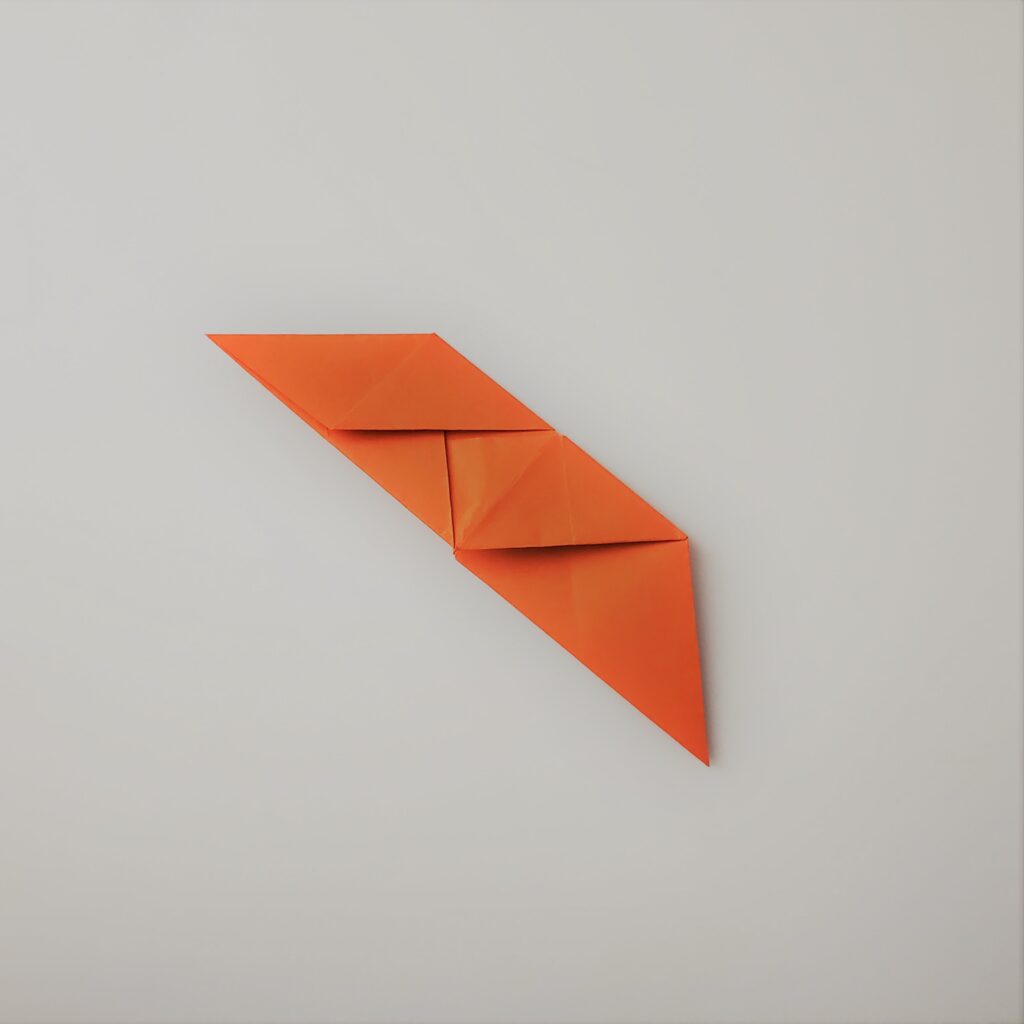
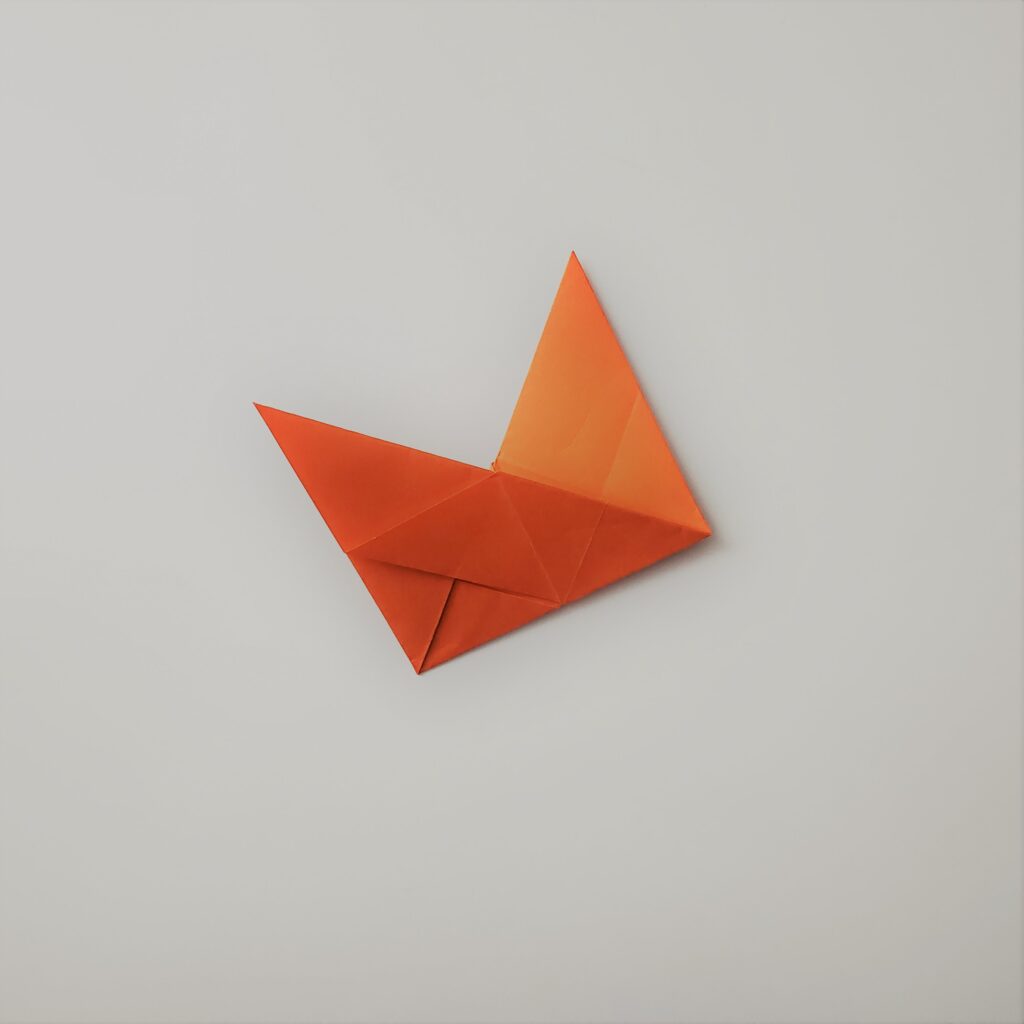
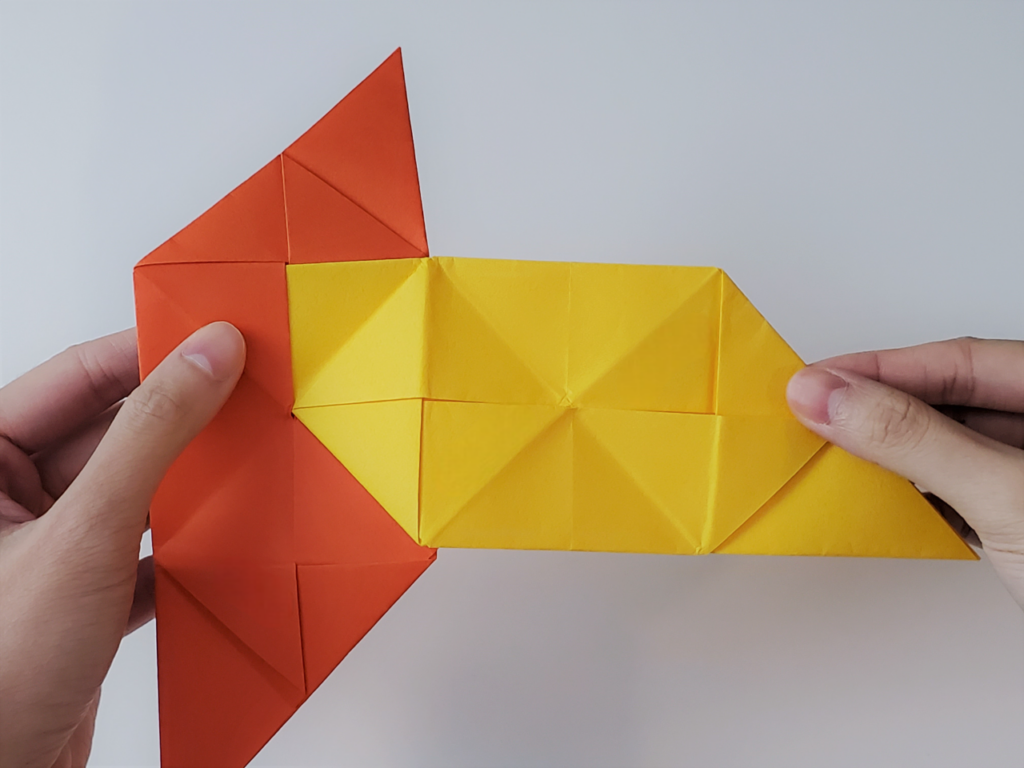
Looking for a fun summer project that everyone can enjoy? Origami flapping cranes are a perfect choice! Whether you’re crafting with kids or seeking a relaxing solo activity, these cranes bring joy with every fold. 🕊️
Origami is more than just paper folding—it’s creating something interactive and delightful. Flapping cranes add extra fun with wings that move when you gently pull their tails.
What You’ll Need:
You can use any square sheet of paper you have on hand, but for vibrant colors and sturdy folds like those seen in my tutorial, consider using Double-Sided Japanese Chiyogami Designed Paper. It’s available here.
Easy Tutorial: Follow along with my step-by-step YouTube guide here to craft your very own flapping crane.
Ready-Made Option
If you’re looking for immediate results, explore my selection of ready-made flapping cranes here. These cranes are perfect for instant decoration or thoughtful gifts. 🎁
Ready to get started? Watch the tutorial here and let your creativity take flight! 🛩️
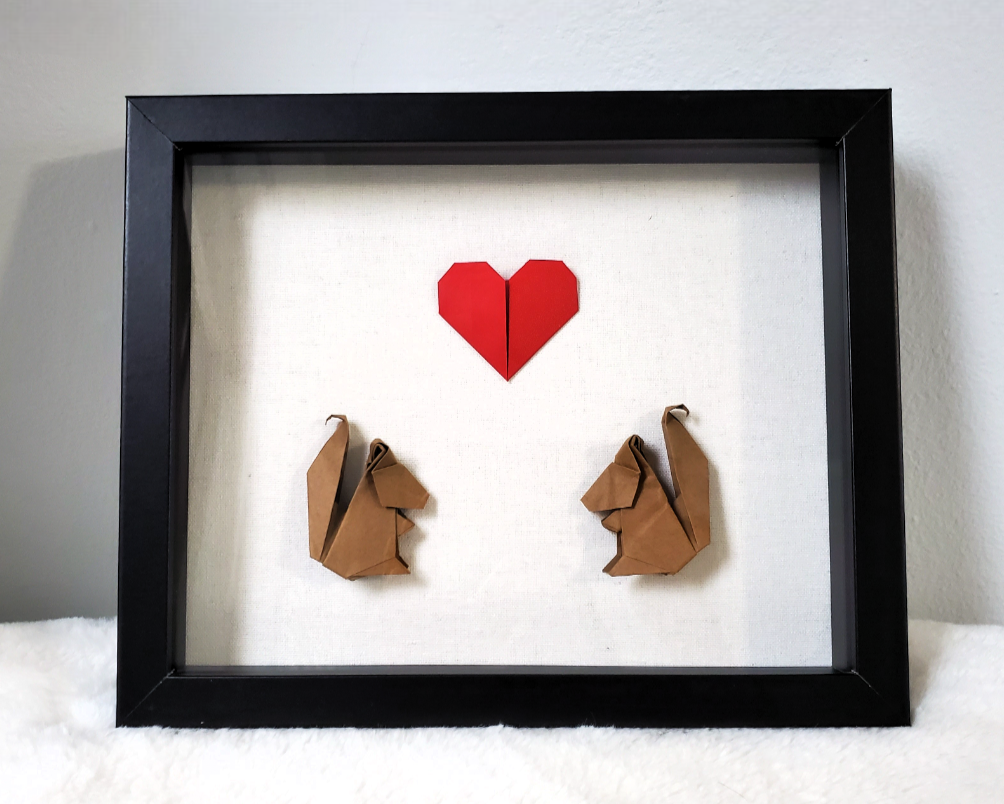
Pair of Origami Squirrels with a Red Heart – Handcrafted Wooden Shadow Box (8×10 inches) 🐿️
SQUIRREL! One of my best-selling listings, the Pair of Origami Squirrels with a Red Heart, has been winning hearts left and right. Picture this: two adorable origami squirrels, cozily nestled with a bright red heart, all beautifully displayed in a handcrafted wooden shadow box. This 8×10 inch treasure is more than just art; it’s a story waiting to be told. Today, I’m excited to share the magic behind its creation, the special supplies that bring it to life, and the burst of inspiration that made it happen. ✨
This Pair of Origami Squirrels with a Red Heart was initially a custom order request on Etsy. A customer wanted a unique and meaningful gift to celebrate their first wedding anniversary, and they specifically asked for origami squirrels to symbolize their playful and enduring bond. I was immediately inspired by this idea and set out to create something truly special. Once the custom piece was complete, I knew it had to be shared with a wider audience. And so, this delightful creation became one of my popular listings.
Steps on How to Make Your Own Squirrel Shadowbox 🐿️
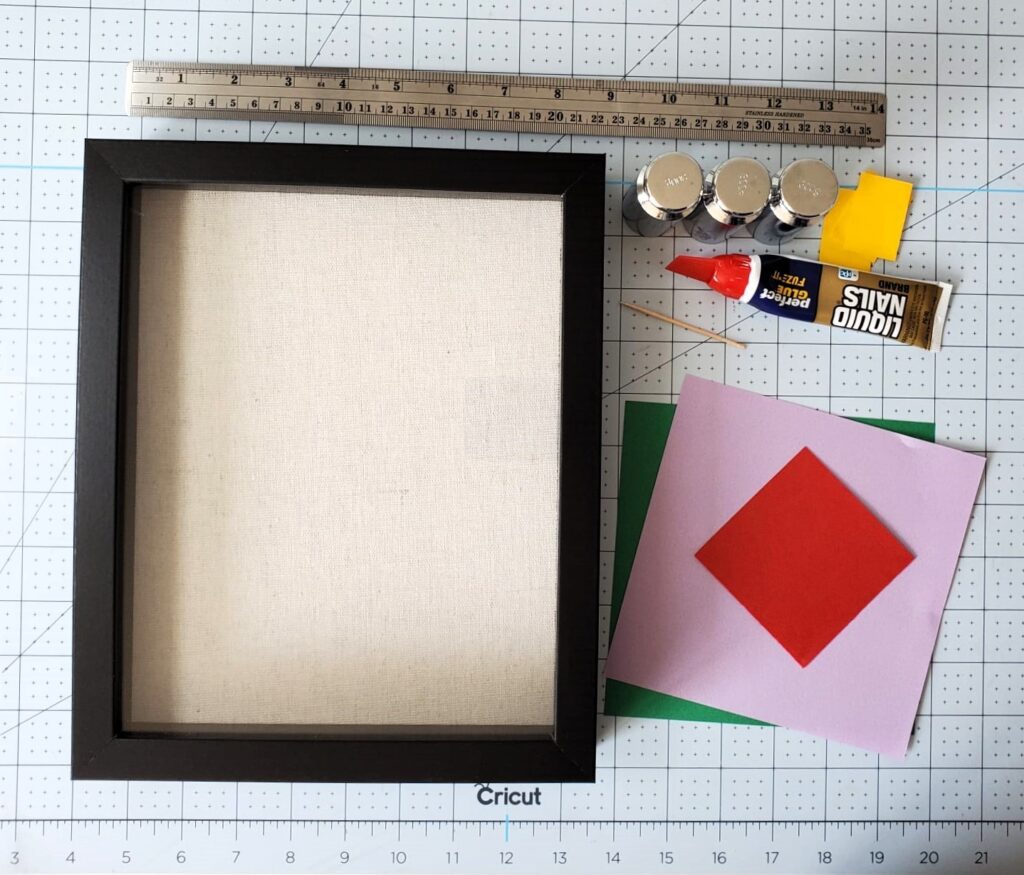
My crafting tools are essential. Liquid Nails glue ensures the pieces stay securely in place. I use toothpicks for precise glue application and sticky notes to protect the paper from the weights I use—individual calibration weights perfect for holding down the paper without damage. My ergonomic X-acto knife makes precise cuts, and my self-healing Cricut crafting mat ensures clean, accurate cuts.
Step-by-Step Instructions:
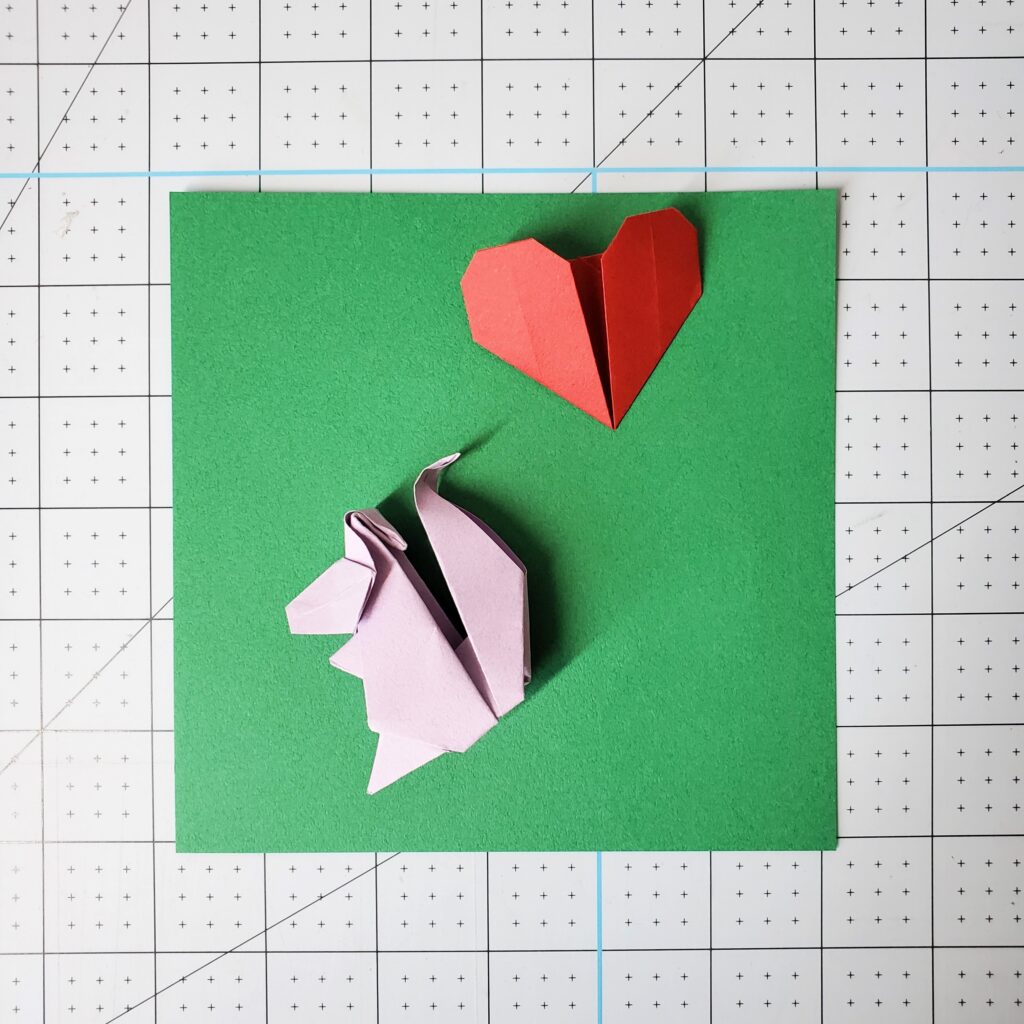
The first step is to create your origami squirrels and heart. Follow these simple and calming tutorials to get started: here and here!
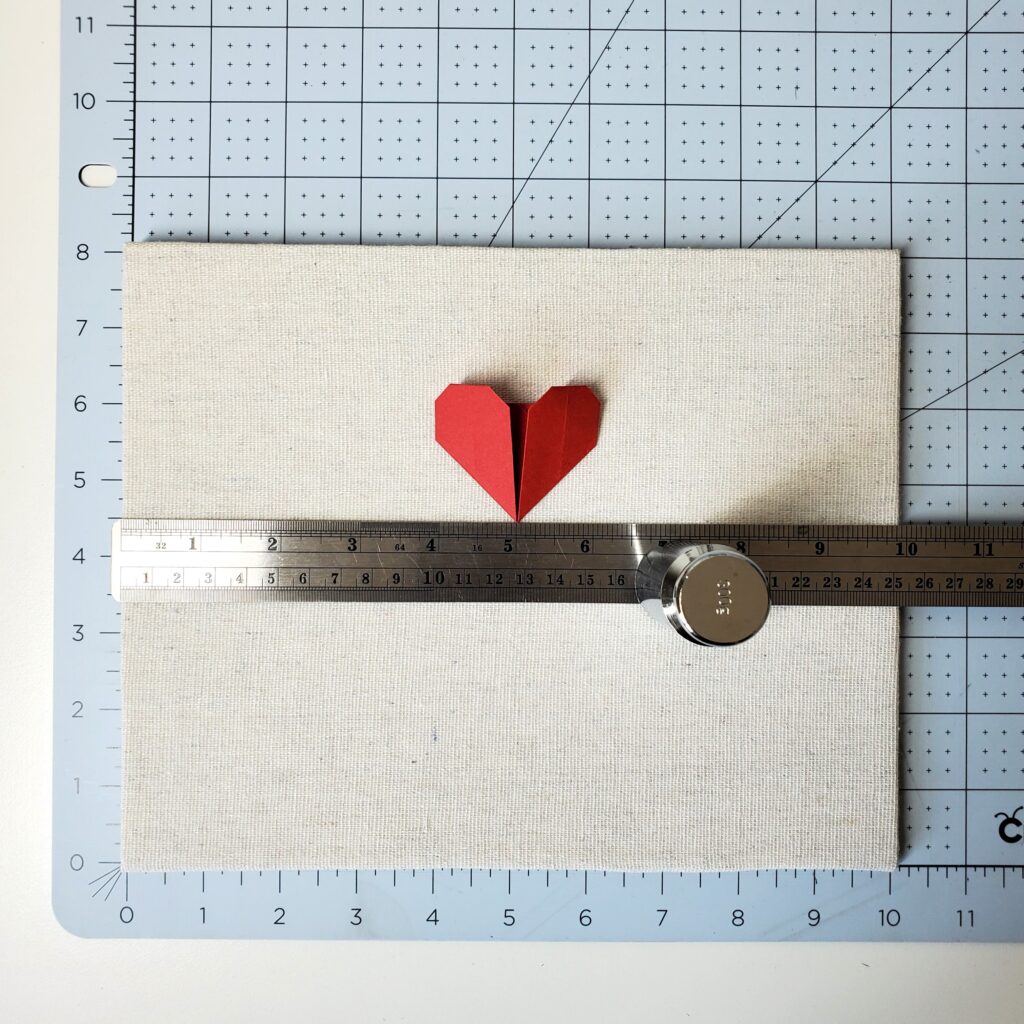
Open the shadowbox and remove the backboard. With the backboard, position the heart slightly above the middle and place the squirrels below on the sides, as shown in the nearing and below pictures. I typically guesstimate their placements, but ensuring they are equal in length. 😅
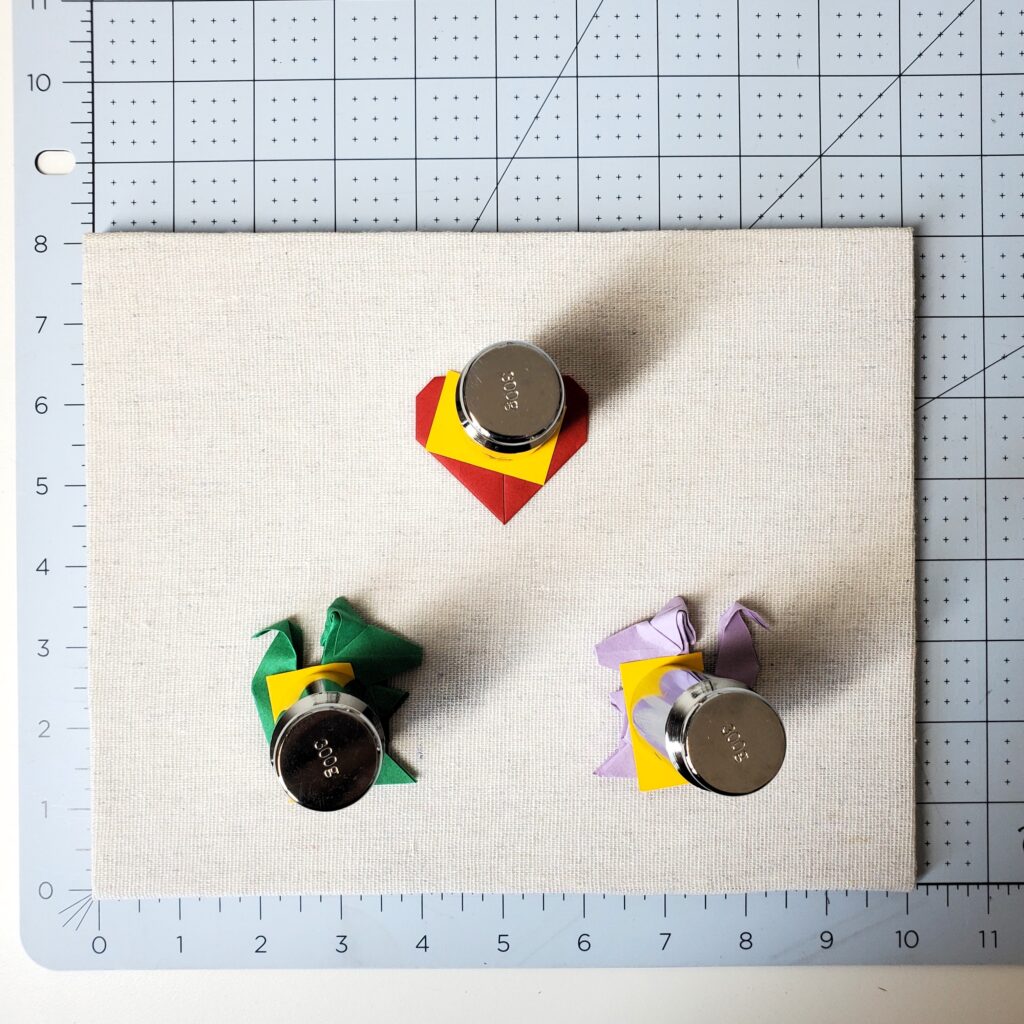
Using a toothpick, apply a small dab of Liquid Nails glue under the heart. Cover the heart with a sticky note and place a weight on top to hold it in place while it dries. Repeat this process for the squirrels: apply glue behind them, cover with sticky notes, and place weights on top. Allow the glue to dry completely. I typically wait 1 hour minimum.
Once the glue is dry, reattach the backboard to the shadowbox frame and secure it.
Ta-da! You’ve crafted your very own squirrel shadowbox! 🥳 Please be sure to share your creations with me at @orikim_creations on Instagram! I can’t wait to see all the beautiful squirrel shadowboxes you make. 🐿️
What makes this piece truly special is not just the craftsmanship but the story and symbolism it carries. Each time someone orders this shadow box, they’re not just buying a piece of art—they’re getting a heartfelt reminder of love, playfulness, and the beauty of thoughtful planning. It’s a conversation starter, a unique decor piece, and a cherished gift all in one.
If you’re looking for a meaningful and beautiful piece of art to celebrate a special bond, the Pair of Origami Squirrels with a Red Heart is perfect. Head over to my Etsy shop to get yours today and bring a touch of love and playfulness into your home—or start crafting your own! 😊
Origami isn’t just about folding paper – it’s about turning simple sheets into something extraordinary. Today, let’s dive into the world of modular origami flowers – a fun blend of precision and creativity that’ll add a touch of whimsy to your space.
What You’ll Need:
Six pieces of origami paper or similar
I’ve chosen vibrant Japanese kami paper with charming star patterns for this project. It’s durable and adds a pop of color that’ll make your creations stand out wherever you place them. You can get your hands on these exquisite papers here, offering a range of colors to match your personal style. 🧩
Patience and creativity!
Why choose modular origami flowers? 🌸 They’re incredibly versatile—perfect for any occasion and easily customizable to match your home’s unique style. These handcrafted flowers make thoughtful gifts for loved ones, adding a personal touch that mass-produced décor simply can’t offer. Each piece carries the warmth and charm of handmade artistry, making them ideal for celebrating special moments or enhancing everyday spaces.
Handmade options are available in my Etsy shop here, meticulously crafted for quality and beauty. Whether you’re decorating your own space or searching for a heartfelt gift, these flowers are a perfect choice. If you’re filled with creative energy or seeking a peaceful craft to relax with, modular origami flowers offer the perfect outlet!
Don’t forget to hop over to my YouTube tutorialhereand start your origami adventure today. Happy folding! 😊
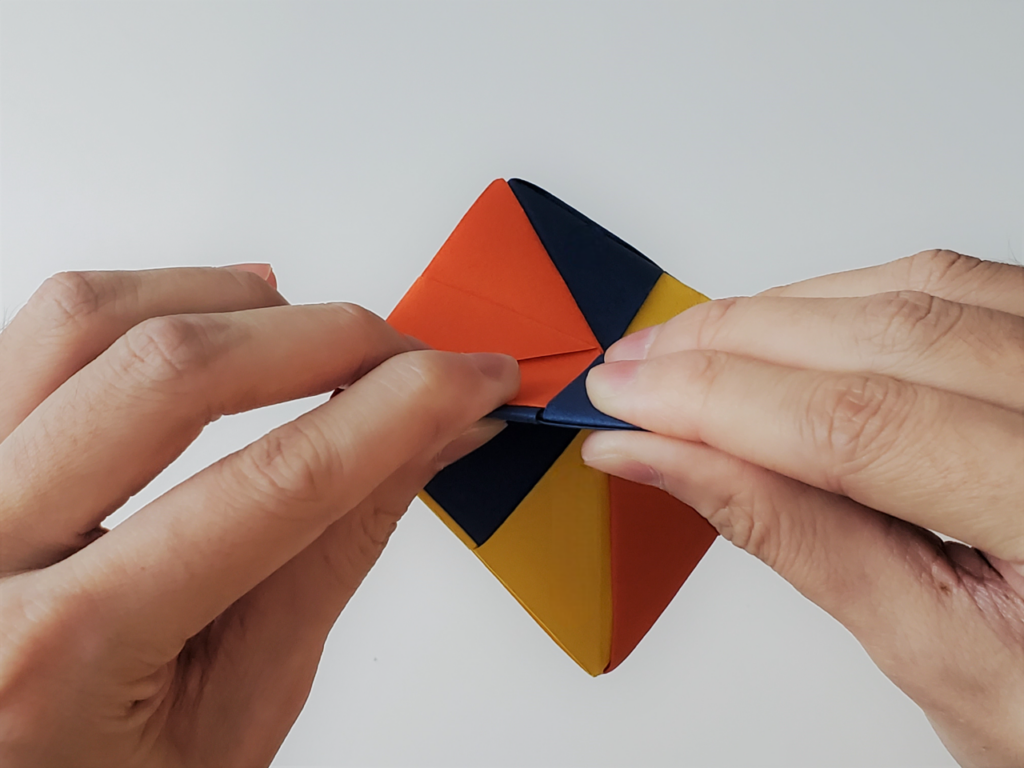
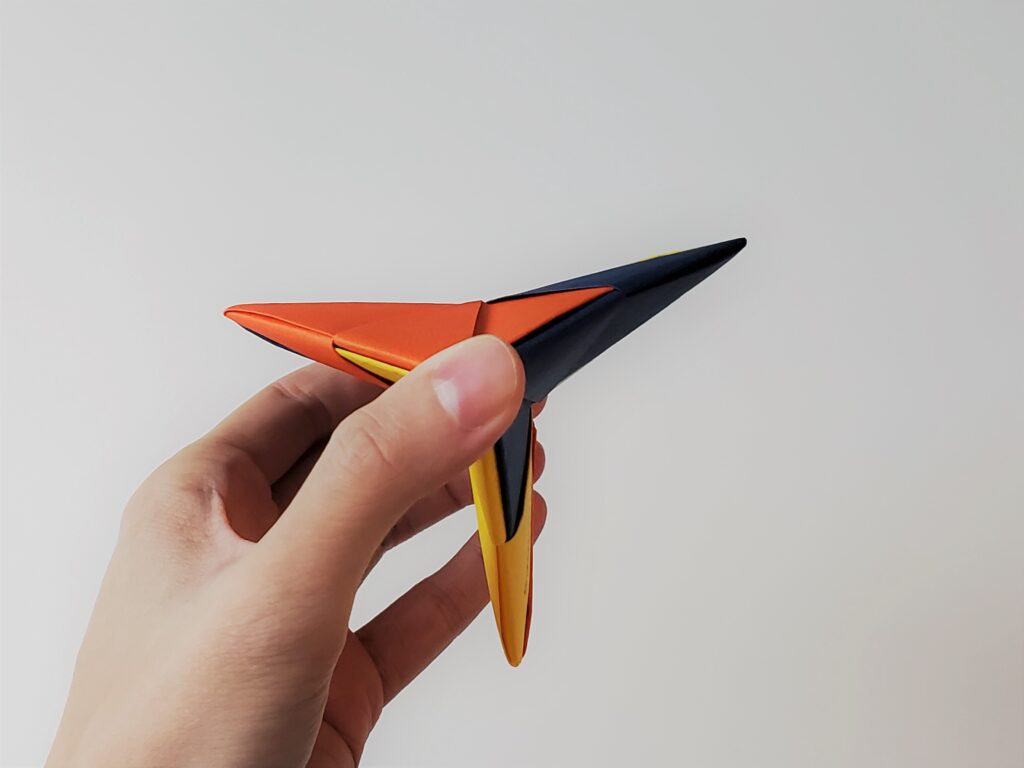
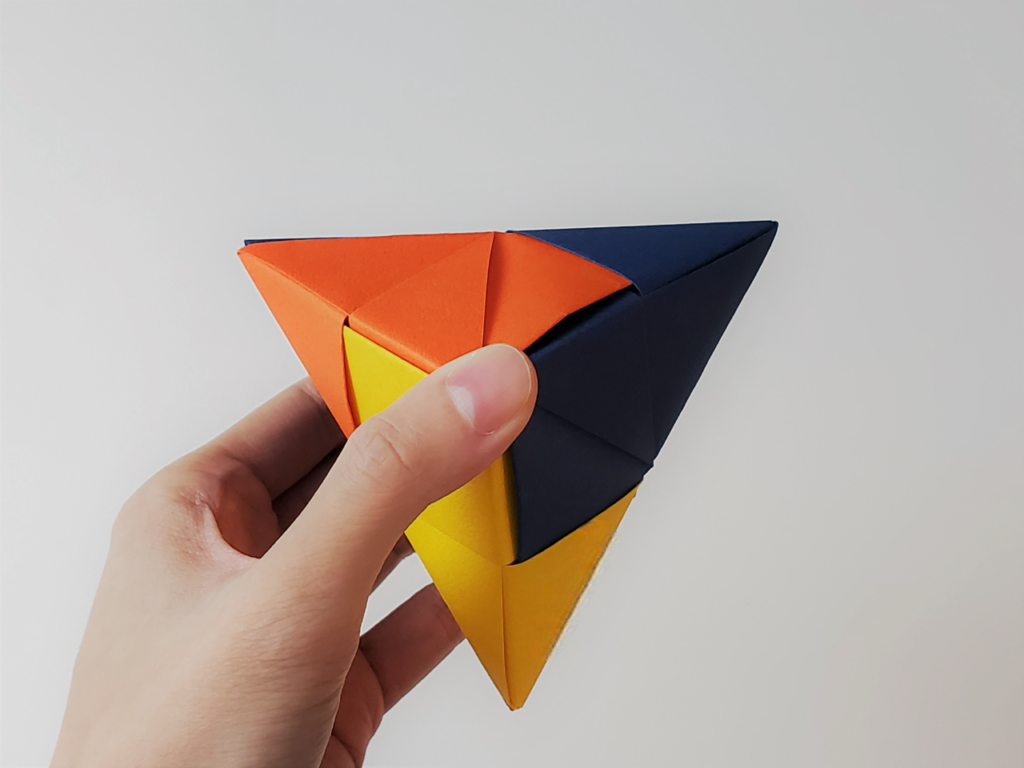
Get ready for some hands-on fun! Check out our latest YouTube tutorial here and dive into the excitement of creating your very own origami pop-it fidget spinner!
✨ What makes this spinner special? It’s made from three separate pieces of origami paper, creating an interactive toy that lets you pop and flick away to your heart’s content. Not only is it a super fun craft project ✂️, but it’s also a stress reliever for all ages—perfect for kids, teens, and adults alike!
💼 Fun Fact: I fulfilled a special request from an IT Cloud consulting and services firm for their logo and colors to be incorporated into this fidget spinner for a tradeshow. They absolutely loved it! Crafting kits for their guests to take home and create their own spinners was an exciting experience.
🎆 Celebrate July 4th with a bang! With Independence Day just around the corner, this DIY project is the ultimate way to celebrate. Imagine sitting outside, enjoying the summer sun, and making these vibrant spinners. Whether you’re at a picnic, a family barbecue, or just hanging out in the backyard, this craft is perfect for adding a touch of fun and creativity to your festivities. Use red, white, and blue paper for a patriotic touch, or mix it up with your favorite colors! 🌟 This is one of those easy 4th of July crafts for kids and everyone will enjoy!
🎨 Feeling adventurous? Scroll down for the written step-by-step instructions and get crafting!
🛍️ Not into DIY? No problem! Check out this Etsy listing for a ready-made option.
📝 Want to use the same paper I did? Link to the origami paper used here!
What you’ll need:
3 sheets of 6 in x 6 in origami paper (in this case, I used orange, yellow, and blue)
Folding the Units Instructions:
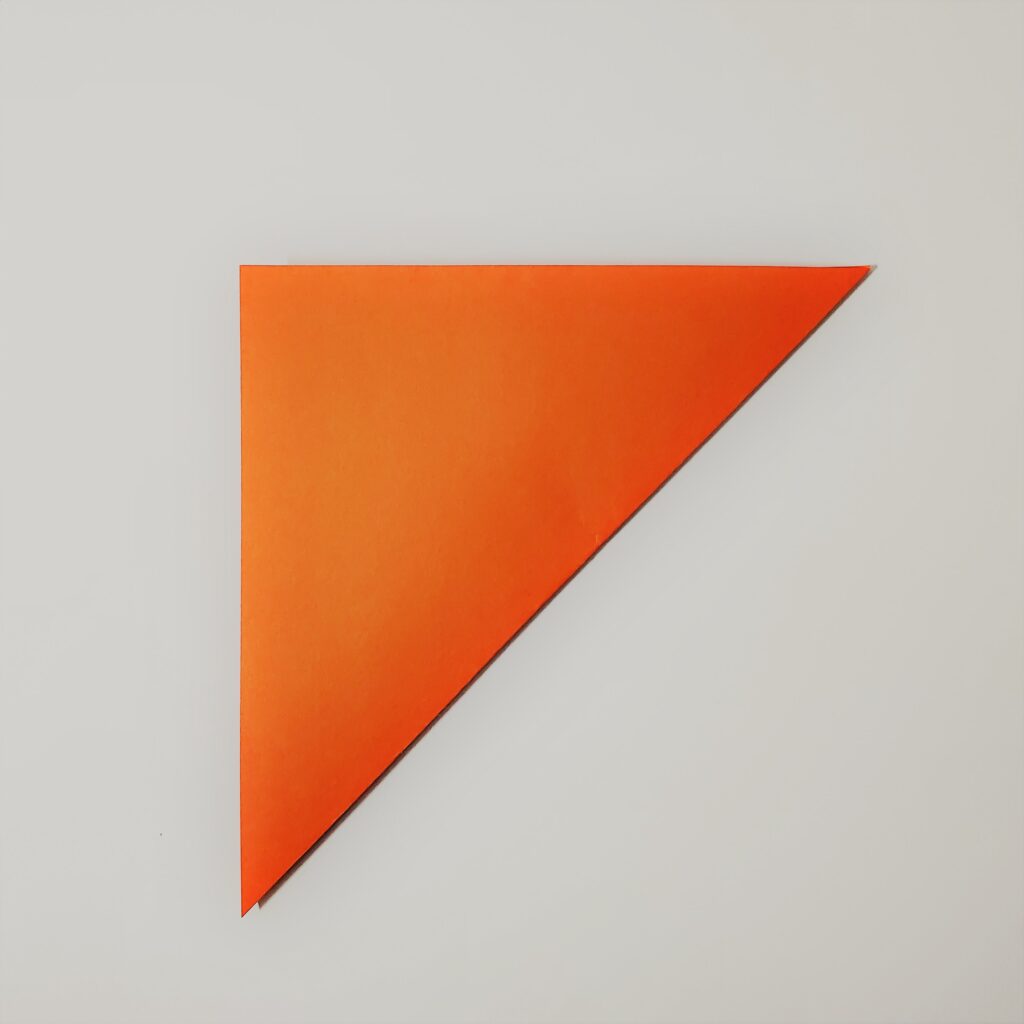
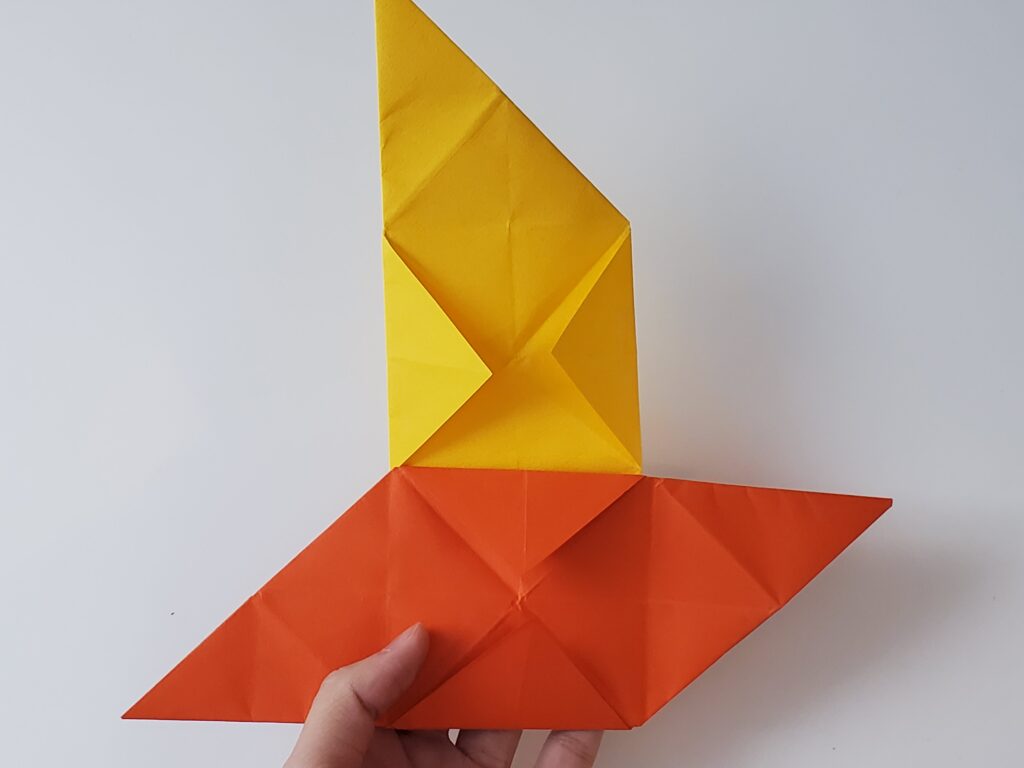
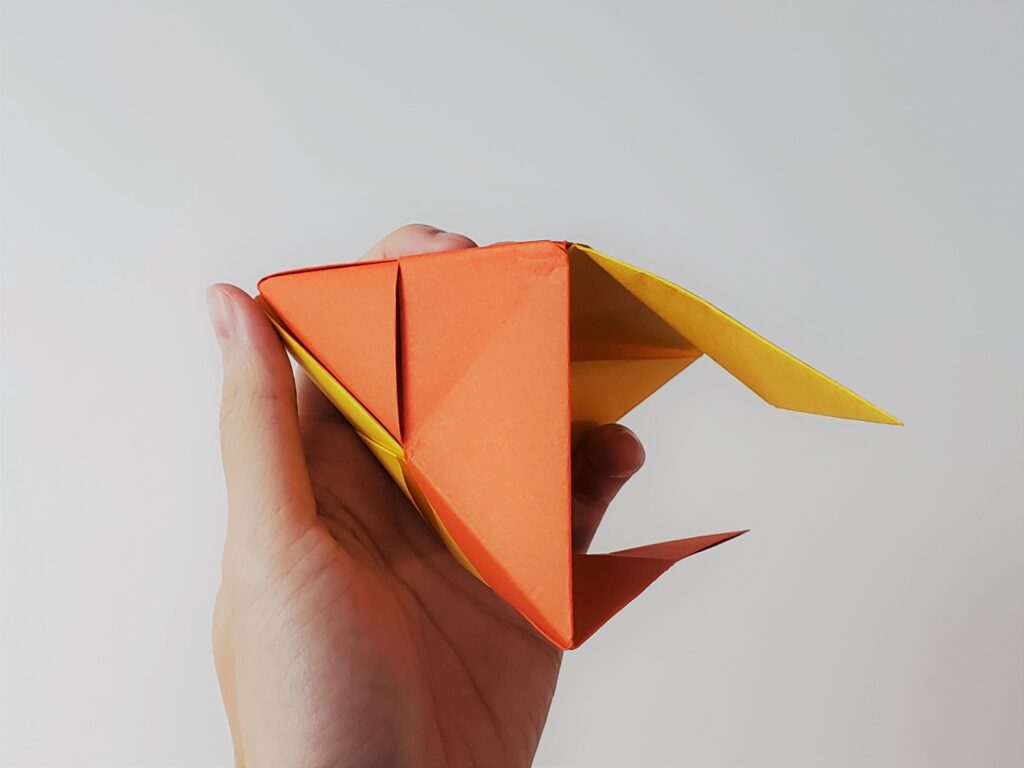
Take one piece of colored origami paper, and fold it diagonally.
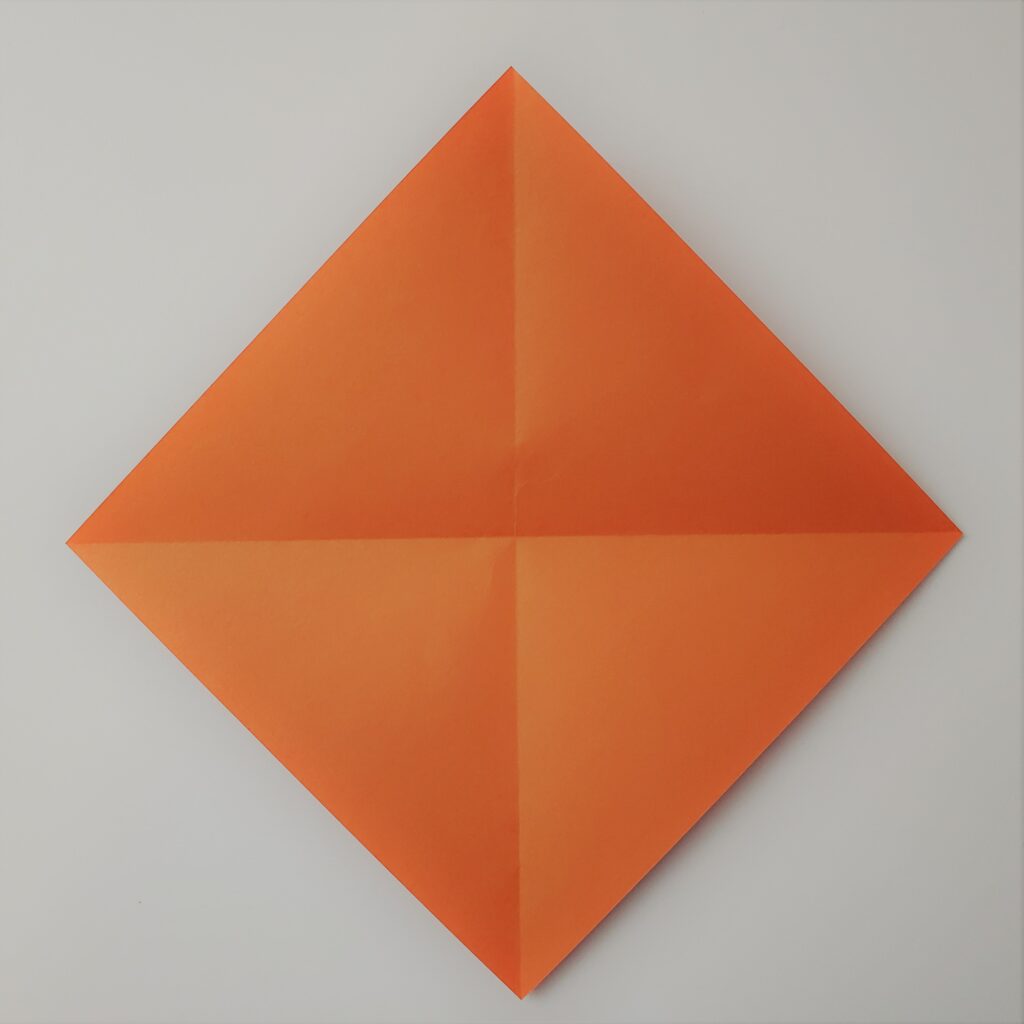
Rotate the origami paper and fold it diagonally.
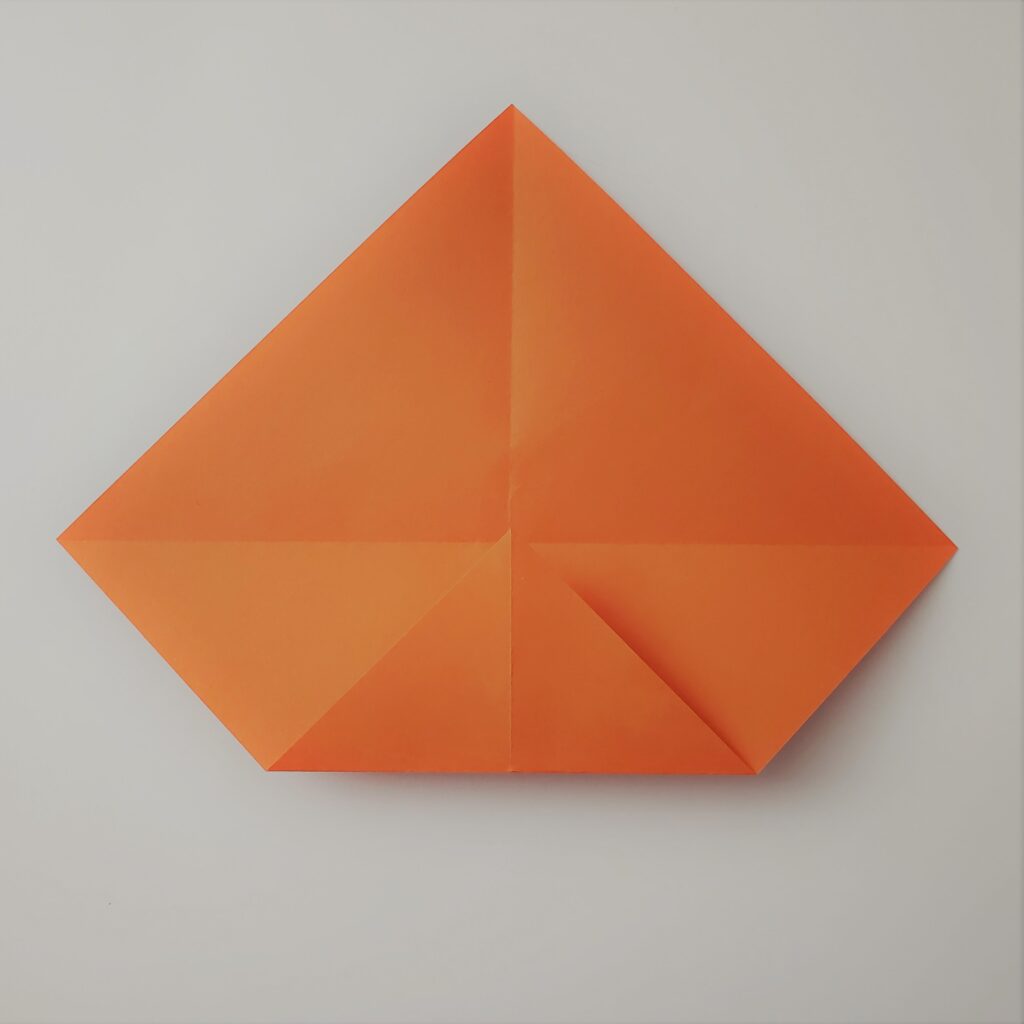
Take the bottom flap point and fold it to the creased middle line.
Take the top flap point and fold it to the creased middle line.
Flip the origami paper over.
Take the bottom flap edge and fold it against the creased middle line.
Take the top flap edge and fold it against the creased middle line.
Fold the left side flap to form a triangle.
Take the bottom left side corner and fold it upwards to form a 90° triangle.
Tuck the 90° triangle under the top flap.
Rotate the origami paper and repeat steps 8-10.
Fold the bottom left corner to the top right corner and unfold. Then fold the bottom right corner up towards the top left and unfold. This should form an X crease.
Flip the origami paper over. Fold the origami paper diagonally twice (similar to the previous step), forming an X crease. This will help sturdy the creases.
Repeat steps 1-13 to fold 2 additional units with the remaining colored origami paper.
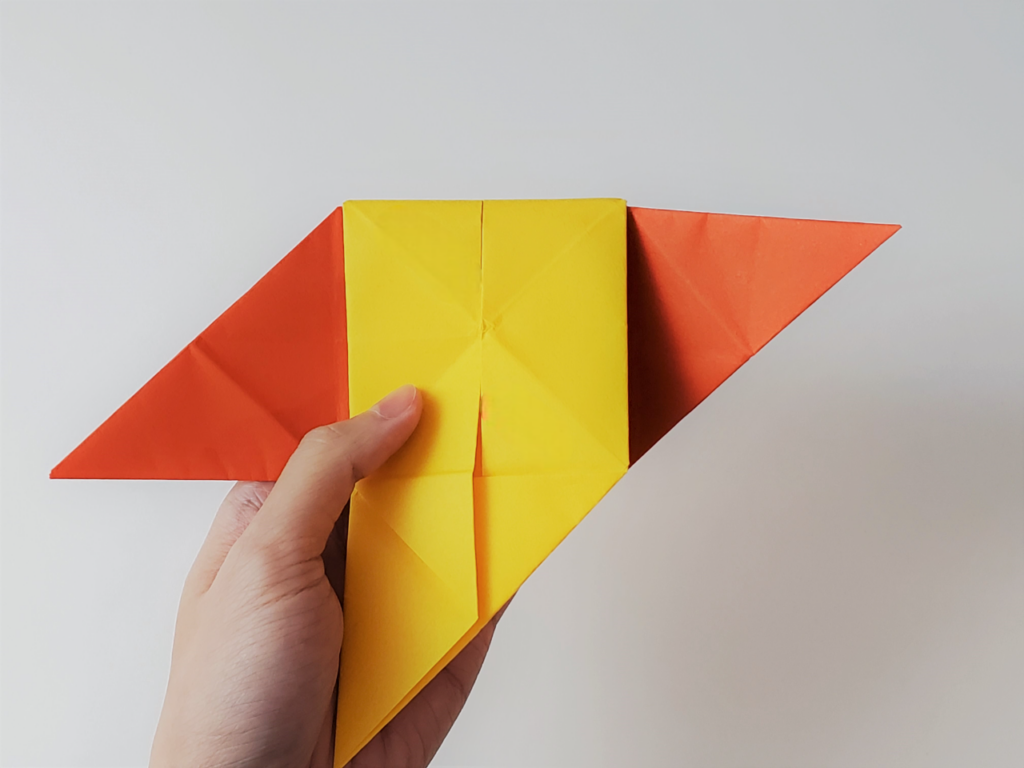
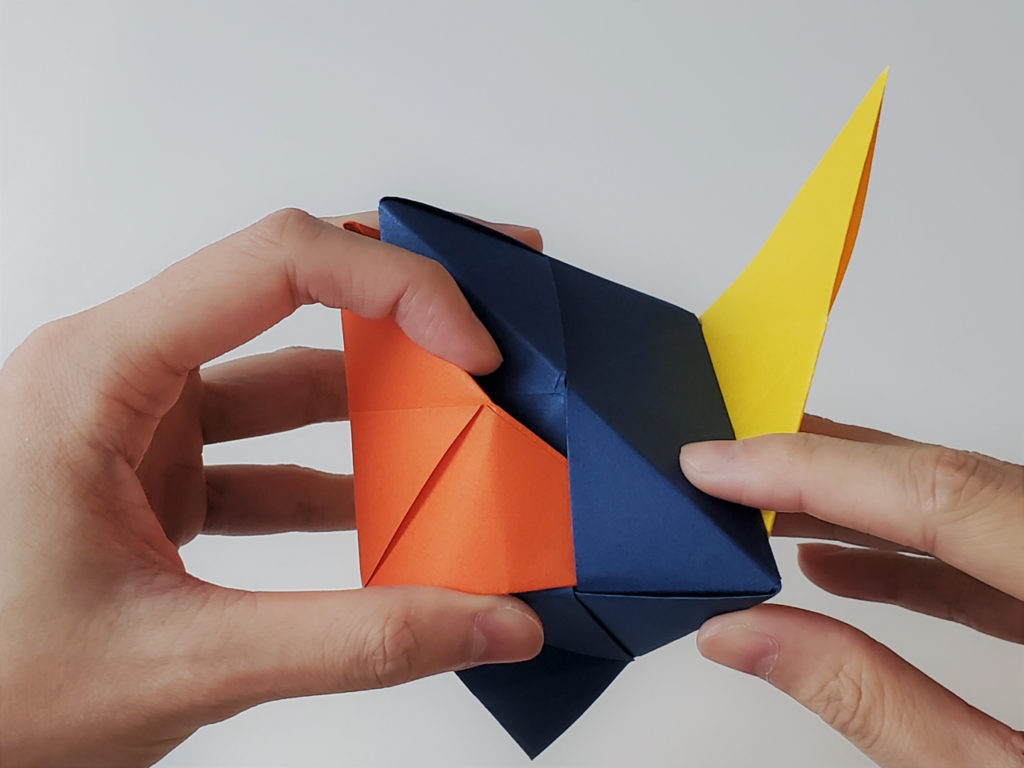
Have the Orange unit vertically in your left hand and the Yellow unit horizontally in your right hand. Take the Yellow unit’s left corner and insert it in the Orange unit’s inner triangle panel on the top left.
Flip the combined unit over and rotate to have the Yellow unit at the top.
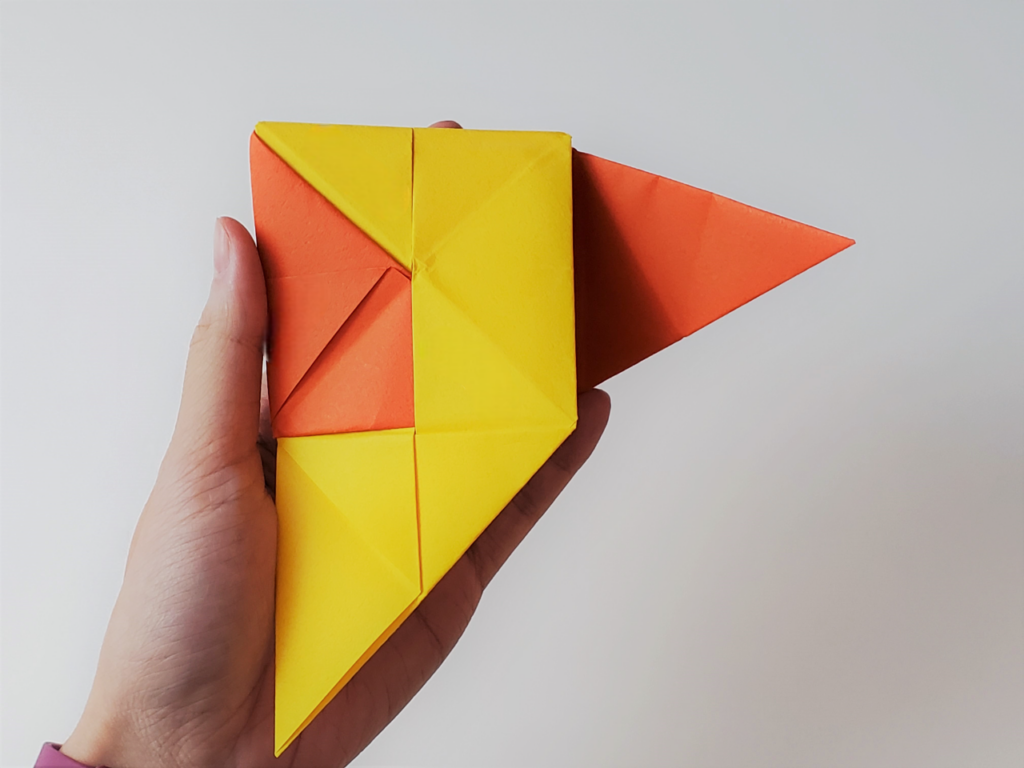
Fold the Yellow unit’s remaining flap down towards you. Using the Orange unit’s left corner, insert it in the Yellow unit’s inner triangle panel on the bottom right. Pinch the sides to shape the combined unit.
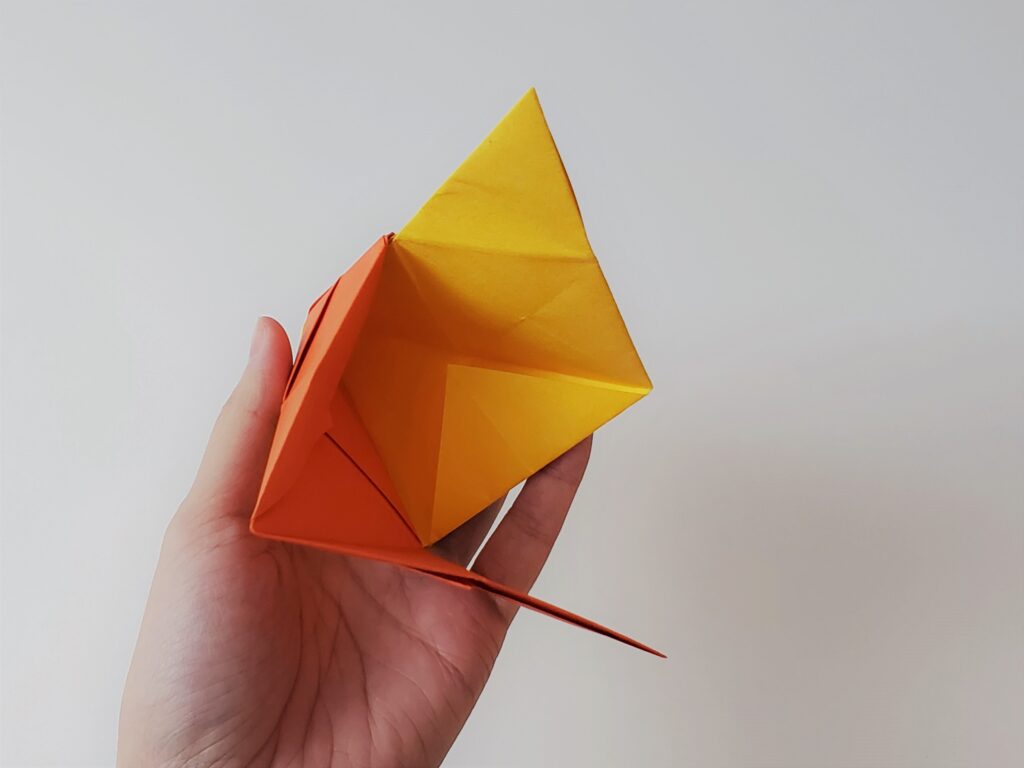
Rotate the combined unit so you will see the inner bottom. The Orange unit should be on the left side and Yellow on the right side (should look somewhat like a pinwheel).
Rotate the combined unit so you have a 90° triangle panel of the Orange unit facing you.
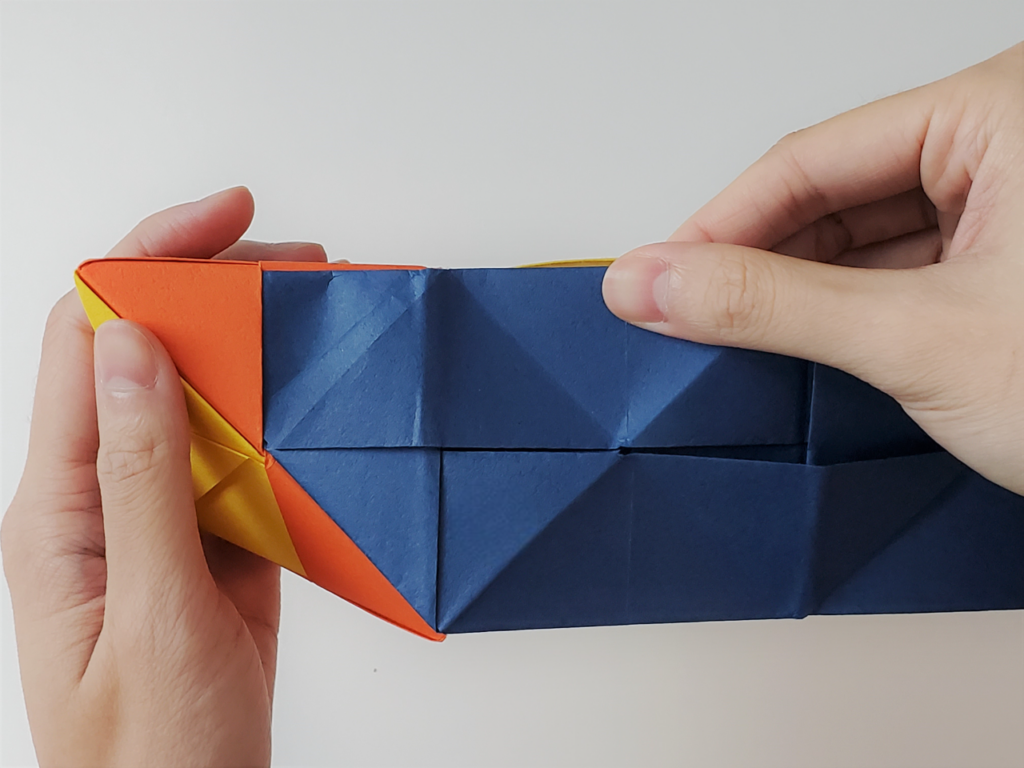
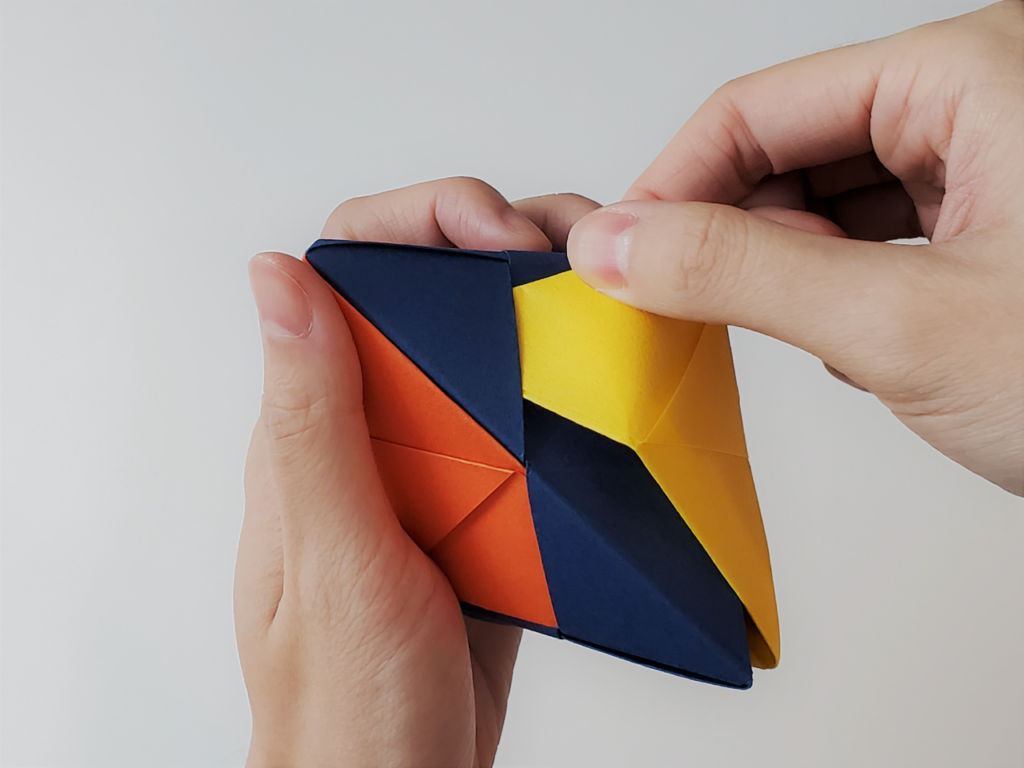
Hold the Blue unit horizontally in your right hand and insert its left corner in the Orange unit’s inner triangle panel.
Rotate the combined unit so you will see the inner bottom. The Blue unit should be on the top, the Orange unit on the left side, and the Yellow unit on the right side (should look somewhat like a pinwheel).
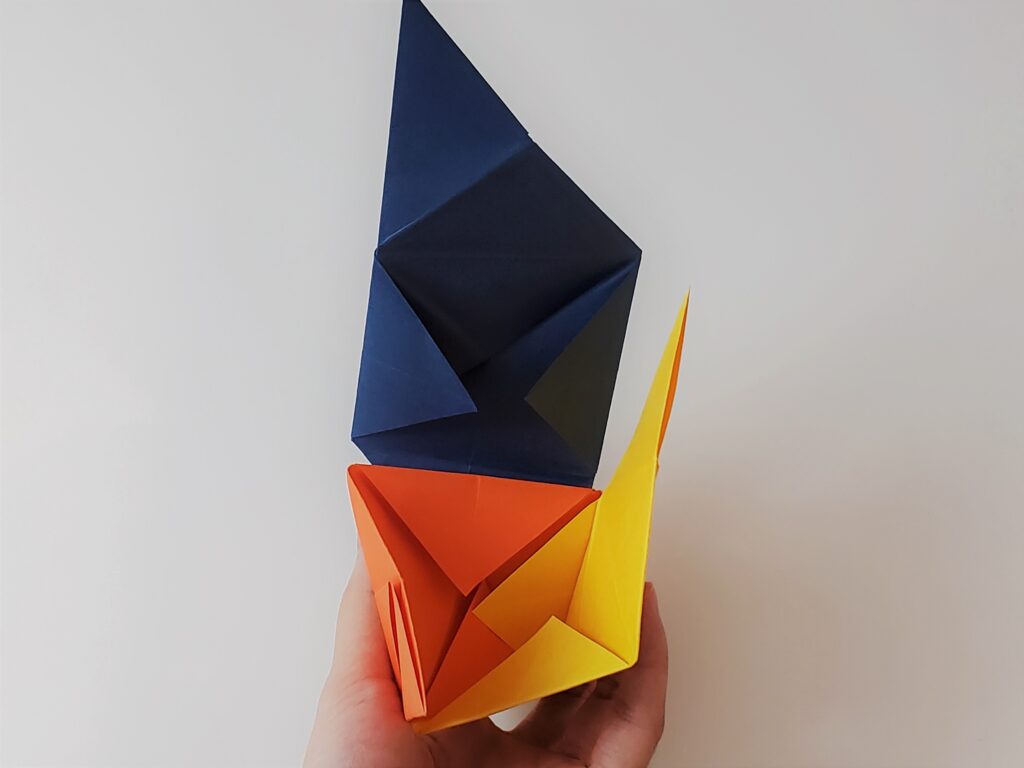
Fold the Blue unit’s remaining flap down towards you. Using the Orange unit’s corner, insert it in the Blue unit’s inner triangle panel on the bottom right. Pinch the sides to shape the combined unit.
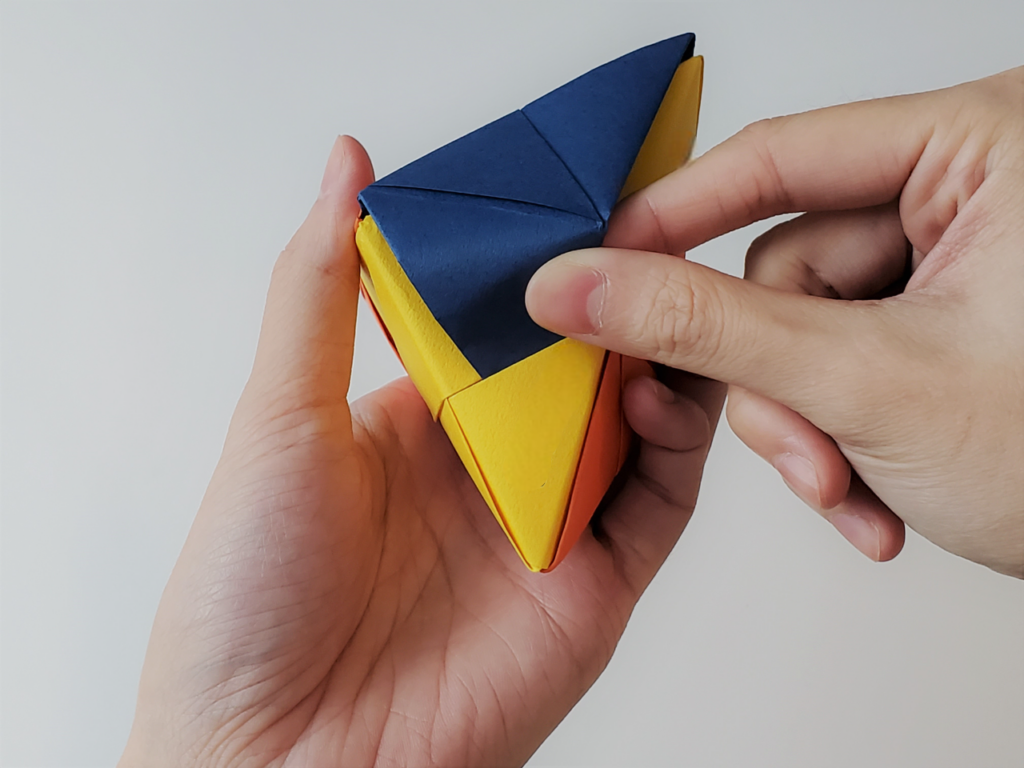
Using the Yellow unit’s corner, insert it in the Blue unit’s inner triangle panel on the top left. Pinch the sides to shape the combined unit.
Using the Blue unit’s corner, insert it in the Yellow unit’s inner triangle panel on the bottom. Pinch the sides to shape the combined unit.
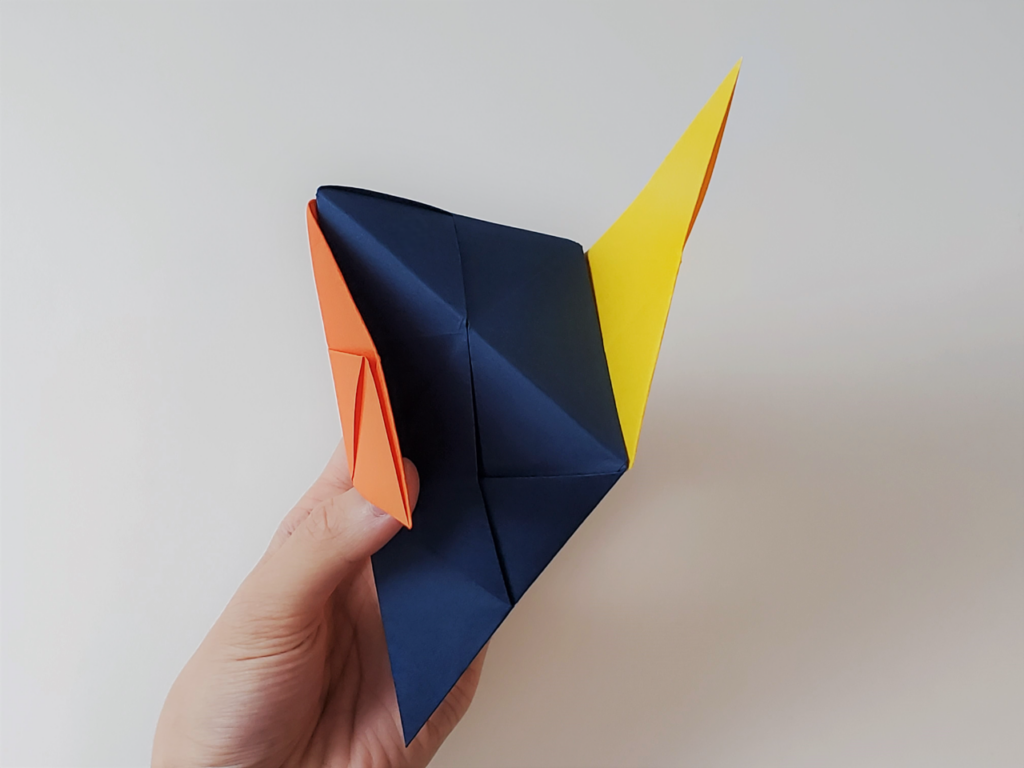
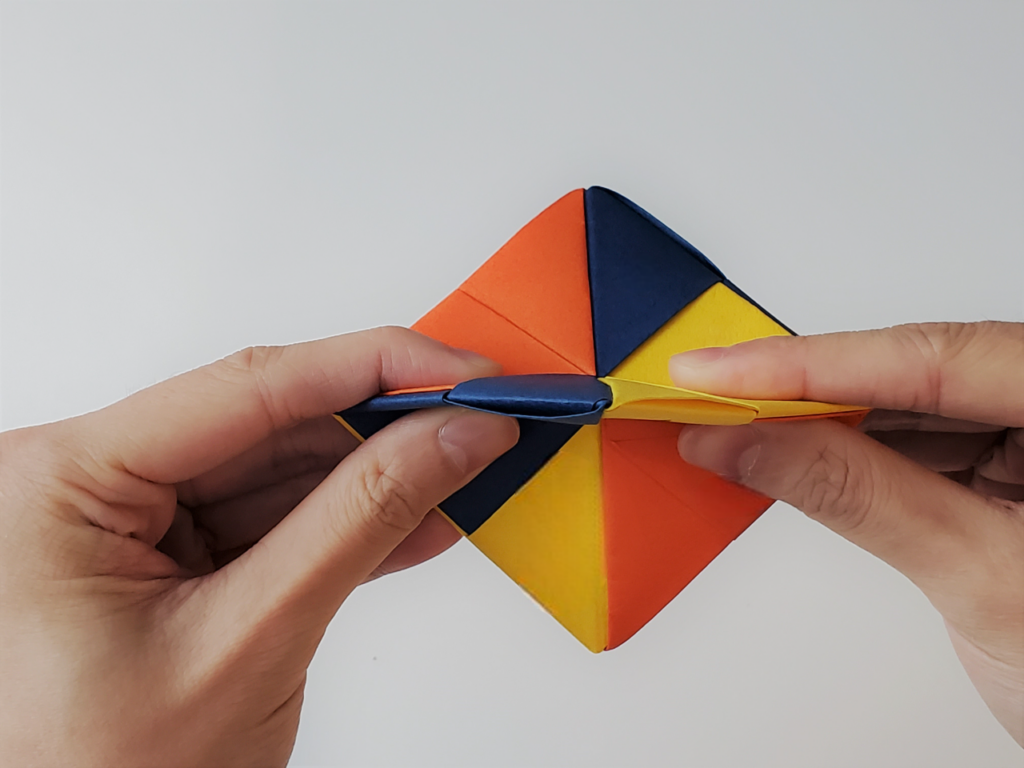
Shape the combined unit more by folding the sides towards each other until flat. Repeat for each side until flat.
To “pop” the fidget toy, place your thumb on its top point and another finger underneath, the bottom point. Add pressure and the fidget toy will pop. Repeat steps 11 and 12, 3-4x to have it pop easier.
🎨 Voila! You’ve made your very own pop-it fidget spinner! Enjoy the fun and satisfaction of your handmade creation. Happy crafting, and have a fantastic Fourth of July! ✨
Hi everyone! A brand new YouTube video tutorial just dropped! 🎉 If you are looking for a DIY project and adding personal touches to your events, you’re going to adore this. Learn how to create stunning origami crane name card placeholders that will wow your guests!
What You’ll Need:
Square sheet of origami paper in any color you like
These little beauties are crafted from gorgeous foil-printed chiyogami paper, making them the perfect addition to any intimate occasion. Discover the stunning chiyogami paper I used here!
Whether you’re planning a wedding, a dinner party, or any special occasion, these placeholders will add a touch of elegance and sophistication to your table setting. They’re not just functional but also a beautiful keepsake for your guests to take home!
So why wait? Grab your paper, follow along, and let’s get folding! Let’s make your next event unforgettable with these charming origami cranes. ✨
Interested in purchasing these in bulk? Visit my Etsy listing to get yours and ensure your next event is as memorable as can be with these delightful origami cranes.
Check out the tutorial now and get ready to impress everyone with your origami skills!
Hey everyone! Are you looking for a creative and fun way to keep track of your place in a book? Check out my latest YouTube video, where I demonstrate how to fold an adorable origami dog bookmark. 🐶
What You’ll Need:
Square piece of origami paper. While any paper will work, I recommend tant paper for its quality and variety
Patience and fun vibes!
In the video, I also showcase the book “Origami Design Secrets: Mathematical Methods for an Ancient Art, Second Edition.” I explain how to use your cute new bookmark and delve into the fascinating world of origami math and magic. This book is a fantastic resource for anyone curious about the deeper aspects of origami. You can grab a copy here. 📚
Head over to my YouTube channel to follow the full tutorial and create your very own origami dog bookmark. Watch the video here!
Pair of Patterned Origami Koi Fish with Red Heart – Handcrafted Wooden Shadow Box (8×10 inches) 🎏
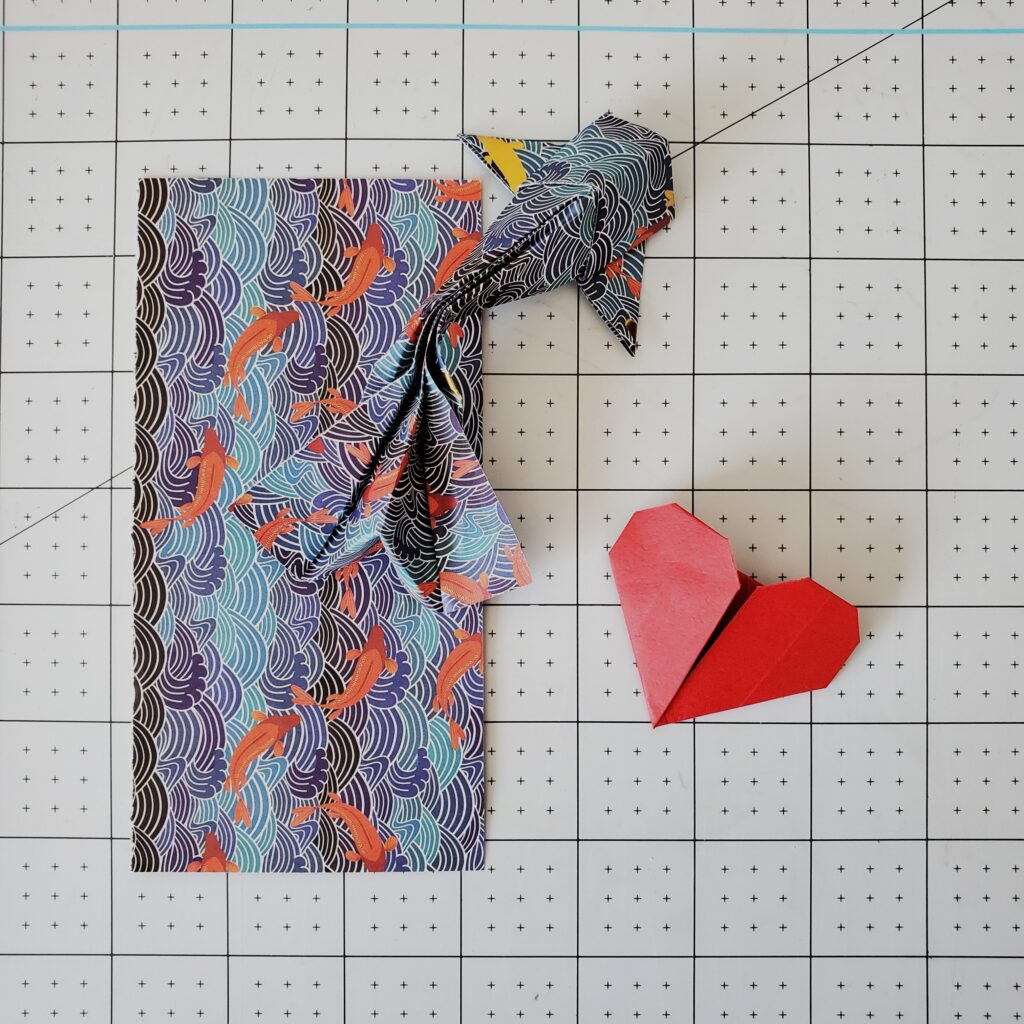
Let me take you on a journey into the creation of one of my best-selling items on Etsy: the Pair of Patterned Origami Koi Fish with a Red Heart, beautifully displayed in a handcrafted wooden shadow box. This 8×10 inch masterpiece has captured the hearts of many, and today, I’ll share with you the story behind its creation, the supplies that make it so special, and the inspiration that drove me to make it.
This Pair of Patterned Origami Koi Fish with a Red Heart was my very first listing on Etsy, and to my delight, it was also my first sale—talk about beginner’s luck! 🍀 Seeing someone appreciate my creation enough to purchase it was incredibly rewarding and solidified my passion for crafting these unique shadowboxes.
Couples often exchange simple paper gifts to celebrate their first year of marriage. Paper symbolizes the delicacy of a new relationship and the knowledge gained in the first year. This item has become a popular choice for a 1st wedding anniversary gift, making it a meaningful and cherished keepsake.
The koi fish are crafted from delicate Japanese washi paper with beautiful gold accents, bringing them to life. The heart is made from high-quality origami tant paper, known for its rich texture and vibrant color. Koi fish hold deep cultural significance in Japanese culture, symbolizing perseverance, strength, and good fortune. Their beauty and symbolism inspired me to create this piece.
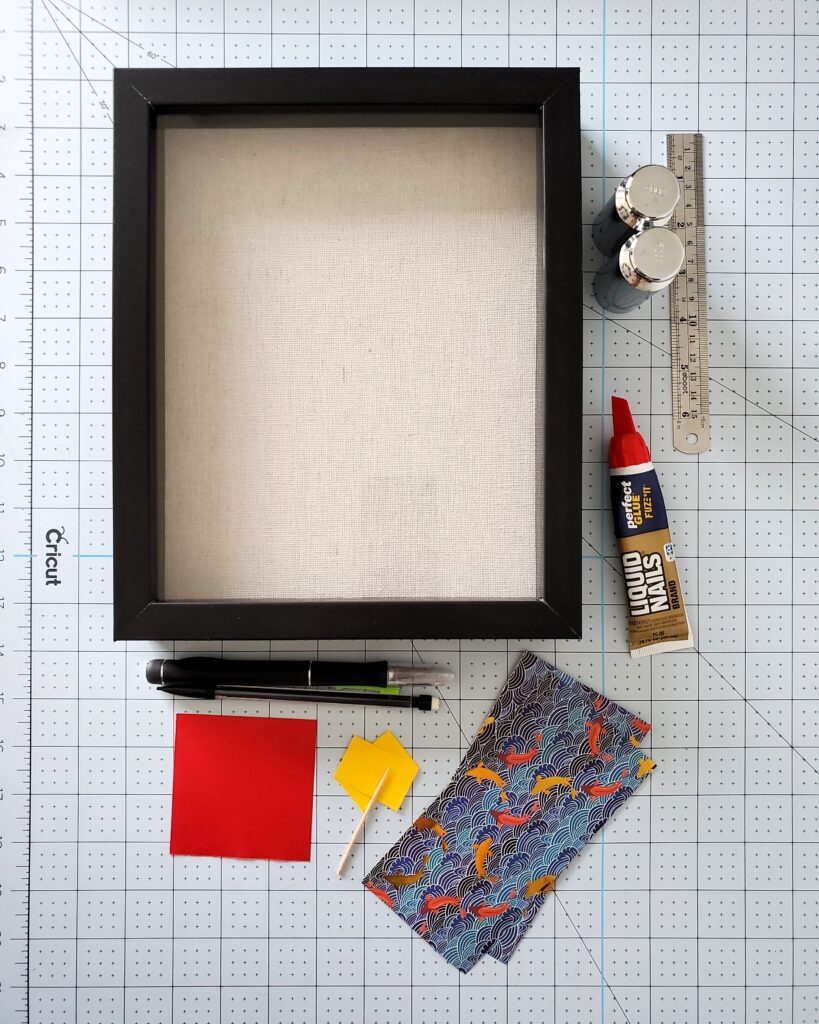
My crafting tools are essential. Liquid Nails glue ensures the pieces stay securely in place. I use toothpicks for precise glue application and sticky notes to protect the paper from the weights I use—individual calibration weights perfect for holding down the paper without damage. My ergonomic X-acto knife makes precise cuts, and my self-healing Cricut crafting mat ensures clean, accurate cuts.
Step-by-Step Instructions:
The first step is to create your origami koi fish and heart. Follow these simple and calming tutorials to get started: here and here!
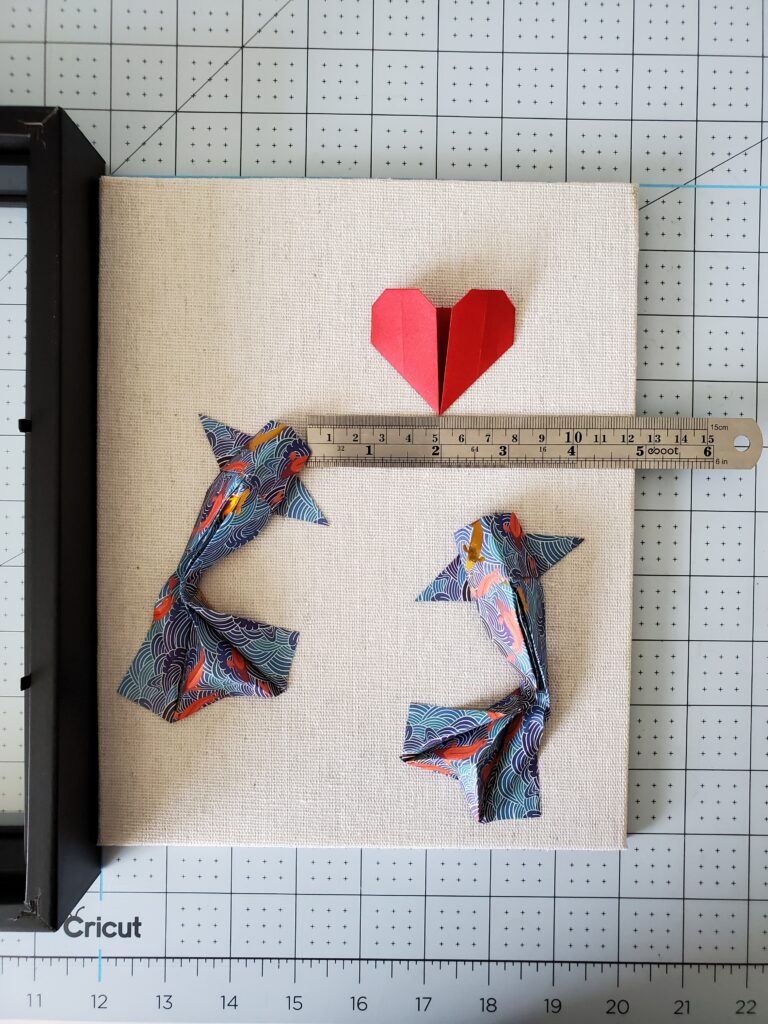
Open the shadowbox and remove the backboard. With the backboard, position the heart in the top right corner and place the koi fish next to it, as shown in the picture. I typically guesstimate their placements. 😅
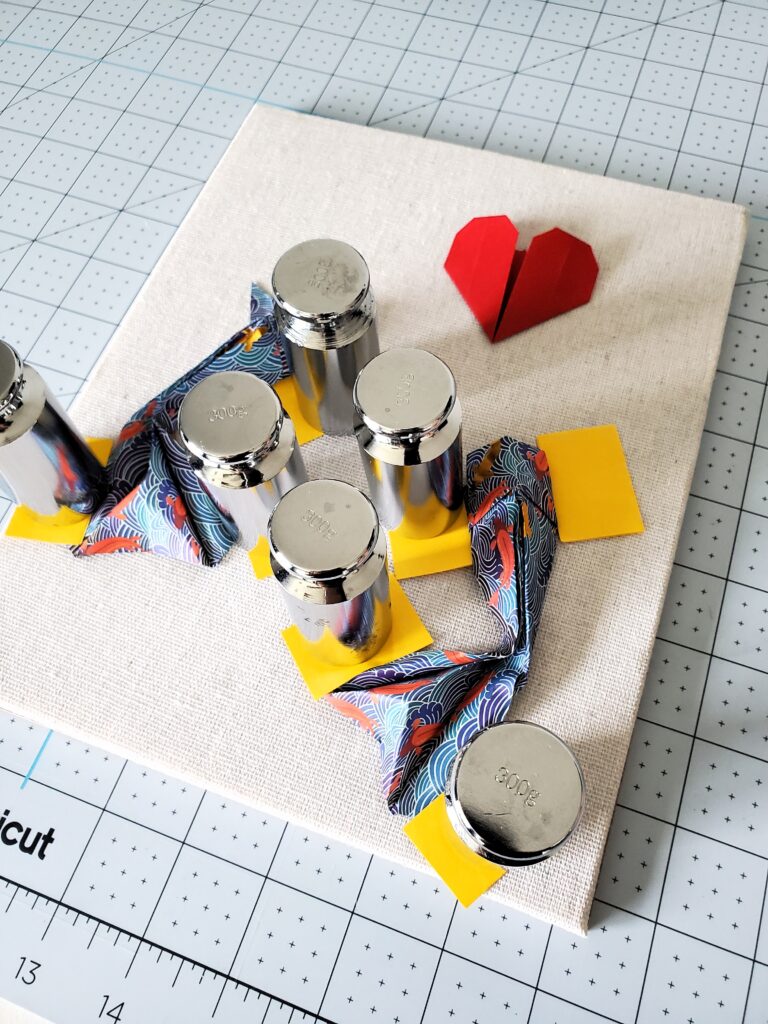
Using a toothpick, apply a small dab of Liquid Nails glue under the heart. Cover the heart with a sticky note and place a weight on top to hold it in place while it dries. Repeat this process for the koi fish: apply glue under the fins and tail, cover with sticky notes, and place weights on top. Allow the glue to dry completely. I typically wait 1 hour minimum.
Once the glue is dry, reattach the backboard to the shadowbox frame and secure it.
Ta-da! You’ve crafted your very own koi fish shadowbox! 🎉🌟 Please be sure to share your creations with me at @orikim_creations on Instagram! I can’t wait to see all the beautiful koi shadowboxes you make. 🎏
Creating this shadowbox is a labor of love. Each element is chosen and assembled to resonate with people. The koi fish and heart symbolize love, perseverance, and nature’s balance. I hope this behind-the-scenes look gives you a deeper appreciation for the art and craftsmanship in each of my shadowboxes. If you’d like to bring this magic into your home, you can find the Pair of Patterned Origami Koi Fish with a Red Heart in my Etsy shop. Happy crafting! 😊
A few years ago, I created a fun laid-back video for a collab on making an origami butterfly bookmark and decided to share it with everyone. Combining soothing sounds with easy-to-follow instructions, this tutorial is perfect for a relaxing and creative activity. Whether you’re a beginner or a craft enthusiast, you’ll enjoy transforming a simple piece of paper into a cute bookmark.
What You’ll Need:
6 x 3-inch origami paper
I cut a 6 x 6-inch sheet of Tant paper in half to get the perfect size. Its high-quality texture enhances the beauty and durability of your butterfly creations, making them perfect for use as bookmarks. Feel free to experiment with different paper types and sizes to personalize your designs and unleash your creativity!
In the video, you’ll also see the “Game of Thrones” book, which adds a fun twist to our crafting session. I highly recommend this gripping read, which you can find here. 🐉Imagine delving into the intricate world of Westeros while marking your favorite chapters with a beautiful origami butterfly.
Watch the tutorial and join the fun here. Happy crafting! 🦋