Kitty Cat crochet plushie with a cute bow tie collar 😺
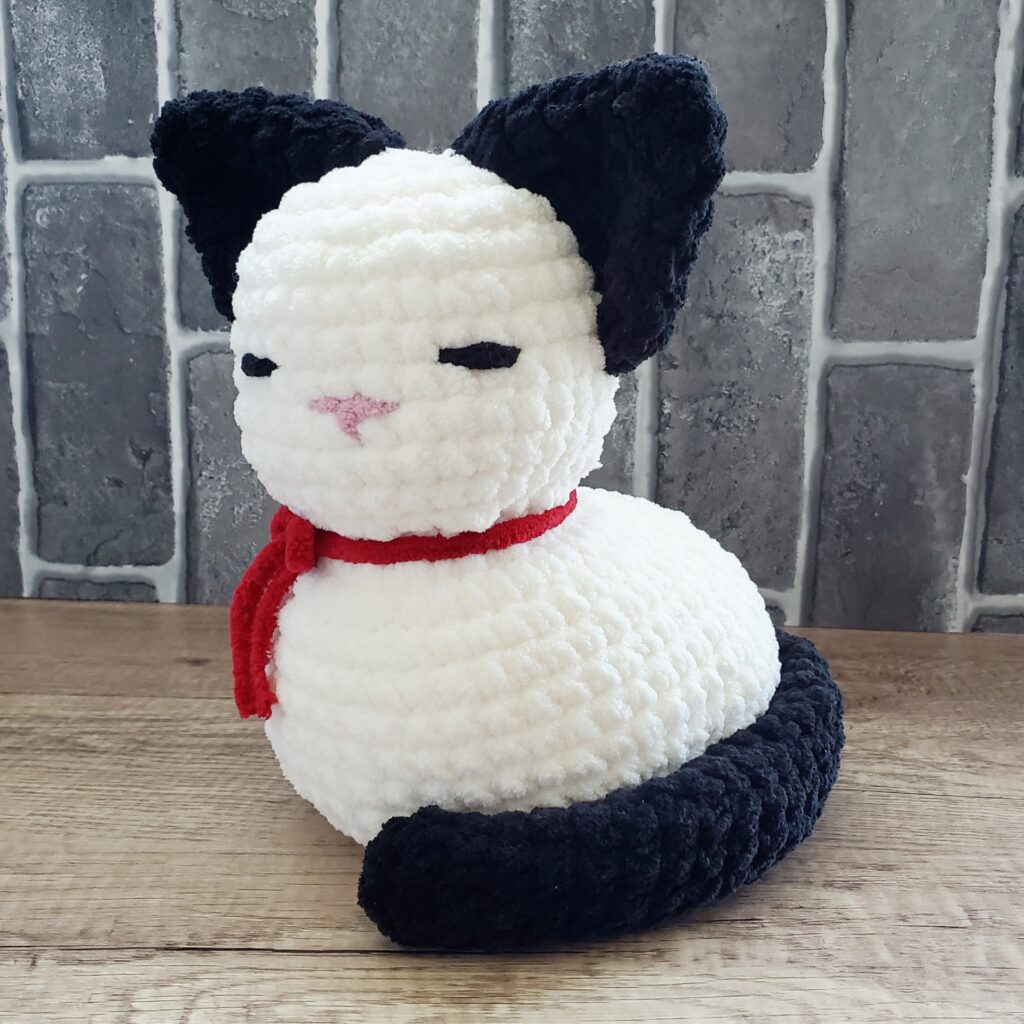
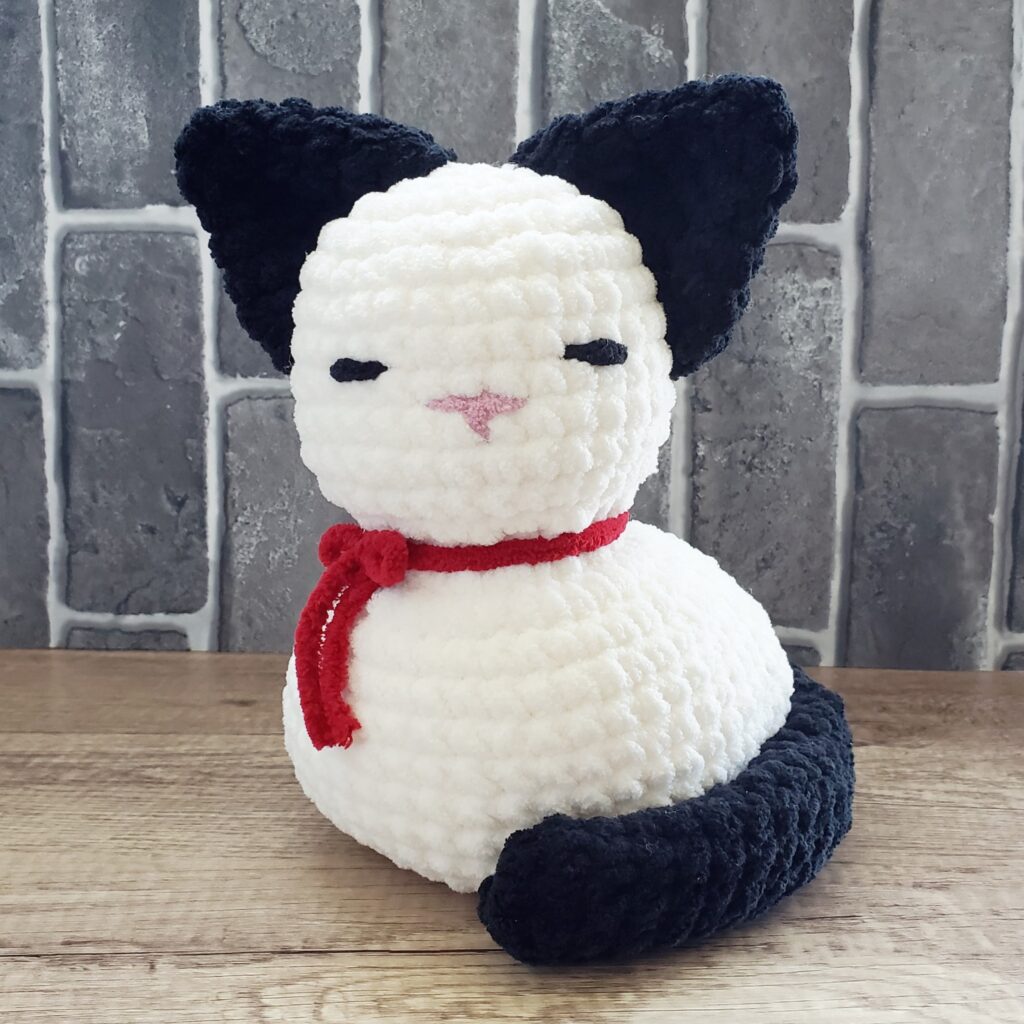
There’s a new cat on the block—and it’s curled up, cozy, and ready to steal your heart. Meet my latest handmade creation: the Kitty Cat crochet plushie! With its soft texture, serene embroidered expression, and bold red bow tie collar, this little kitty is the perfect snuggle buddy for the season.
Meet the Chillest Cat Around 🐱
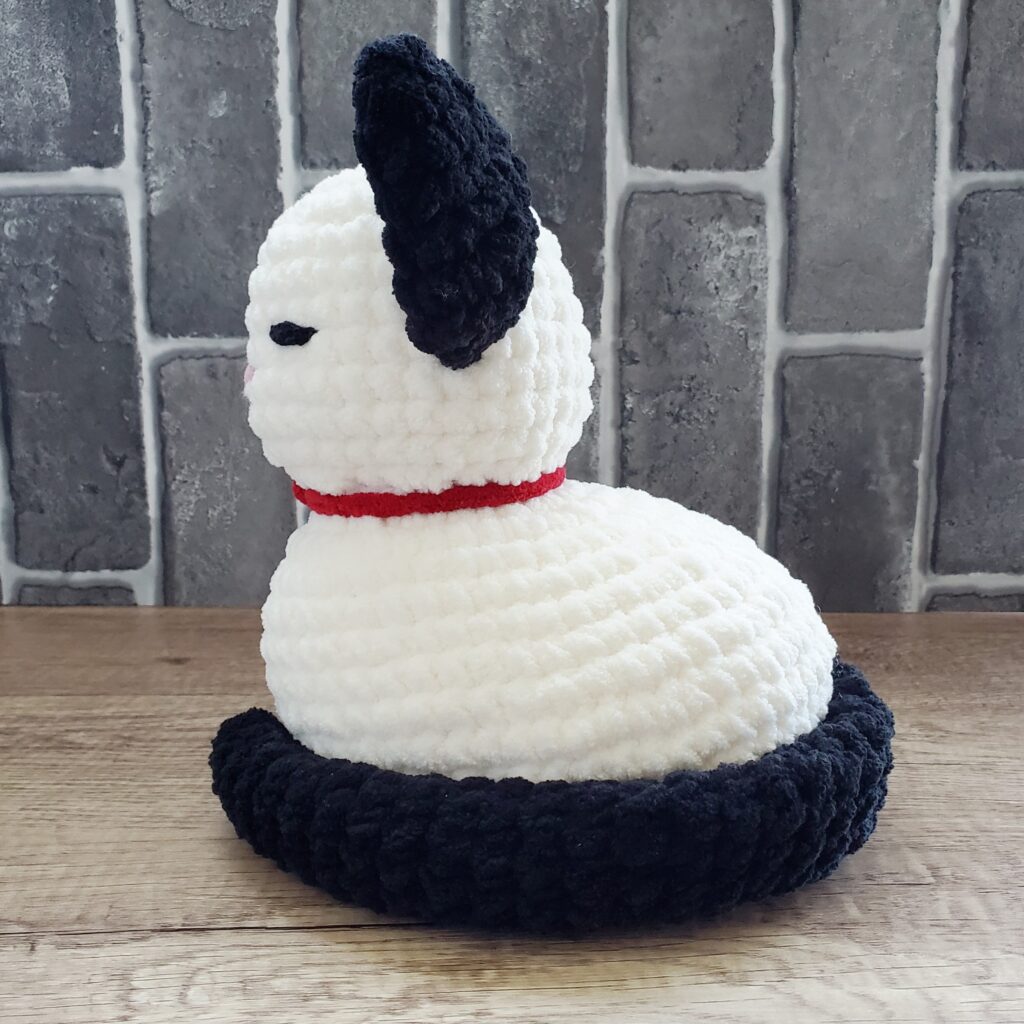
Crocheted with Bernat Blanket Super Bulky yarn (#6) and an 8mm hook, this plushie is as squishy as it is stylish. The off white-colored body is accented with coal black details on the ears and curled tail, giving it a classic cat look. And that red bow tie collar? A pop of cozy flair that ties it all together.
Instead of plastic eyes, this kitty features hand-embroidered sleepy eyes and a pink little nose — bringing out a peaceful, almost meditative vibe. It’s the kind of plushie that makes you want to curl up with a blanket, a book, and a hot drink.
Materials
Here’s everything I used to create these sweet bees:
Yarn: Bernat Blanket Super Bulky yarn (#6) in Vintage White for the body, Coal Black for the ears and tail, Lotus Pink for the nose, Crimson Red for the bow tie collar
Pattern Credit: This plushie was made using the free “Hi there, Kitty” pattern by @cutestuffbylumy on Instagram
Handmade, Cozy, and Full of Character
Each kitty is handmade with love, so no two are exactly alike. Whether you’re a cat lover, a plushie collector, or just in need of a little comfort, this sleepy friend is here to add a calm, cuddly vibe to your space.
They’re now available in my Etsy shop found here—ready to curl up in their forever home. Don’t wait too long… this kitty’s already found a cozy spot and might just nap there forever. 🐾💤
Do you love all things cute and cozy? Then you’re going to adore our latest origami project—a sleeping cat! This little feline creation is not only fun to make but also super relaxing, perfect for winding down with a cup of tea and a cozy blanket. Whether you’re a paper-folding pro or just getting started, this project is for you!
For a complete, step-by-step guide, be sure to check out our YouTube tutorial here! In the video, I’ll walk you through each fold and crease to help you create the perfect paper cat. 🐱✨
Why Make an Origami Sleeping Cat? Origami is such a peaceful and creative way to spend your time. Folding paper into something as cute as a sleeping cat can be surprisingly calming and satisfying. Plus, it’s a great way to practice mindfulness and focus. Whether you’re making it as a decoration or a gift, this little cat is sure to bring joy to anyone who sees it! 🧘♀️
What You’ll Need:
A square sheet of origami paper (any color you love). I recommend using tant paper for a little extra sturdiness and texture.
A touch of patience and creativity ✨
I hope this blog post has inspired you to create your very own origami sleeping cat! With a bit of practice, you’ll have a cute new friend to display on your desk or give to a fellow cat lover. 😺
Fold a Cute Origami Cat Face with Our New YouTube Tutorial!
Are you ready for a fun origami adventure? Our new YouTube tutorial shows you how to make an adorable cat face that’s super easy and quick to fold!
What You’ll Need:
Square origami paper. I prefer to use tant paper for its high-quality texture and sturdiness. If you prefer a patterned paper, check out this pack here!
A flat surface
A bit of creativity
In just a few steps, you’ll have a charming paper cat face ready to brighten your day. Perfect for beginners and great for all ages, this project is a fun way to unleash your creativity.
Why You’ll Love It:
Easy to Follow: Our tutorial makes it simple to fold along, even if you’re new to origami.
Fun for Everyone: Whether you’re crafting with kids or on your own, this project is a delightful way to spend some time.
Personalize Your Cat: Customize with different colors and expressions to make your cat face unique!
Check out the tutorial here and create your own origami cat face!
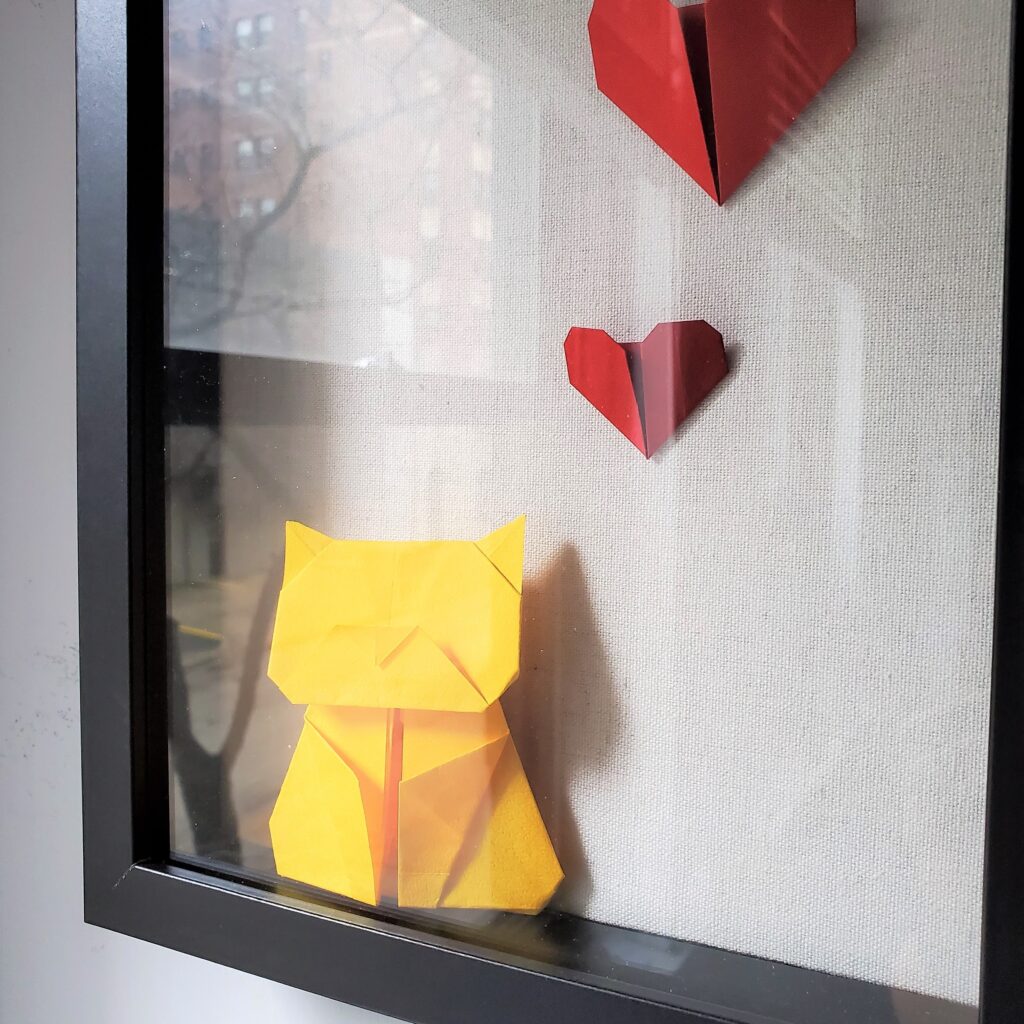
Origami Cat with Red Hearts – Handcrafted Wooden Shadow Box (8×10 inches) 😺
If you’re a cat lover and a DIY enthusiast, making your own cat shadowbox can be a heartwarming project that celebrates your furry companions! Shadowboxes are a beautiful way to capture the essence of your beloved pet and create a personalized keepsake that tells their story. 😻These shadowboxes are not just pieces of art; they are a way to honor and remember our feline friends. Many people choose to create or purchase these shadowboxes in memory of their furry companions, capturing their unique personalities and special moments shared together.
Creating your own cat shadowbox allows you to infuse it with personal touches and memories. It’s a perfect project for those who want to embrace their love for cats and channel it into something creative. Whether you want to display a cherished photo, include a small toy or collar, or add some decorative elements that remind you of your cat, the possibilities are endless. Keep scrolling for step-by-step instructions on how to create your own! ⬇️
Not a DIY Enthusiast?
If you’d rather have a professionally made cat shadowbox, I offer custom-made options in my Etsy shop. These shadowboxes are crafted with care and attention to detail, making them a perfect tribute to your beloved pet. You can check out my Etsy listing here!
Watch the Magic Happen
Curious about how these shadowboxes come together? Check out this YouTube short where I put together a custom order for a beloved kitty! 😍
Whether you decide to create your own or purchase a ready-made one, a cat shadowbox is a wonderful way to keep your furry companion close to your heart. Embrace your love for cats and let your creativity shine!
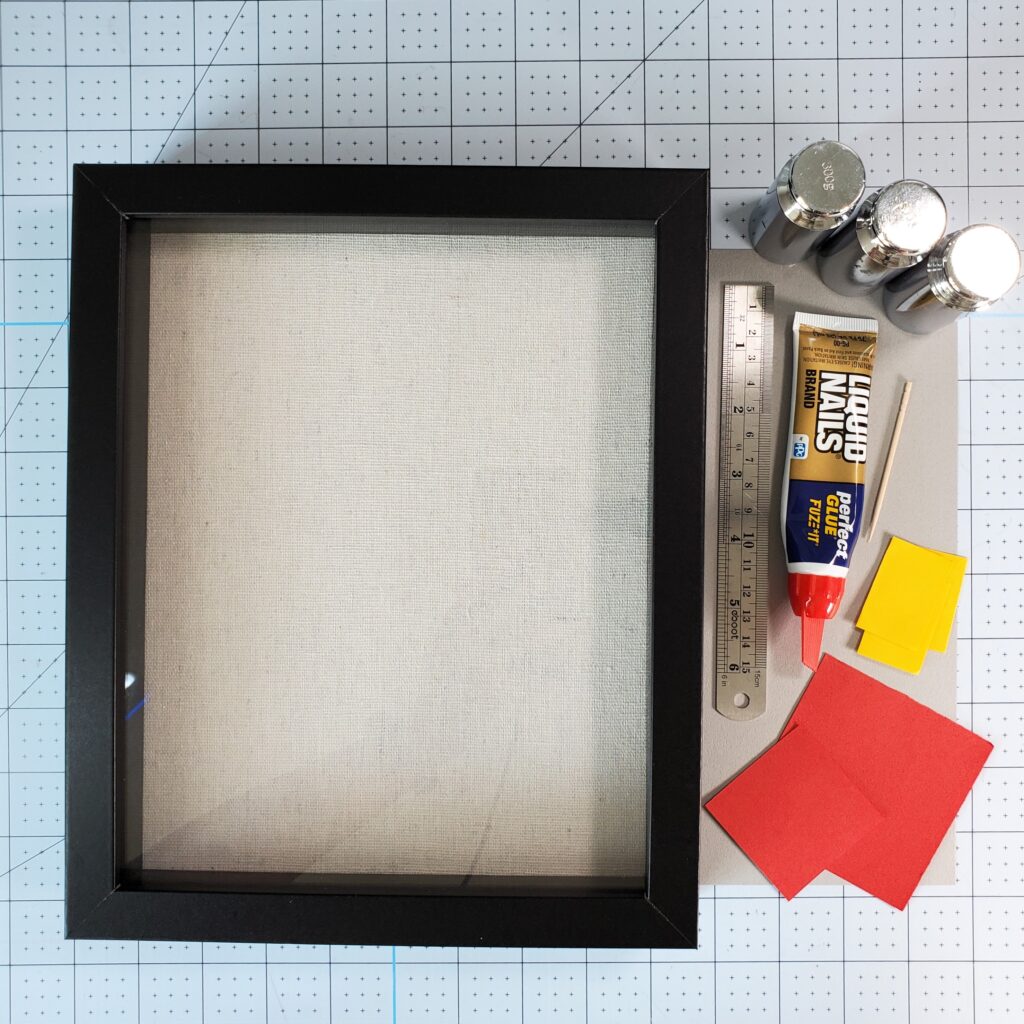
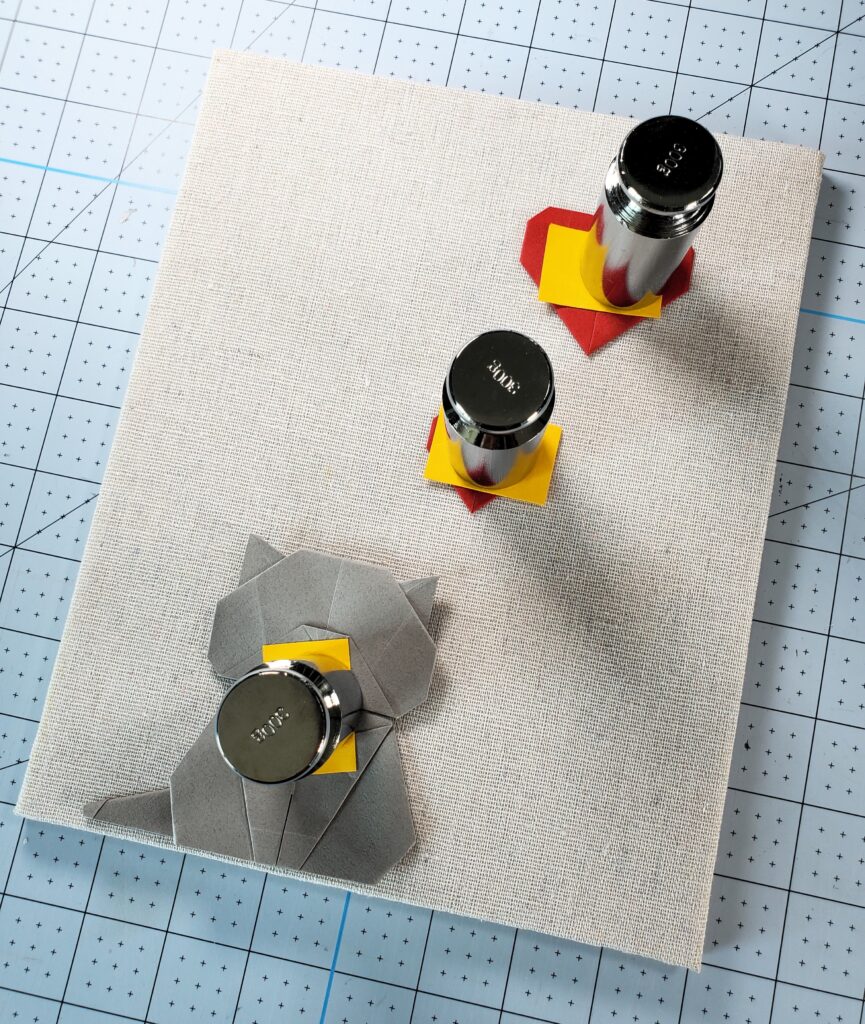
My crafting tools are essential. Liquid Nails glue ensures the pieces stay securely in place. I use toothpicks for precise glue application and sticky notes to protect the paper from the weights I use—individual calibration weights perfect for holding down the paper without damage. My ergonomic X-acto knife makes precise cuts, and my self-healing Cricut crafting mat ensures clean, accurate cuts.
Step-by-Step Instructions:
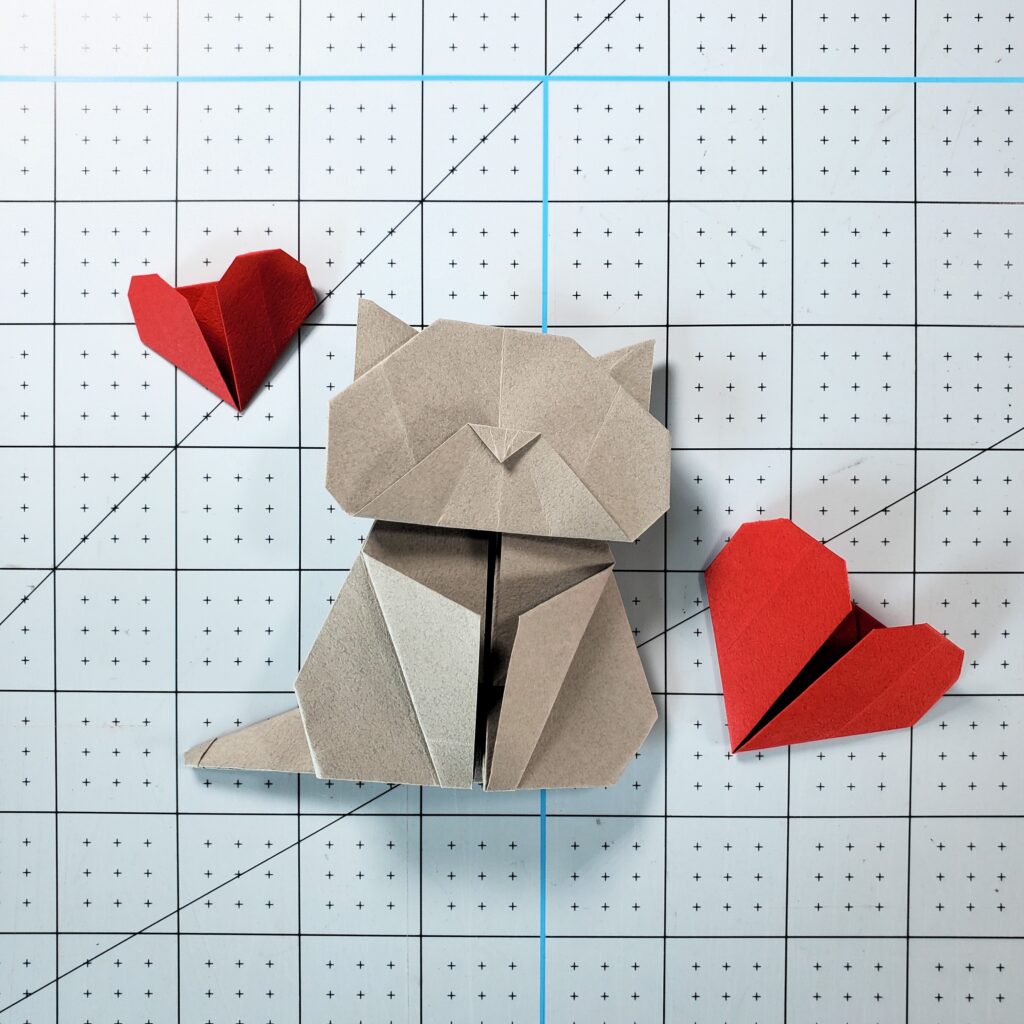
The first step is to create your origami cat and heart. Follow these simple and calming tutorials to get started: here and here!
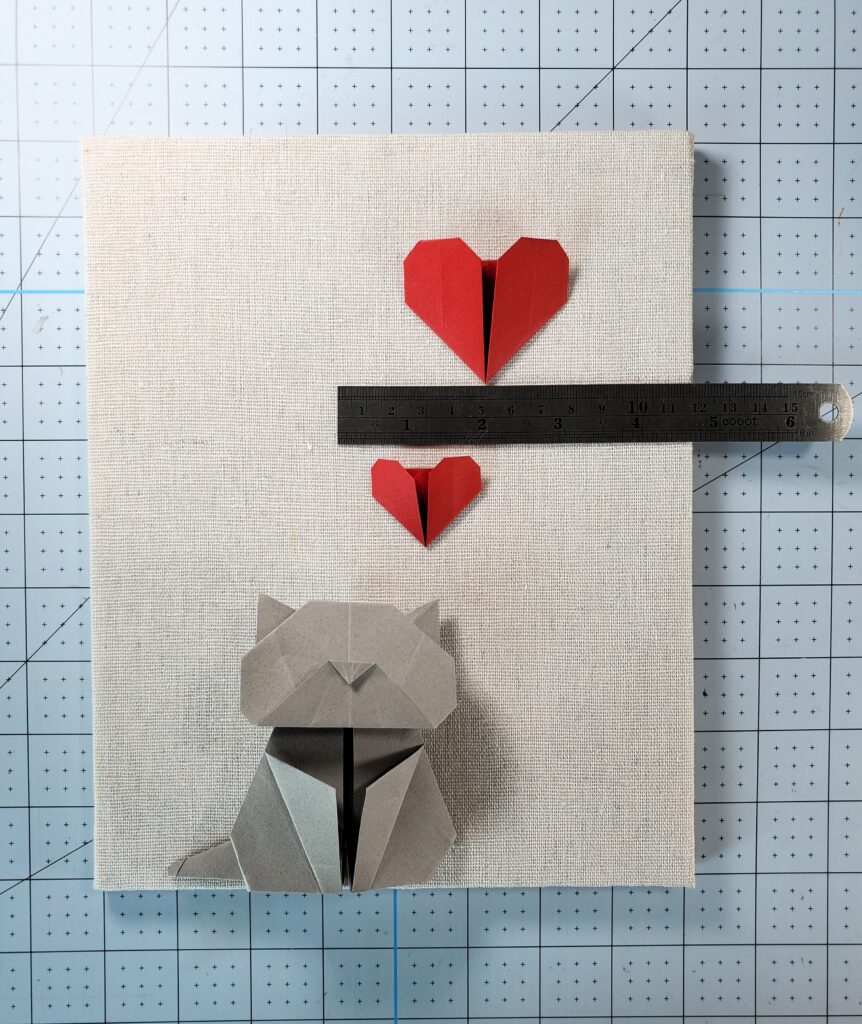
Open the shadowbox and remove the backboard. With the backboard, position the large heart slightly in the top right corner, the small heart just underneath on the left side of the large heart, and place the cat near the bottom left corner, as shown in the nearing and below pictures. I typically guesstimate their placements, but ensuring they are equal in length. 😅
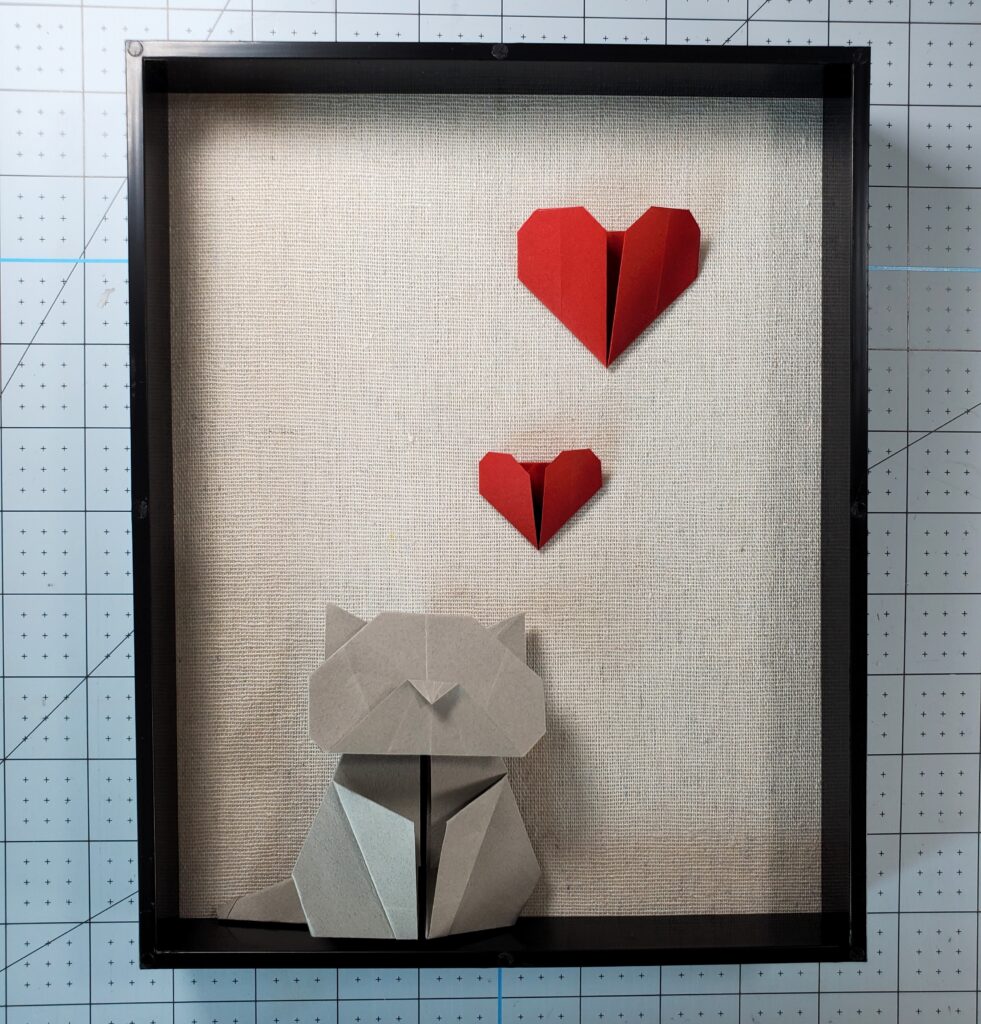
To create the illusion of the cat sitting on a ledge within the shadowbox, position the inner border on top of the backboard as shown in the left picture. Carefully place the cat at the bottom of the inner border, making it appear as if it’s perched on the ledge.
Using a toothpick, apply a small dab of Liquid Nails glue under the hearts. Cover the hearts with a sticky note and place a weight on top to hold it in place while it dries. Repeat this process for the cat: apply glue behind it, cover with sticky notes, and place weights on top. Allow the glue to dry completely. I typically wait 1 hour minimum.
Once the glue is dry, reattach the backboard to the shadowbox frame and secure it.
Ta-da! You’ve crafted your very own cat shadowbox! 🥳🎉 Please be sure to share your creations with me at @orikim_creations on Instagram! I can’t wait to see all the beautiful cat shadowboxes you make. 😺
If you’re a dog lover, check out this blog post on how to create your own dog shadowbox! 🐶