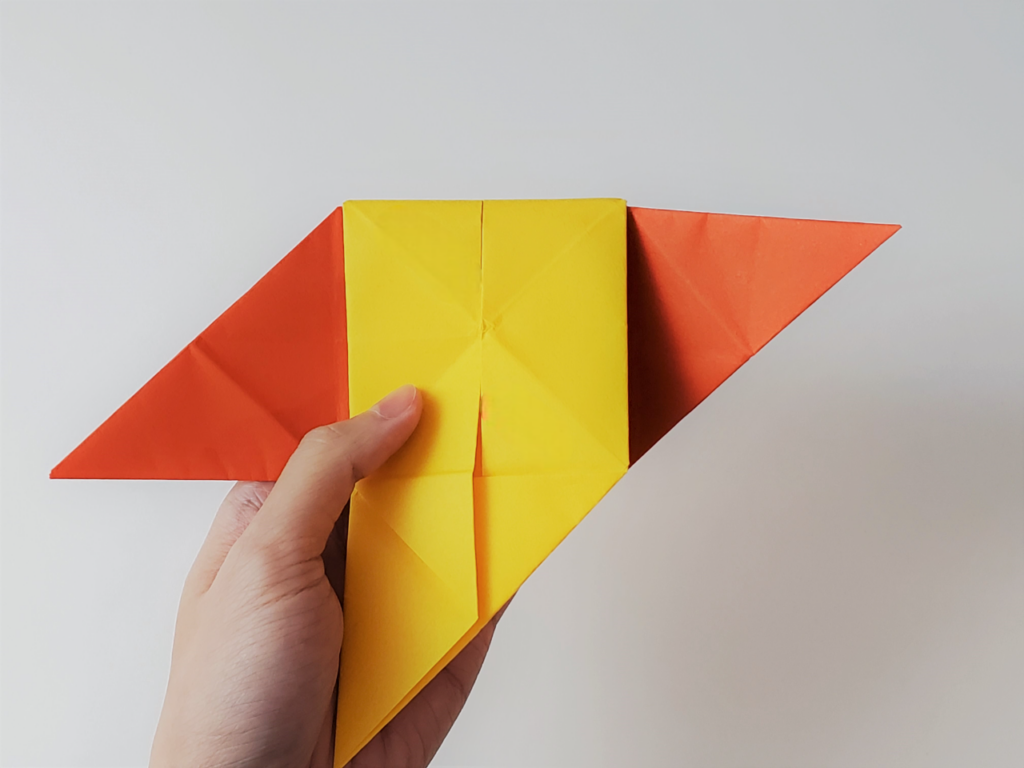
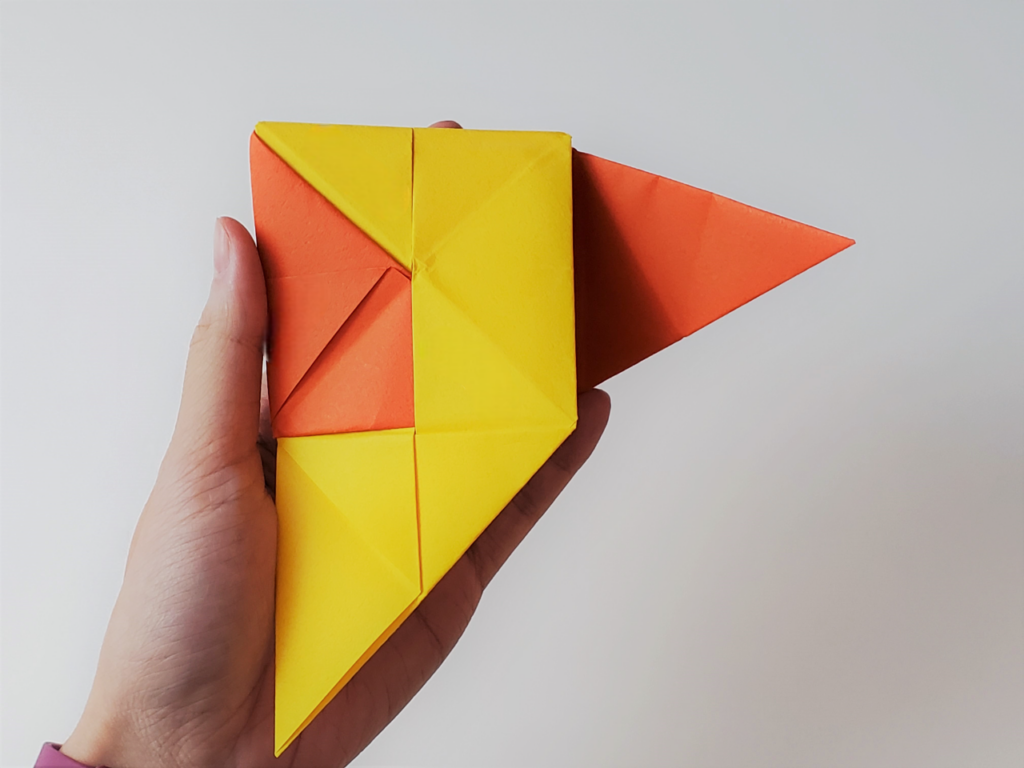
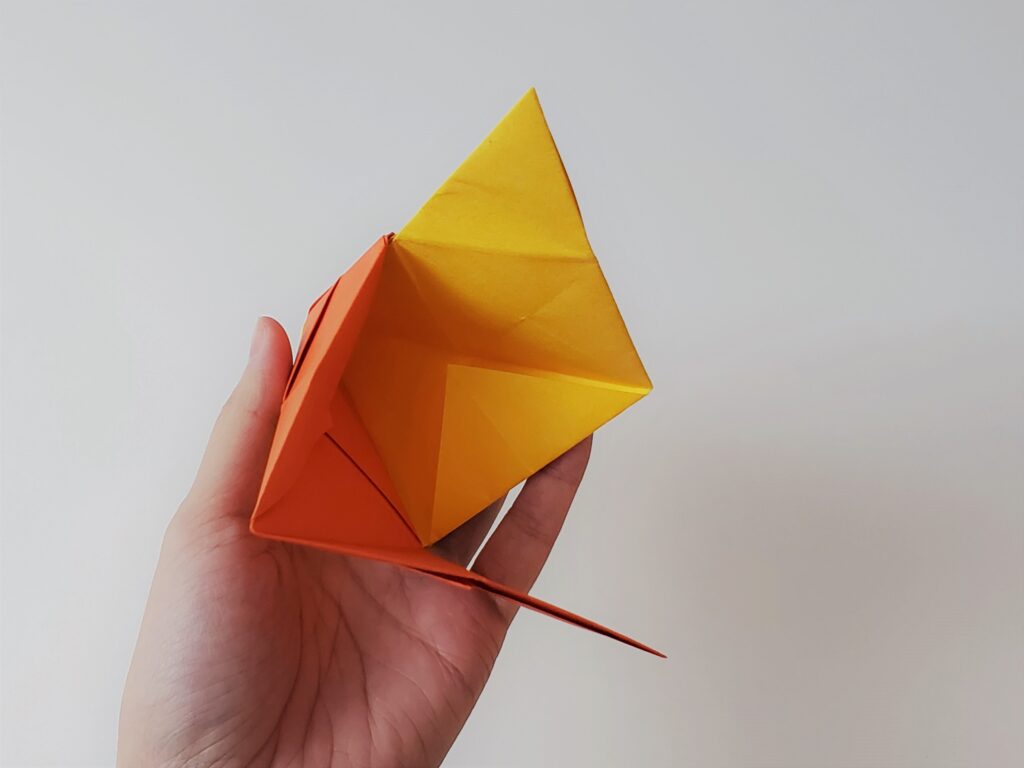
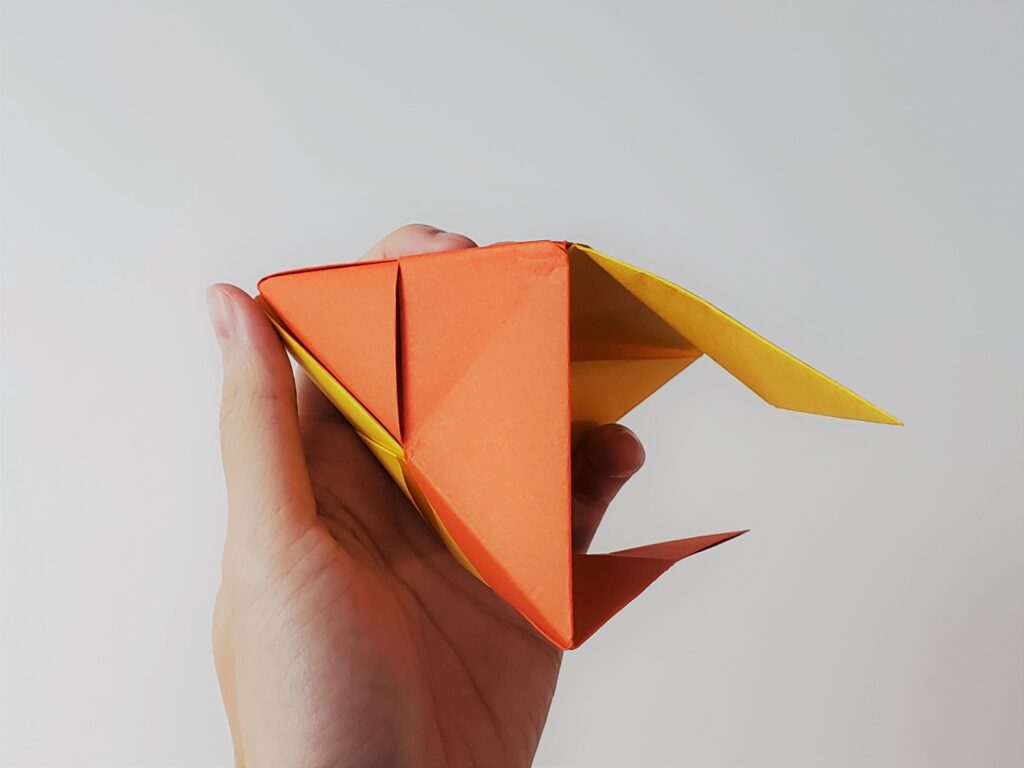
Have you ever wanted to create something that moves on its own, seemingly without end In this blog post, we’ll dive into the world of origami and show you how to make a mesmerizing rotating flexagon! ♾️
A flexagon is a fascinating shape that can be folded in different ways to reveal hidden faces. But a rotating flexagon takes it to a whole new level. Once assembled, it continuously spins around, creating a hypnotic visual effect. 😵
To bring this amazing creation to life, watch this fantastic YouTube tutorial here! The tutorial provides clear instructions and helpful visuals, making it suitable for both origami beginners and experienced folders.
What You’ll Need:
Three pieces of origami paper in any color you like. I prefer using tant origami paper or thin cardstock for added sturdiness.
A little patience and a lot fun vibes!
Benefits Beyond Fun:
Making an origami flexagon isn’t just about the end result. The process itself offers numerous benefits:
Stress Relief: Folding paper can be a calming and meditative activity.
Improved Motor Skills: The precise folds involved help develop fine motor skills, especially in children.
Brain Boost: Figuring out the folding patterns enhances problem-solving and spatial reasoning abilities.
Grab some paper and let’s get started! If you rather have an already-made flexagon check out this Etsy link here! 😊
Midsummer is in full swing, and it’s time to unplug and unleash your creativity! Introducing the origami puzzle ball – a captivating craft that’s as addictive as it is impressive. Whether you’re a seasoned paper folder or just starting your origami journey, this project is guaranteed to keep you and your family entertained for hours. 🌟
Why You’ll Love This Origami Puzzle Ball:
Easy-to-follow tutorial: My step-by-step guide makes it simple for beginners and experts alike.
Endless possibilities: Experiment with different colors, sizes, and paper types to create unique designs.
Addictive gameplay: Pass the puzzle ball around and see who can keep it together the longest!
Brain booster: Folding origami has been shown to improve focus, problem-solving skills, and fine motor skills.
How to Make Your Own Origami Puzzle Ball:
My new YouTube tutorial breaks down the process into easy-to-follow steps. From choosing the right paper to mastering the folding techniques, I’ve got you covered. Once you’ve created your puzzle ball, the fun really begins! Challenge your friends to a game of hot potato, or simply admire your handiwork. 🥔
What You’ll Need:
Six pieces of square origami paper. Look for tant origami paper or thin cardstock for best results.
Patience – Don’t get discouraged if your first attempt isn’t flawless.
Creativity – Add stickers, glitter, or markers to personalize your puzzle ball. 🎨
Ready to dive into this exciting summer craft? Click this link here to watch the tutorial and start creating your very own origami puzzle ball today! You can also grab a puzzle ball made by me here!
Origami isn’t just about folding paper – it’s about turning simple sheets into something extraordinary. Today, let’s dive into the world of modular origami flowers – a fun blend of precision and creativity that’ll add a touch of whimsy to your space.
What You’ll Need:
Six pieces of origami paper or similar
I’ve chosen vibrant Japanese kami paper with charming star patterns for this project. It’s durable and adds a pop of color that’ll make your creations stand out wherever you place them. You can get your hands on these exquisite papers here, offering a range of colors to match your personal style. 🧩
Patience and creativity!
Why choose modular origami flowers? 🌸 They’re incredibly versatile—perfect for any occasion and easily customizable to match your home’s unique style. These handcrafted flowers make thoughtful gifts for loved ones, adding a personal touch that mass-produced décor simply can’t offer. Each piece carries the warmth and charm of handmade artistry, making them ideal for celebrating special moments or enhancing everyday spaces.
Handmade options are available in my Etsy shop here, meticulously crafted for quality and beauty. Whether you’re decorating your own space or searching for a heartfelt gift, these flowers are a perfect choice. If you’re filled with creative energy or seeking a peaceful craft to relax with, modular origami flowers offer the perfect outlet!
Don’t forget to hop over to my YouTube tutorialhereand start your origami adventure today. Happy folding! 😊
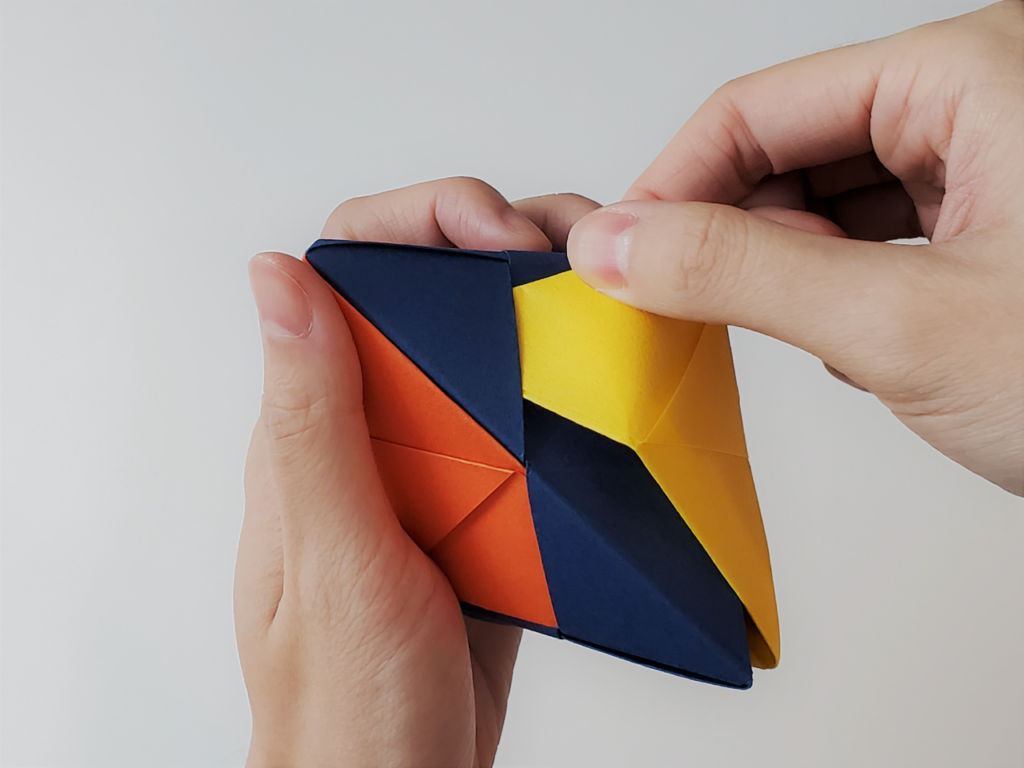
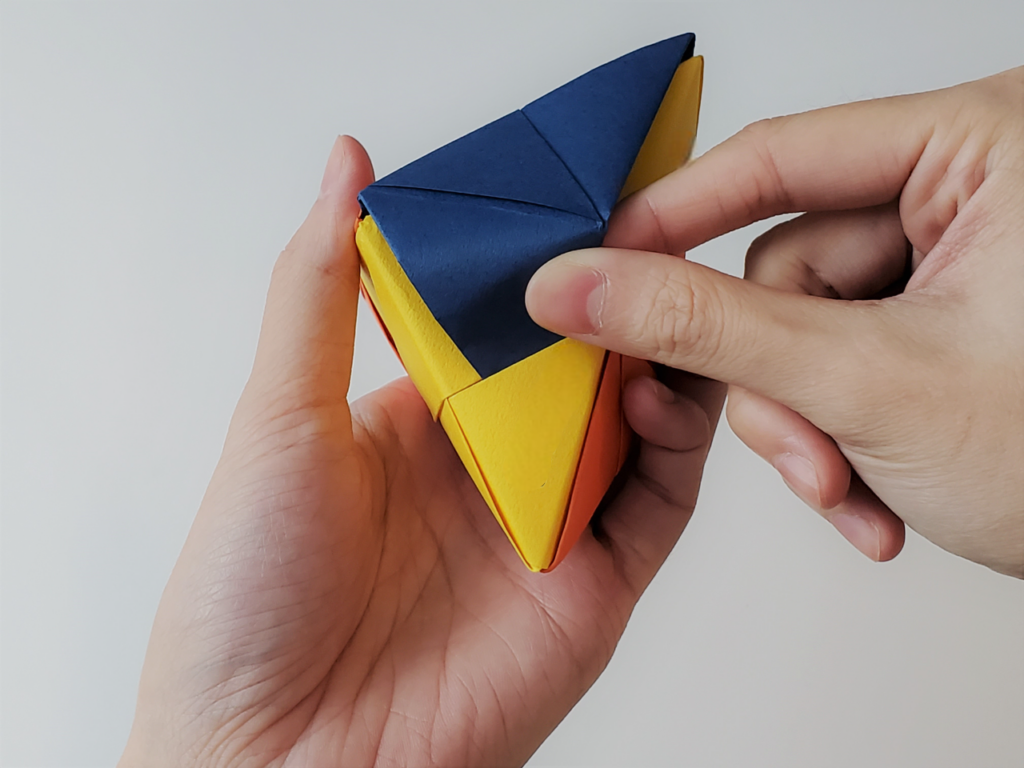
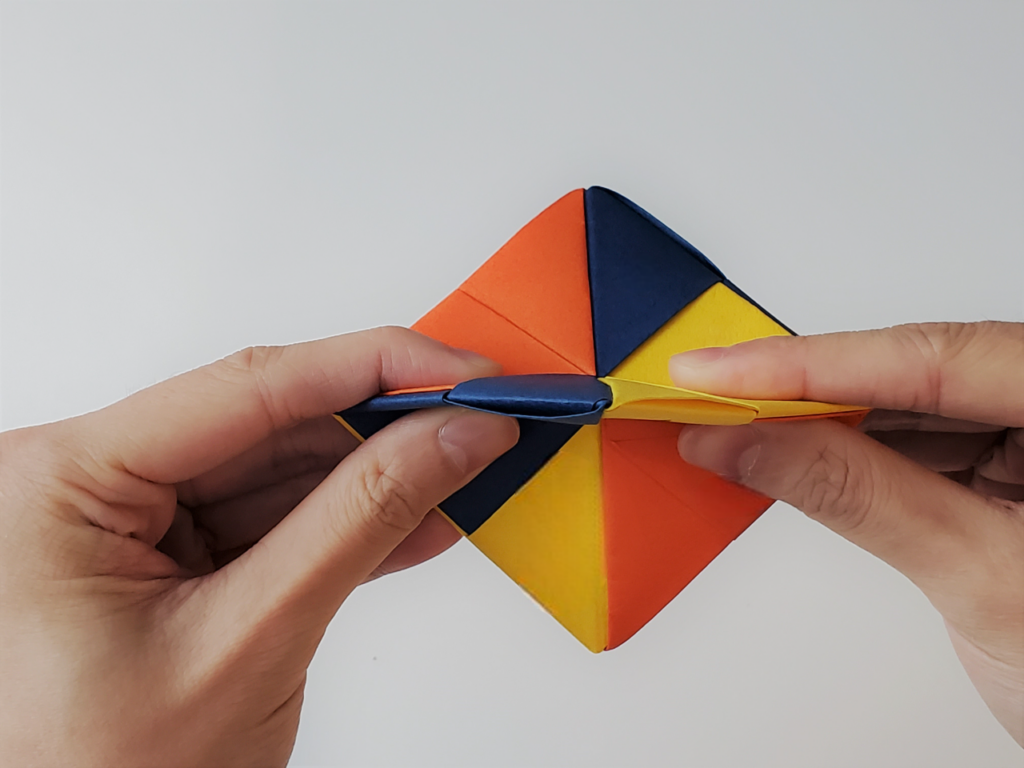
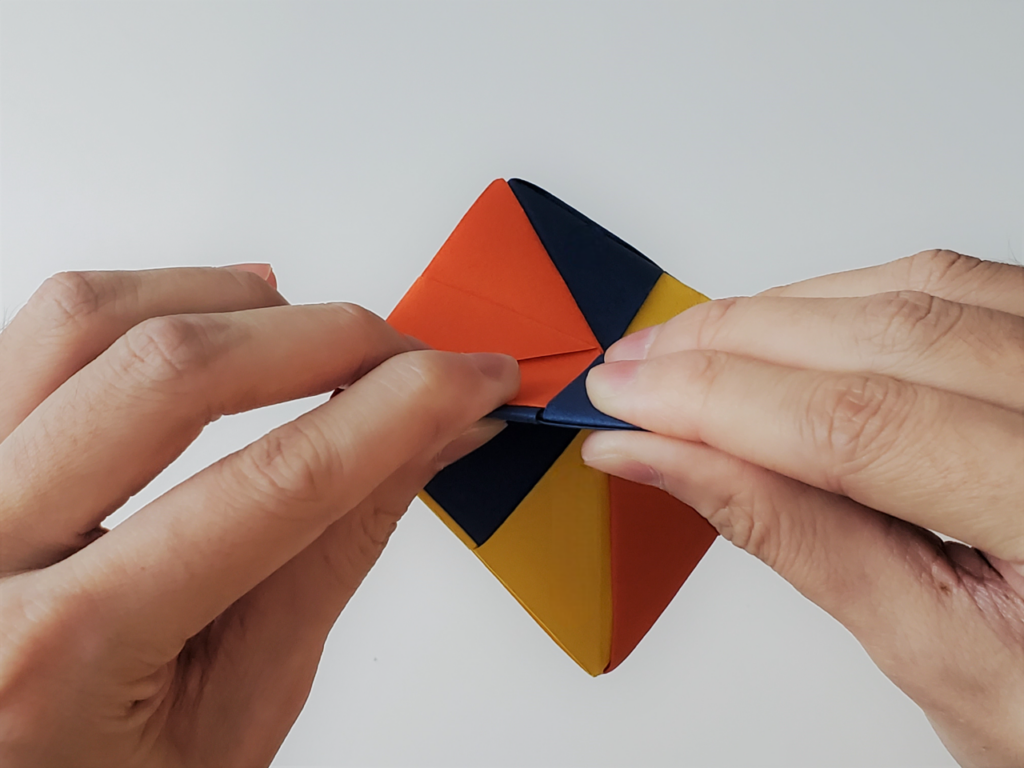
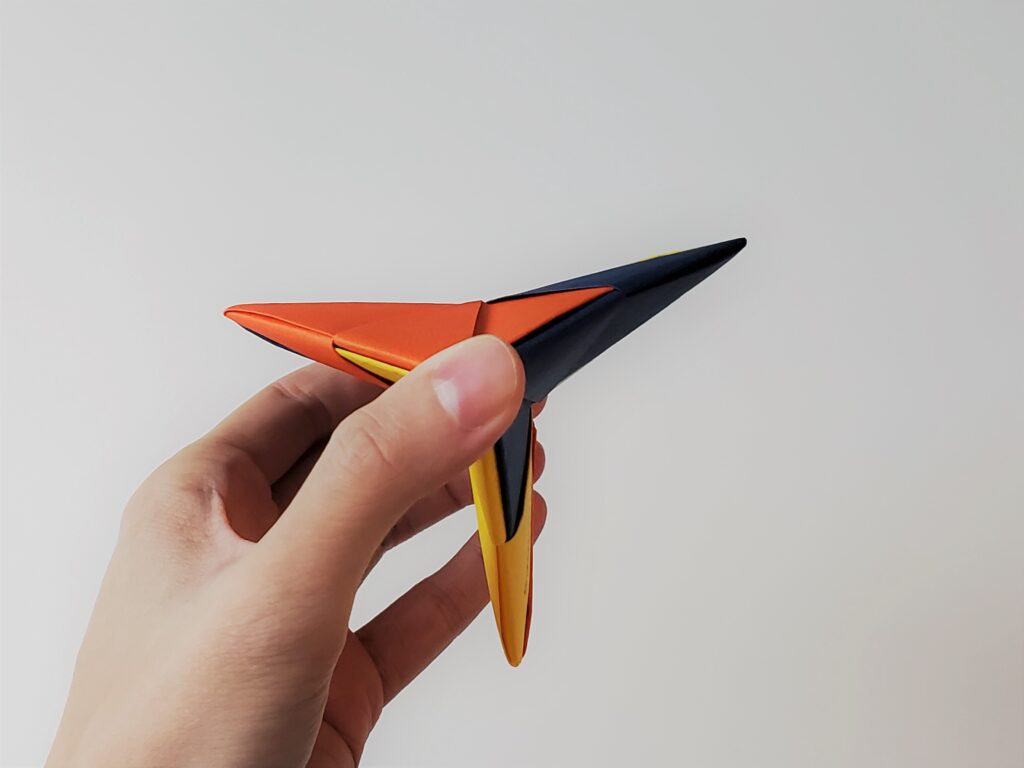
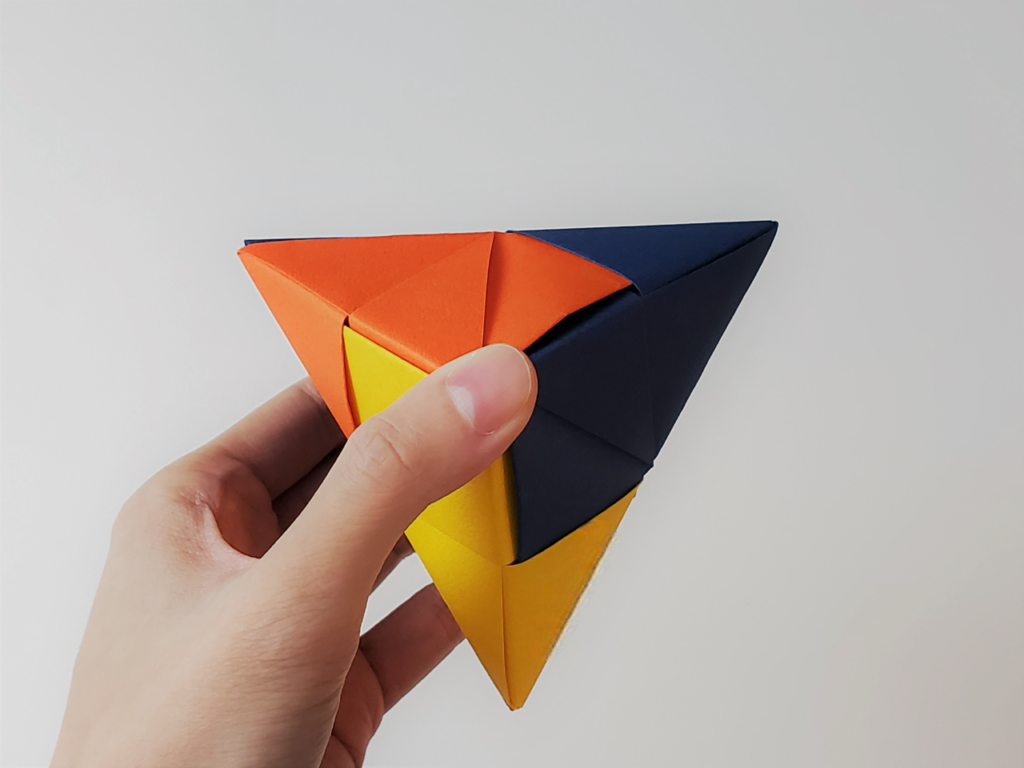
Get ready for some hands-on fun! Check out our latest YouTube tutorial here and dive into the excitement of creating your very own origami pop-it fidget spinner!
✨ What makes this spinner special? It’s made from three separate pieces of origami paper, creating an interactive toy that lets you pop and flick away to your heart’s content. Not only is it a super fun craft project ✂️, but it’s also a stress reliever for all ages—perfect for kids, teens, and adults alike!
💼 Fun Fact: I fulfilled a special request from an IT Cloud consulting and services firm for their logo and colors to be incorporated into this fidget spinner for a tradeshow. They absolutely loved it! Crafting kits for their guests to take home and create their own spinners was an exciting experience.
🎆 Celebrate July 4th with a bang! With Independence Day just around the corner, this DIY project is the ultimate way to celebrate. Imagine sitting outside, enjoying the summer sun, and making these vibrant spinners. Whether you’re at a picnic, a family barbecue, or just hanging out in the backyard, this craft is perfect for adding a touch of fun and creativity to your festivities. Use red, white, and blue paper for a patriotic touch, or mix it up with your favorite colors! 🌟 This is one of those easy 4th of July crafts for kids and everyone will enjoy!
🎨 Feeling adventurous? Scroll down for the written step-by-step instructions and get crafting!
🛍️ Not into DIY? No problem! Check out this Etsy listing for a ready-made option.
📝 Want to use the same paper I did? Link to the origami paper used here!
What you’ll need:
3 sheets of 6 in x 6 in origami paper (in this case, I used orange, yellow, and blue)
Folding the Units Instructions:
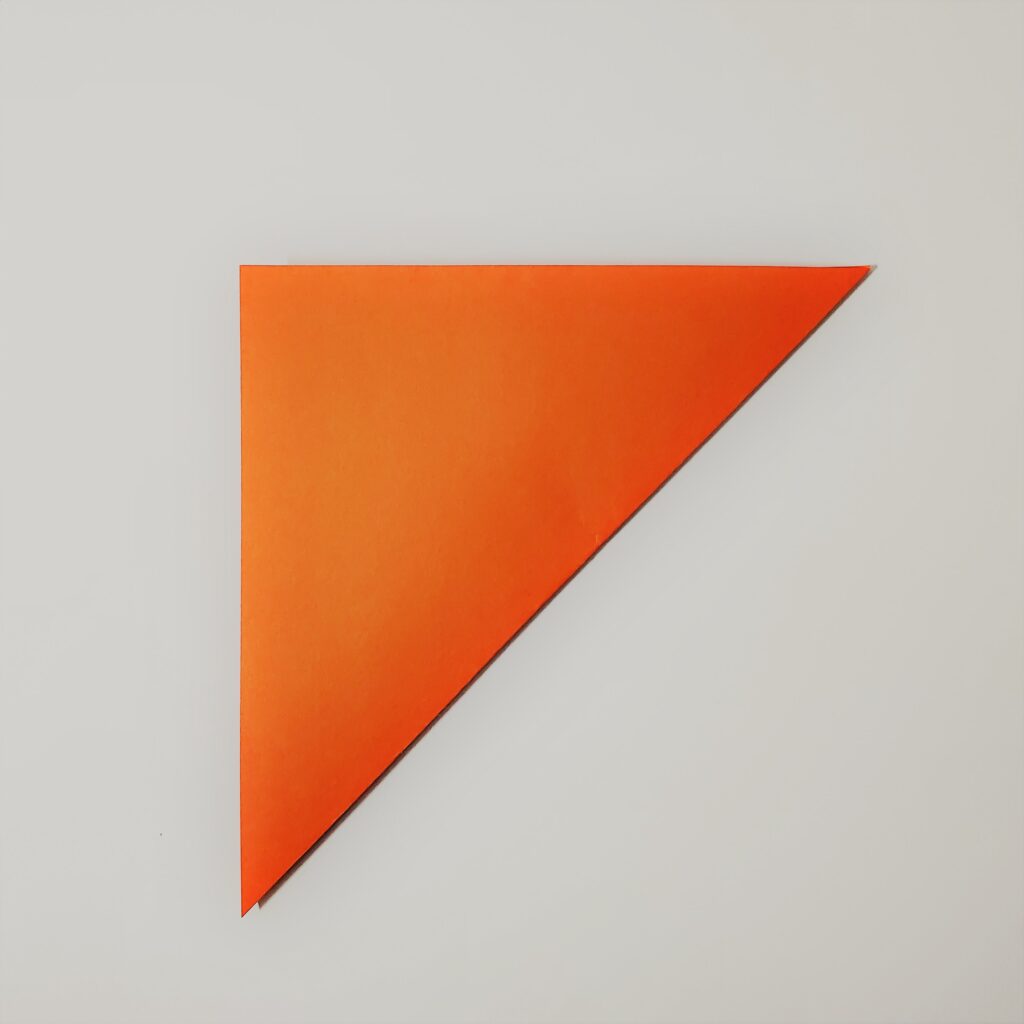
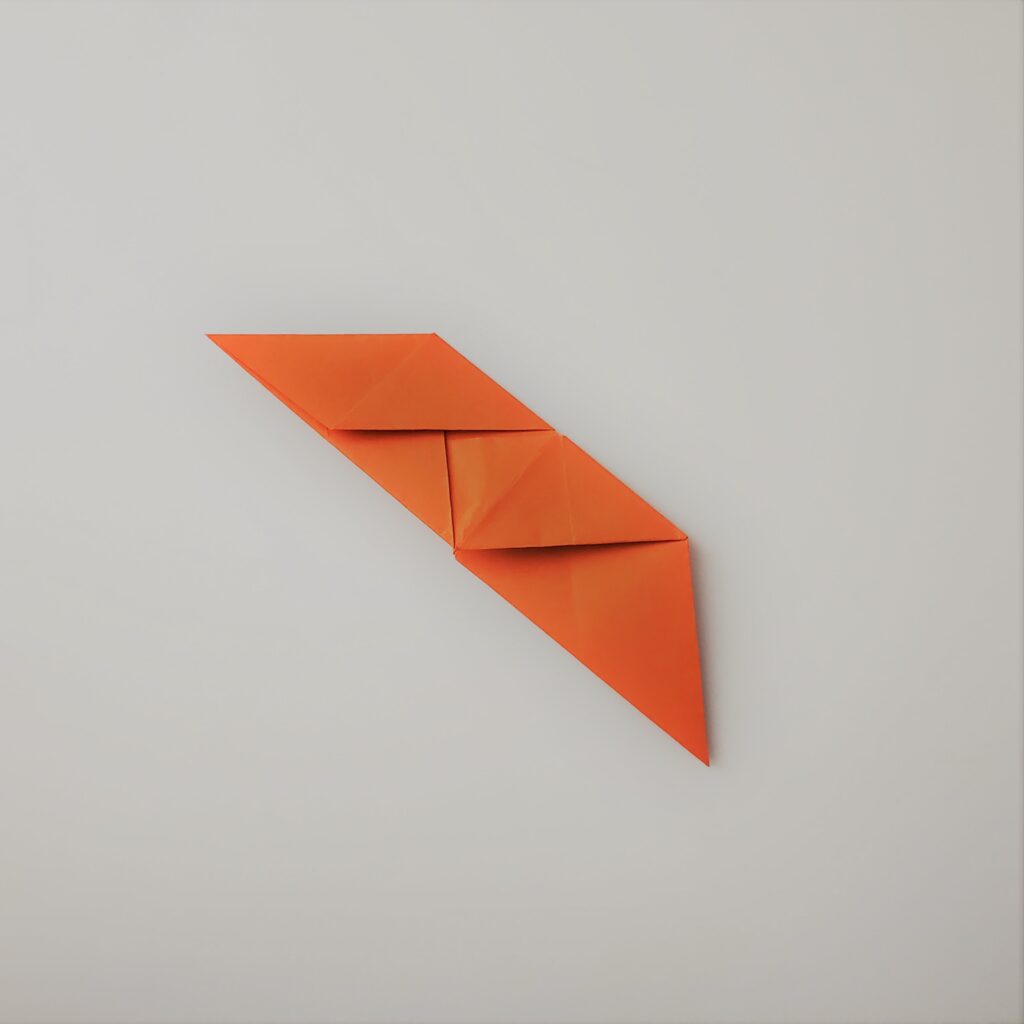
Take one piece of colored origami paper, and fold it diagonally.
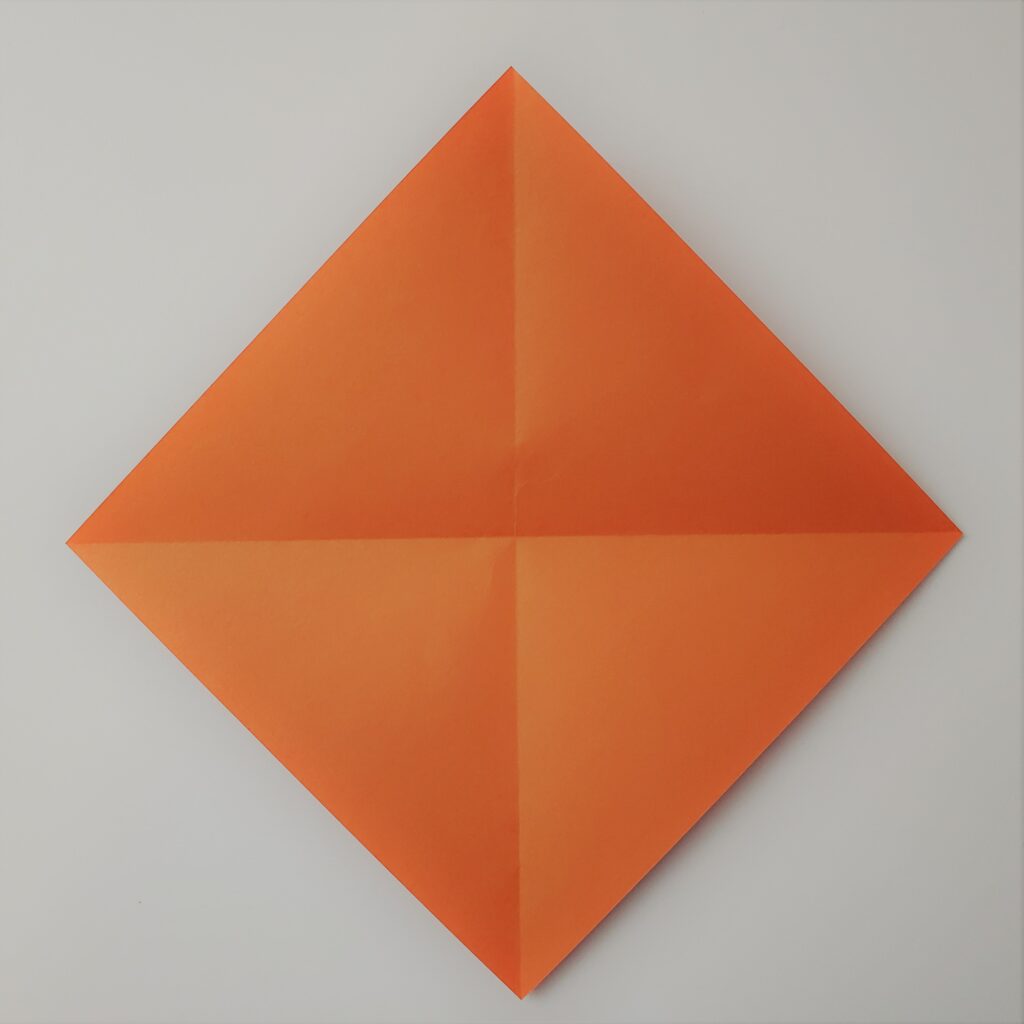
Rotate the origami paper and fold it diagonally.
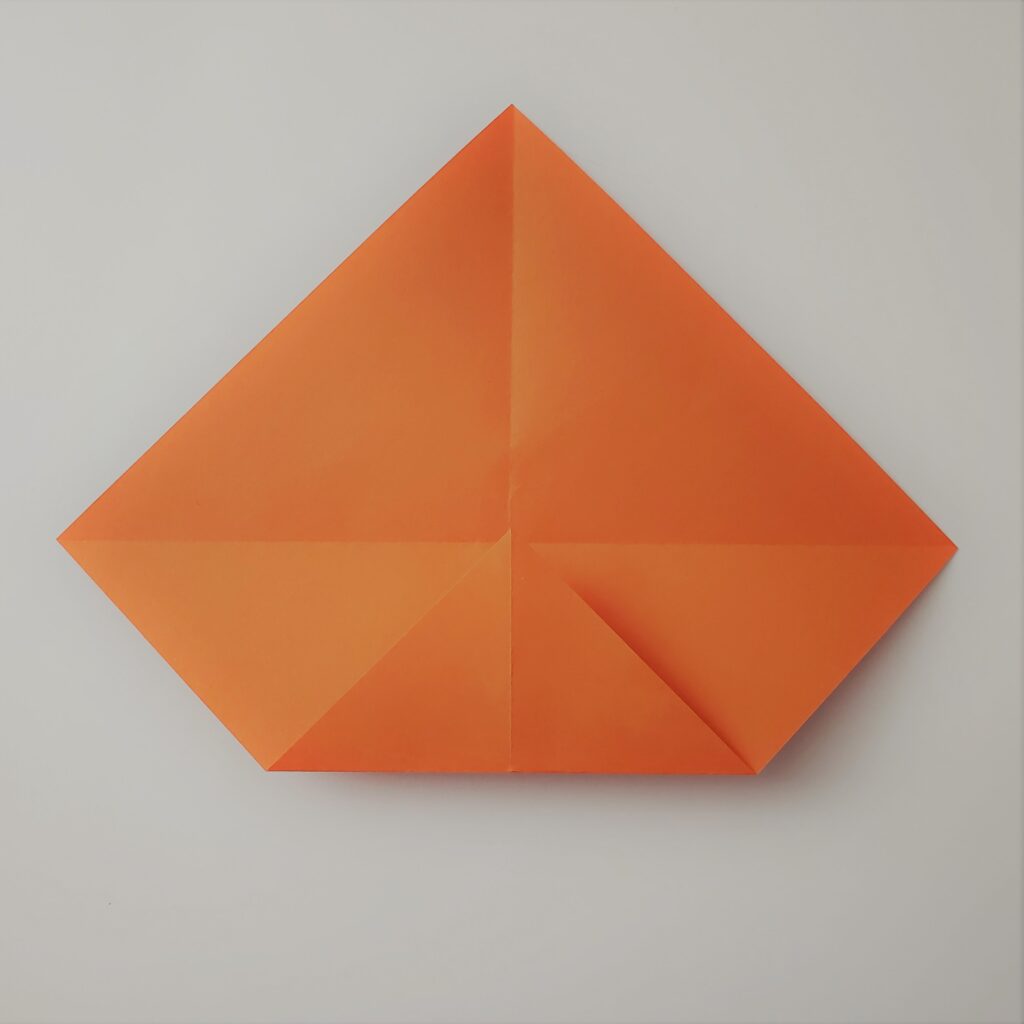
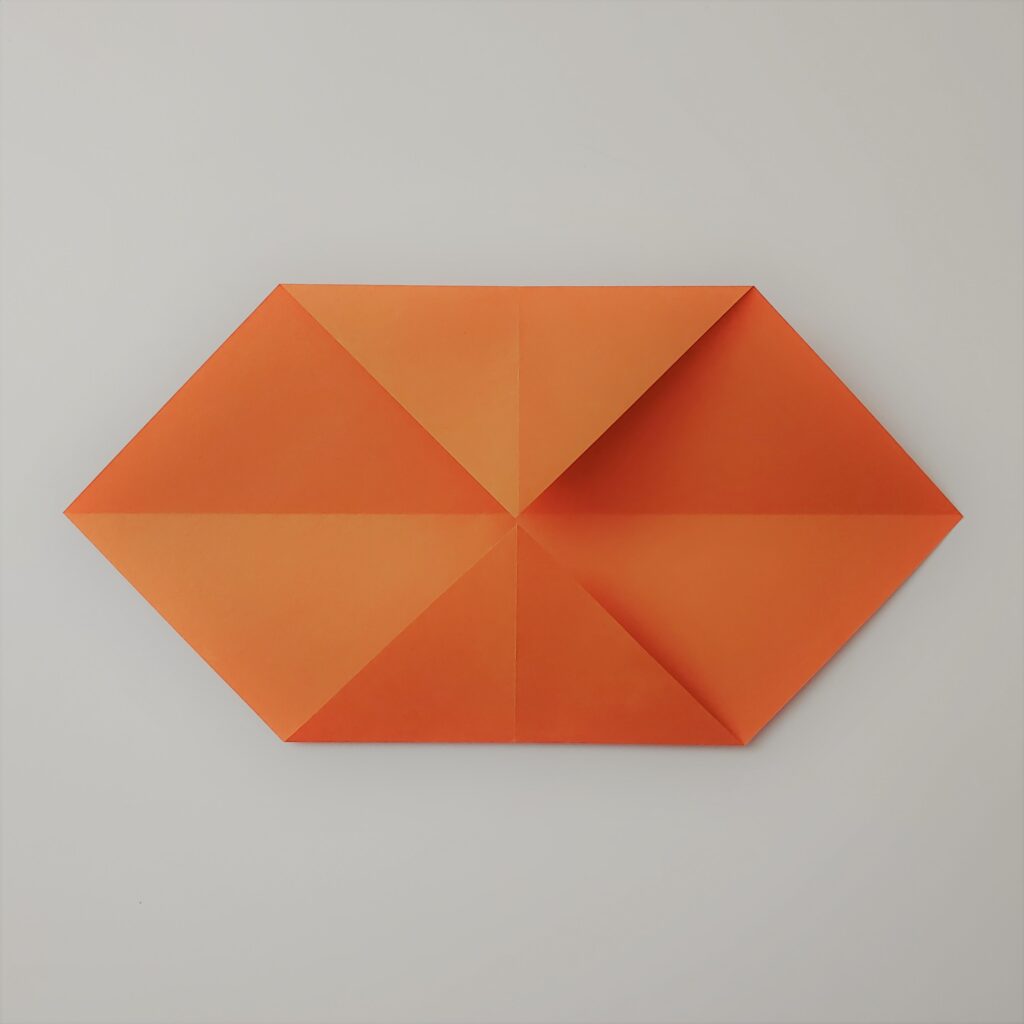
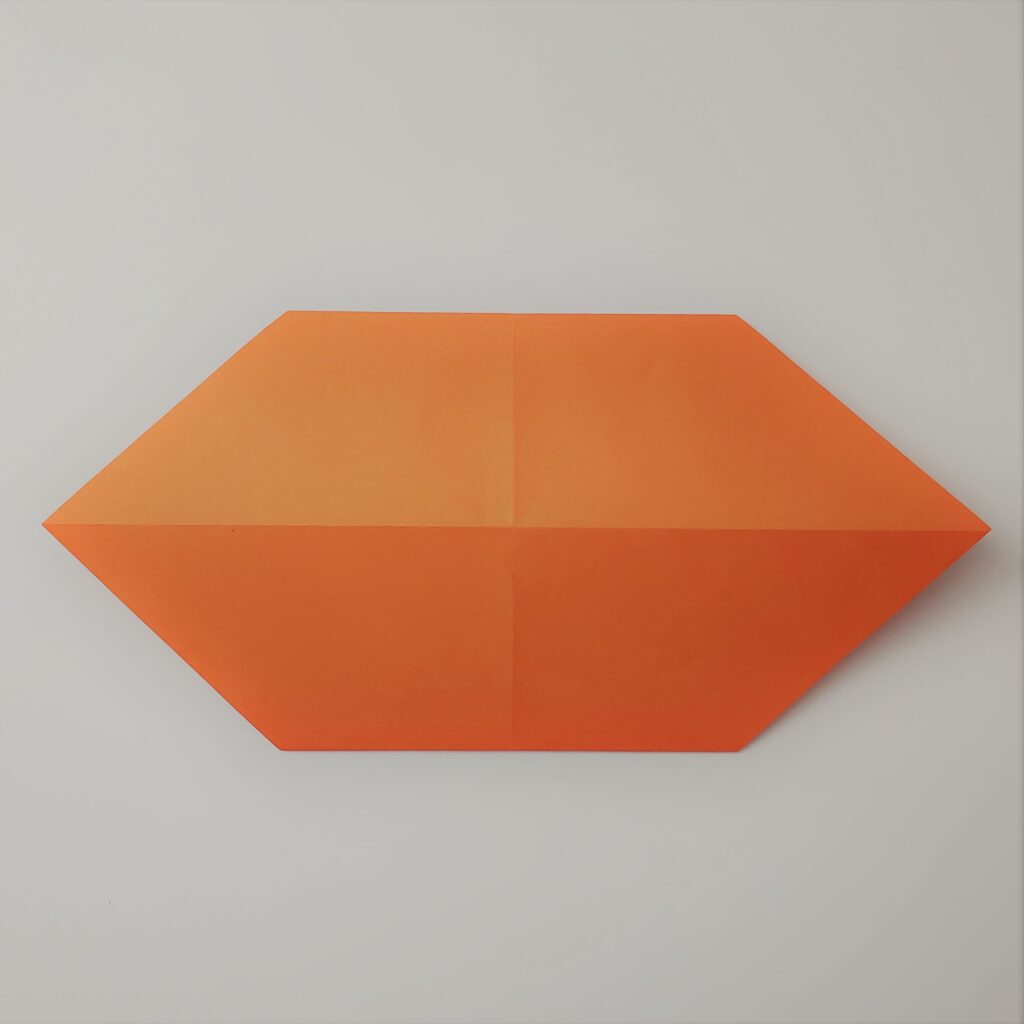
Take the bottom flap point and fold it to the creased middle line.
Take the top flap point and fold it to the creased middle line.
Flip the origami paper over.
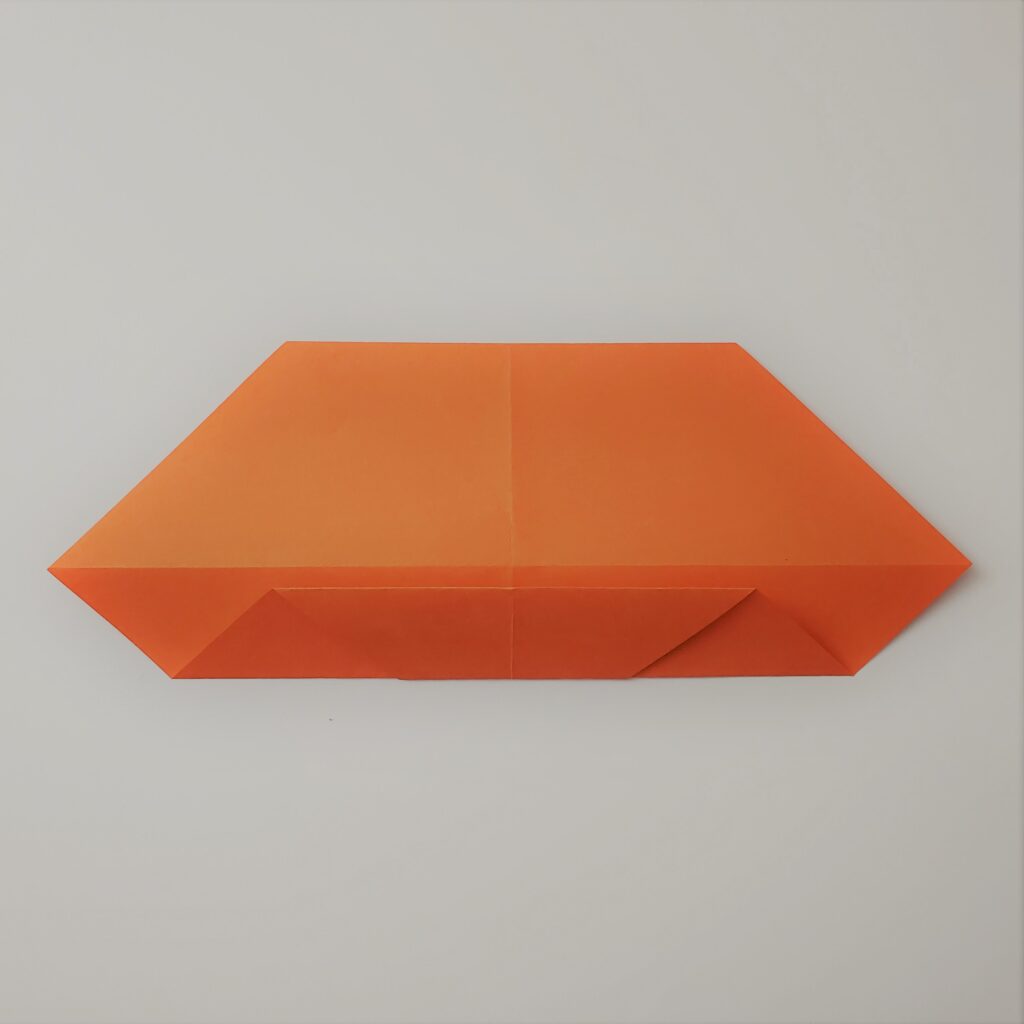
Take the bottom flap edge and fold it against the creased middle line.
Take the top flap edge and fold it against the creased middle line.
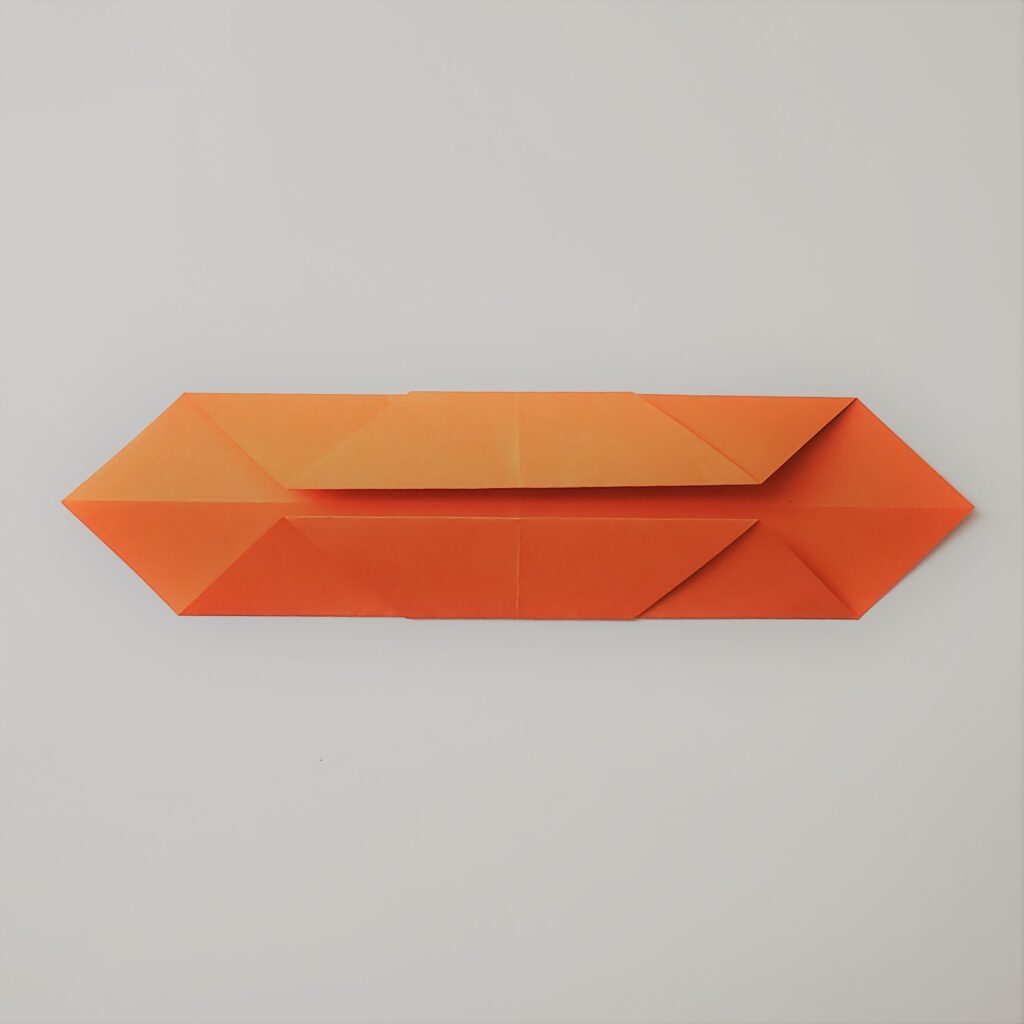
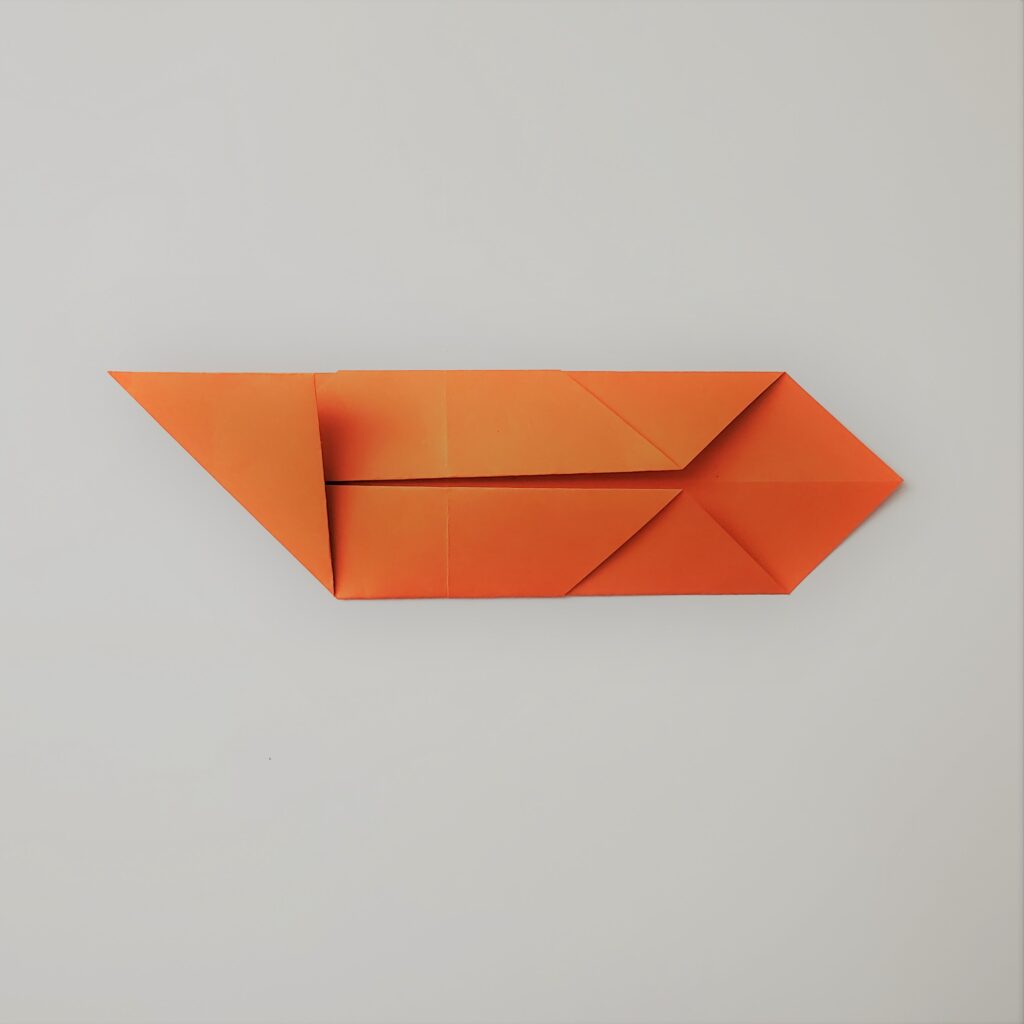
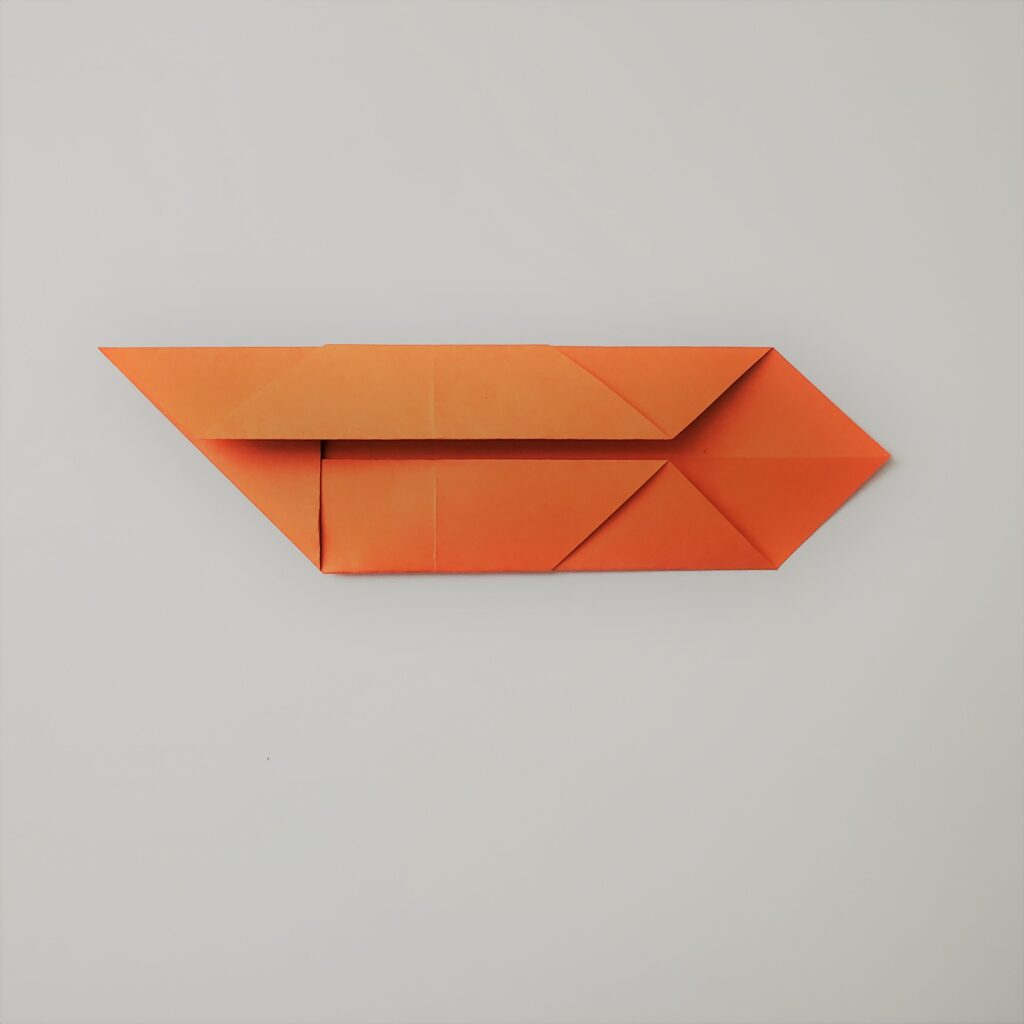
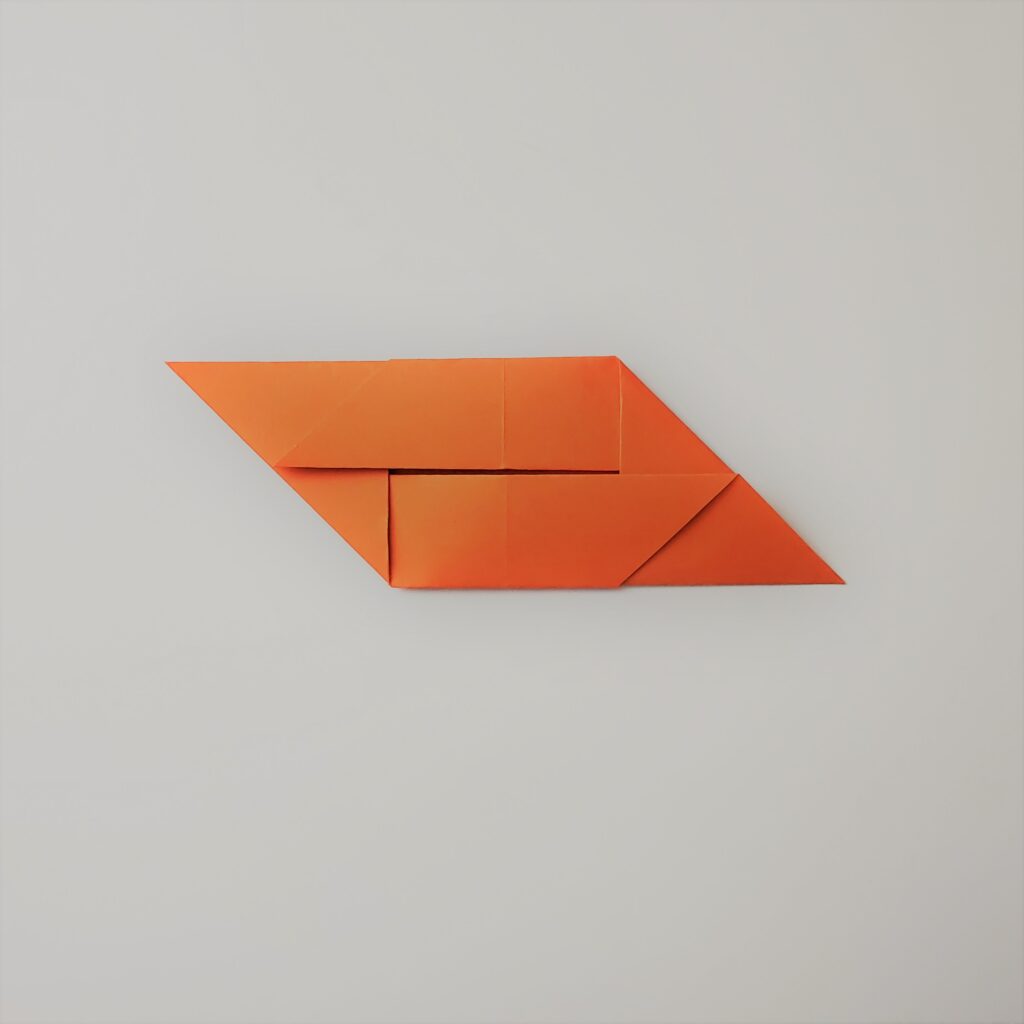
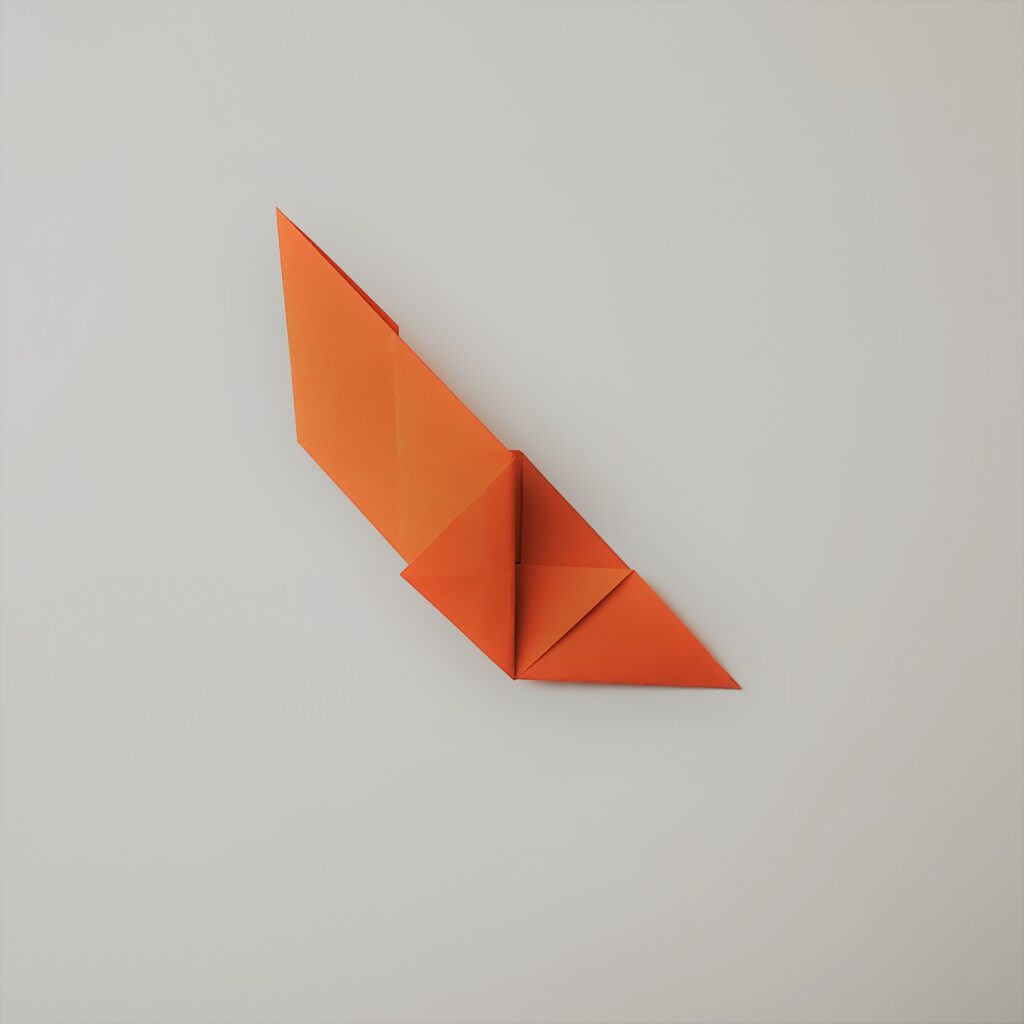
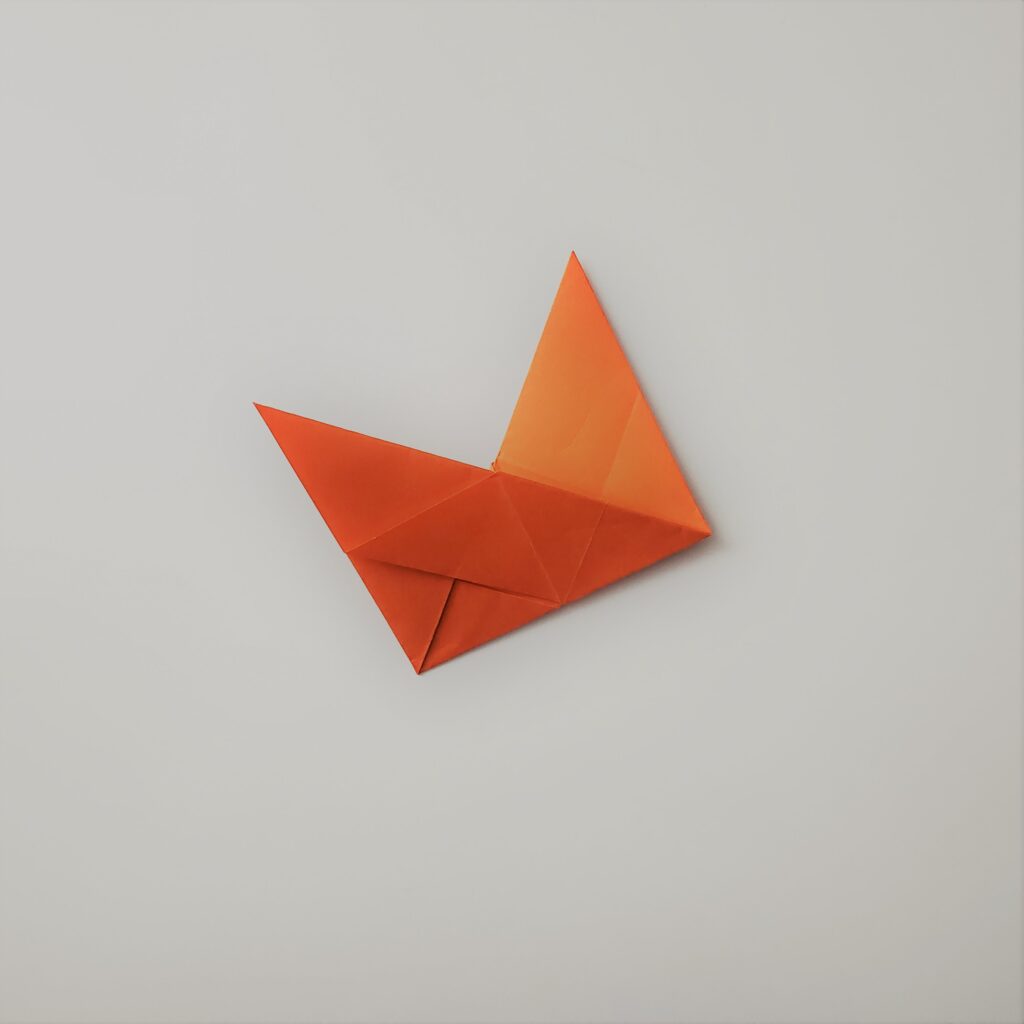
Fold the left side flap to form a triangle.
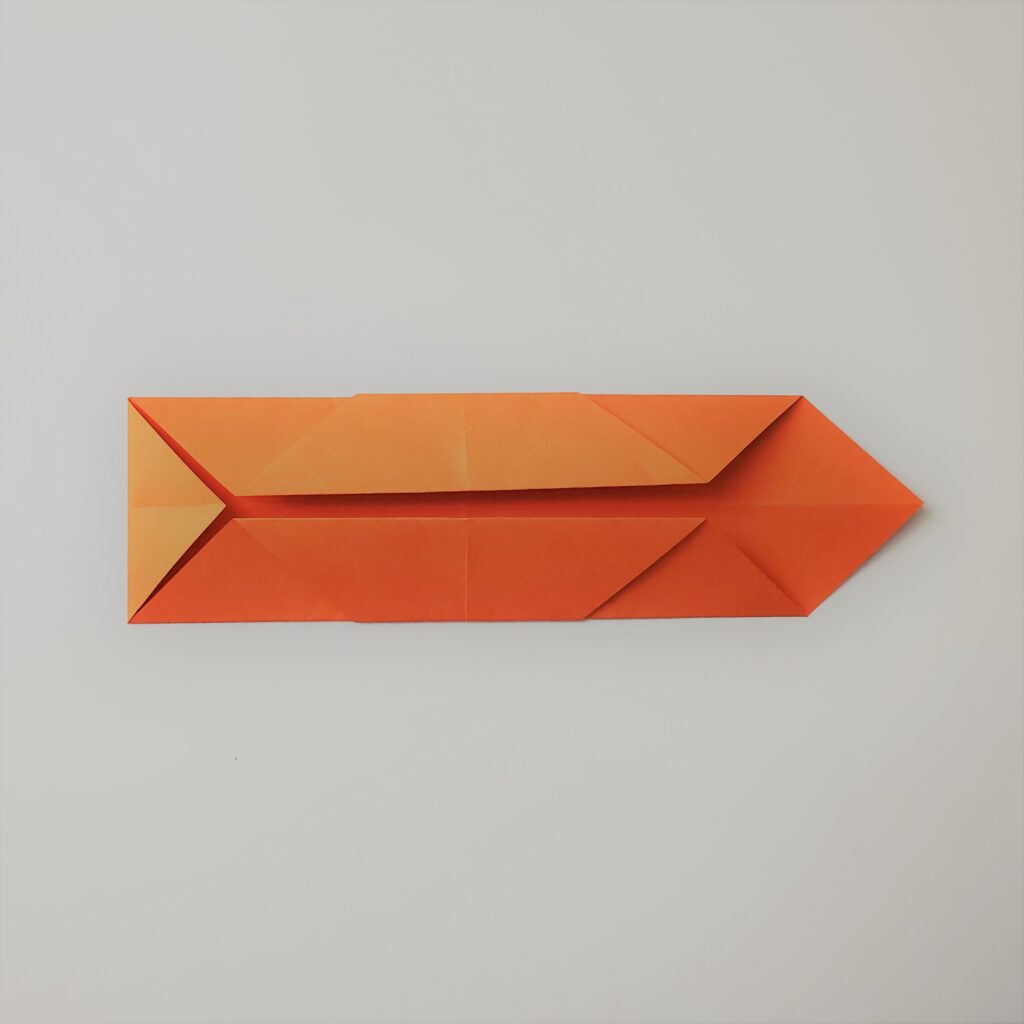
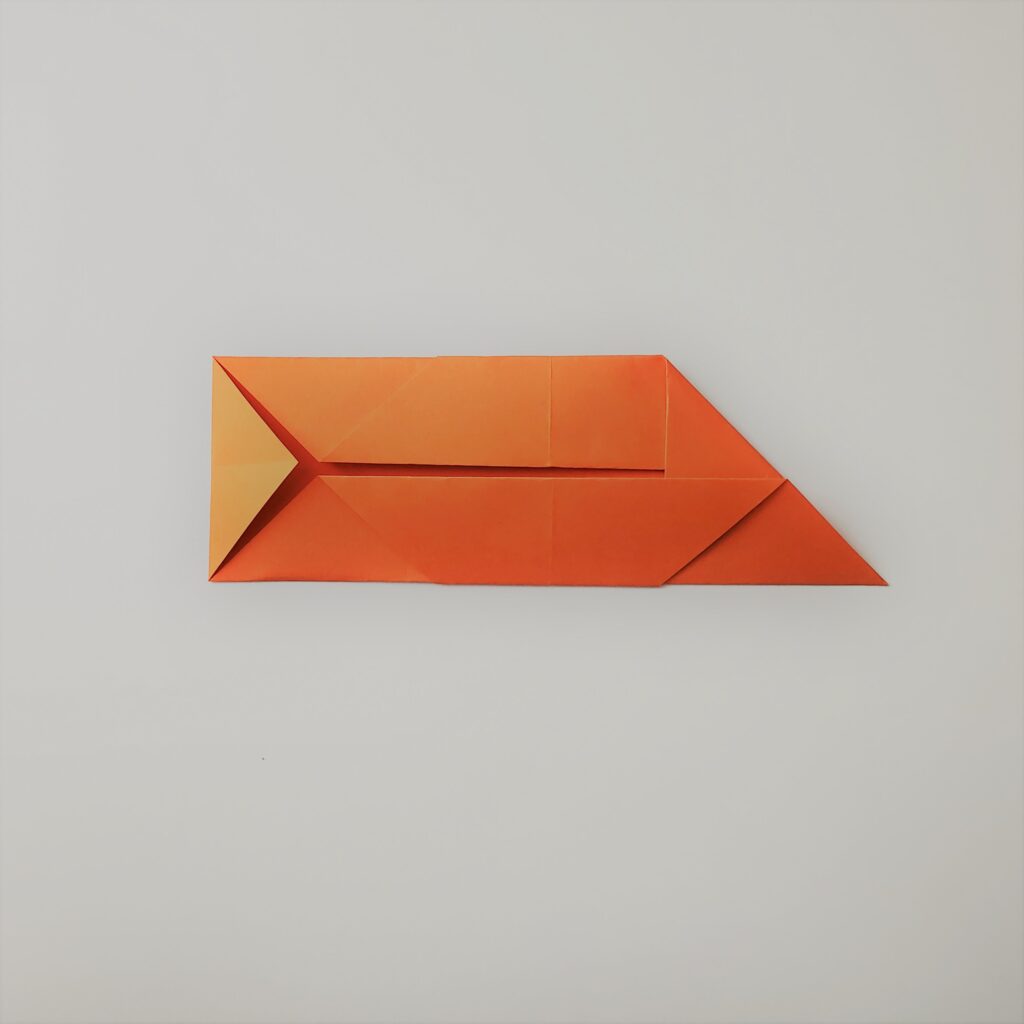
Take the bottom left side corner and fold it upwards to form a 90° triangle.
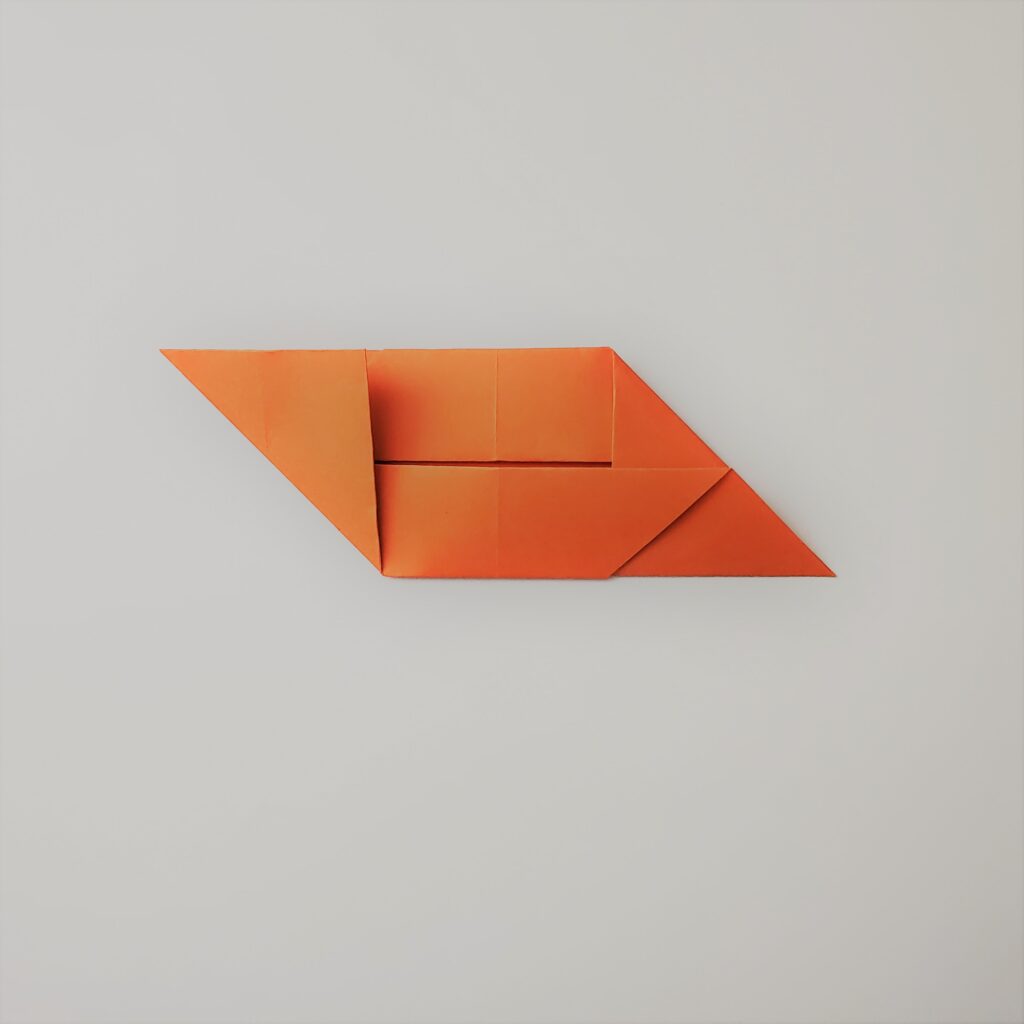
Tuck the 90° triangle under the top flap.
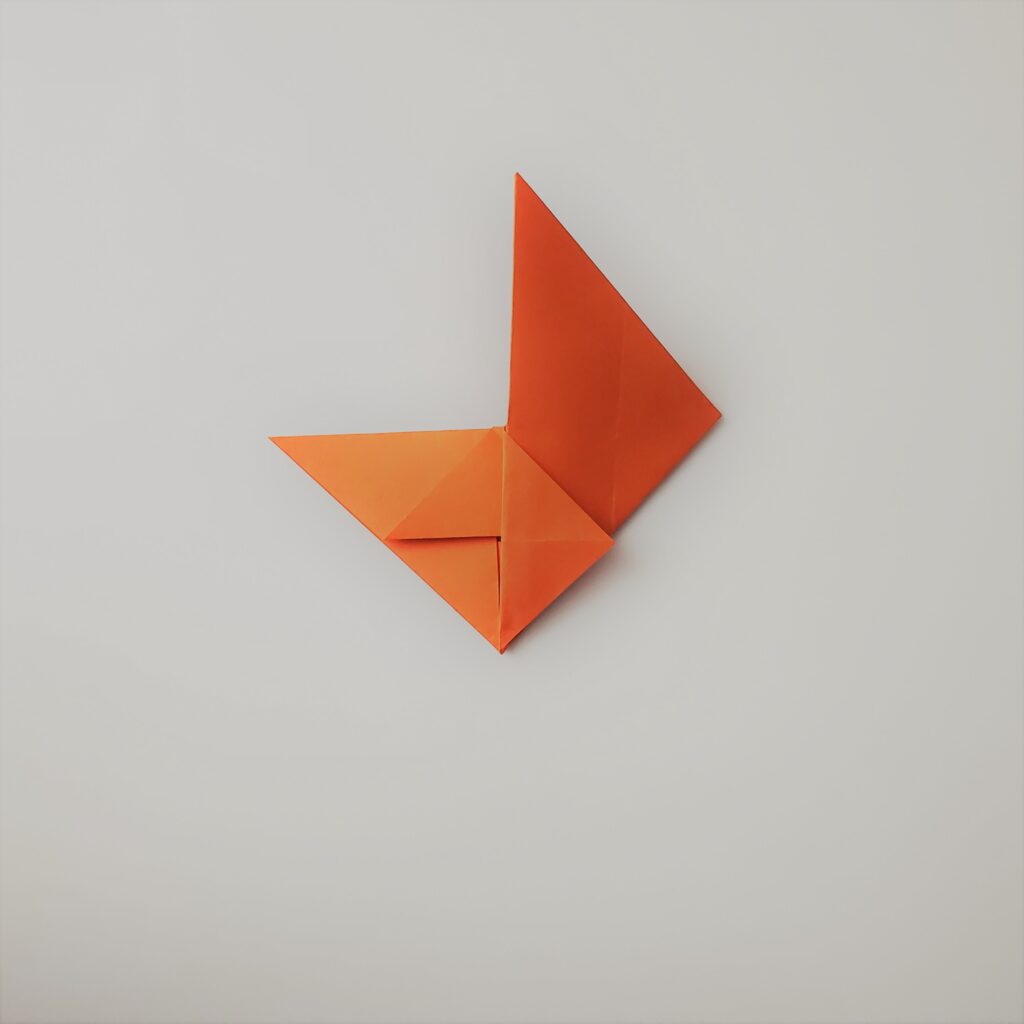
Rotate the origami paper and repeat steps 8-10.
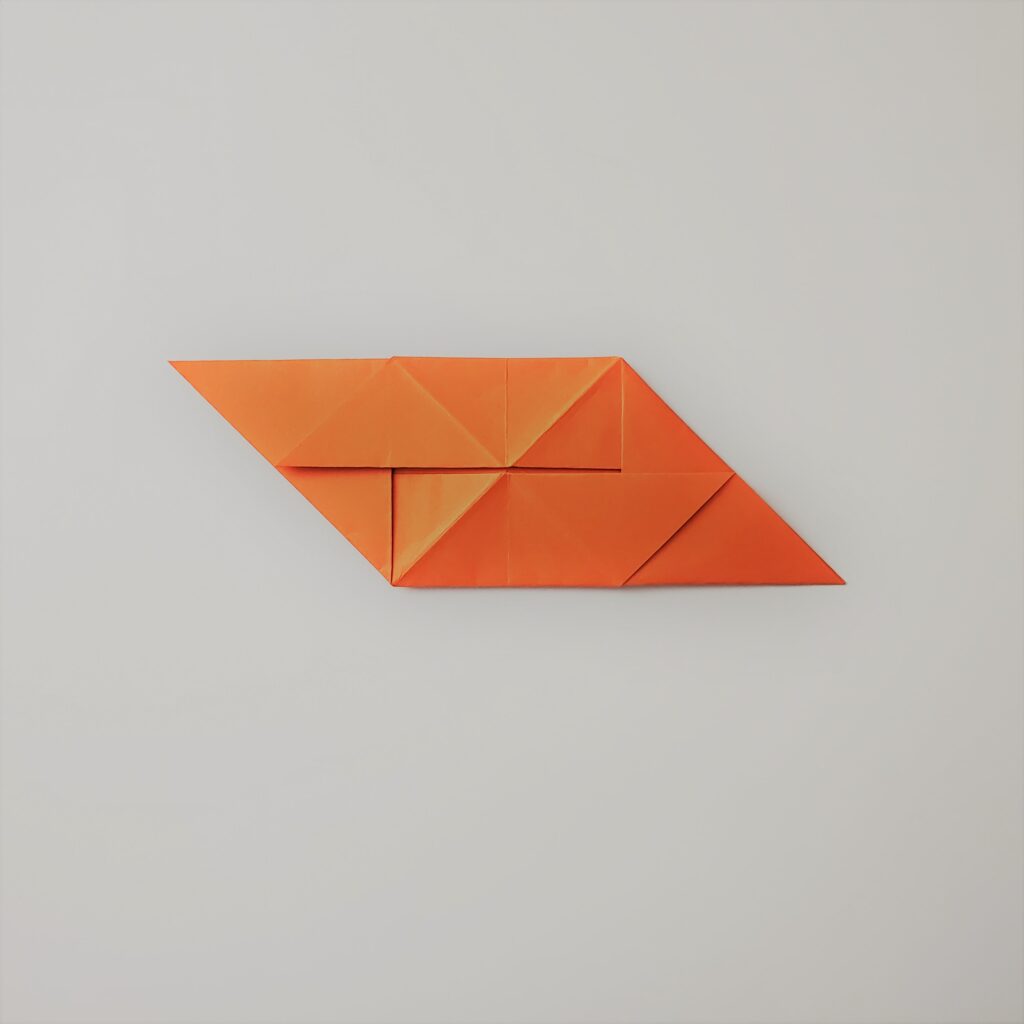
Fold the bottom left corner to the top right corner and unfold. Then fold the bottom right corner up towards the top left and unfold. This should form an X crease.
Flip the origami paper over. Fold the origami paper diagonally twice (similar to the previous step), forming an X crease. This will help sturdy the creases.
Repeat steps 1-13 to fold 2 additional units with the remaining colored origami paper.
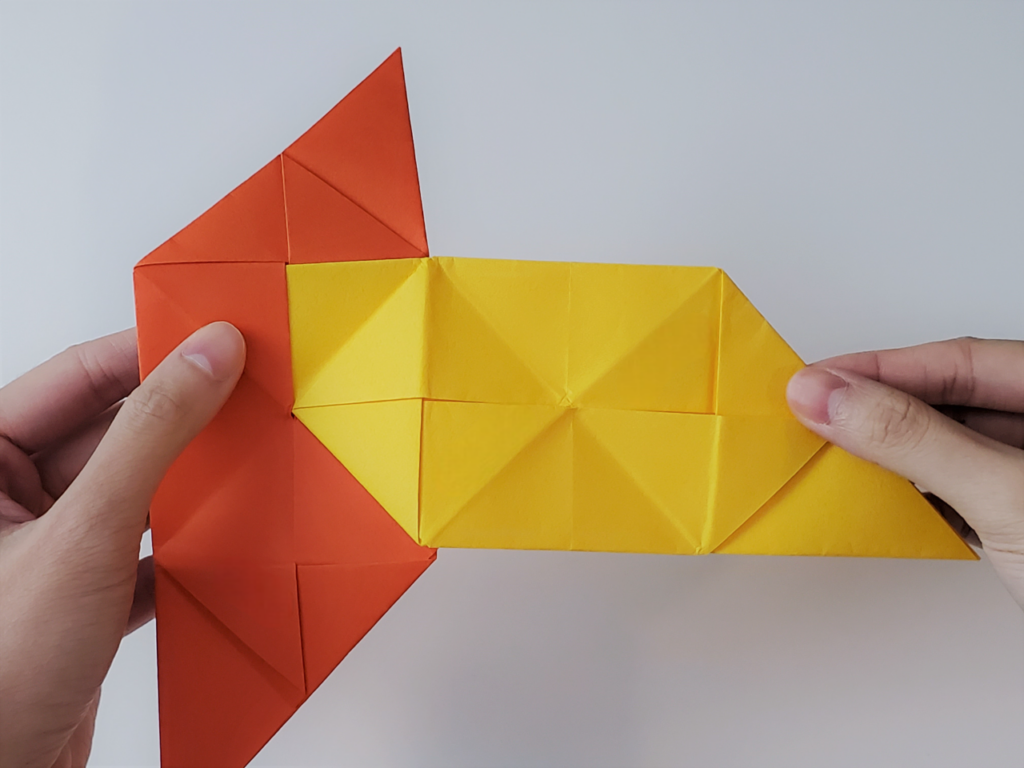
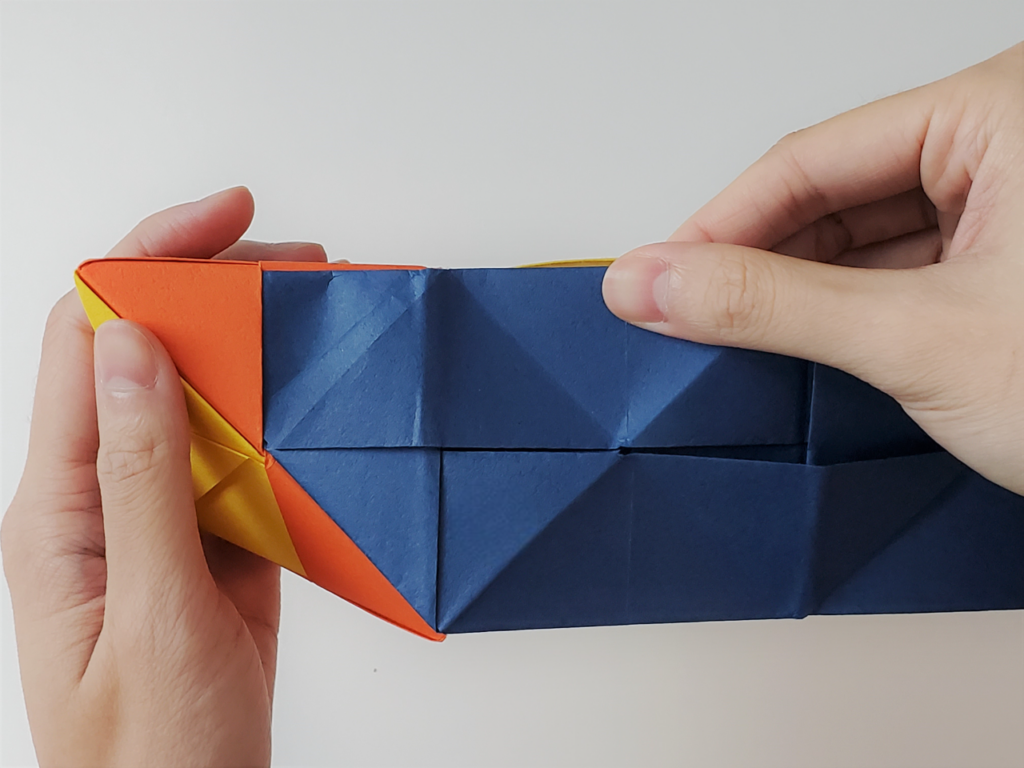
Have the Orange unit vertically in your left hand and the Yellow unit horizontally in your right hand. Take the Yellow unit’s left corner and insert it in the Orange unit’s inner triangle panel on the top left.
Flip the combined unit over and rotate to have the Yellow unit at the top.
Fold the Yellow unit’s remaining flap down towards you. Using the Orange unit’s left corner, insert it in the Yellow unit’s inner triangle panel on the bottom right. Pinch the sides to shape the combined unit.
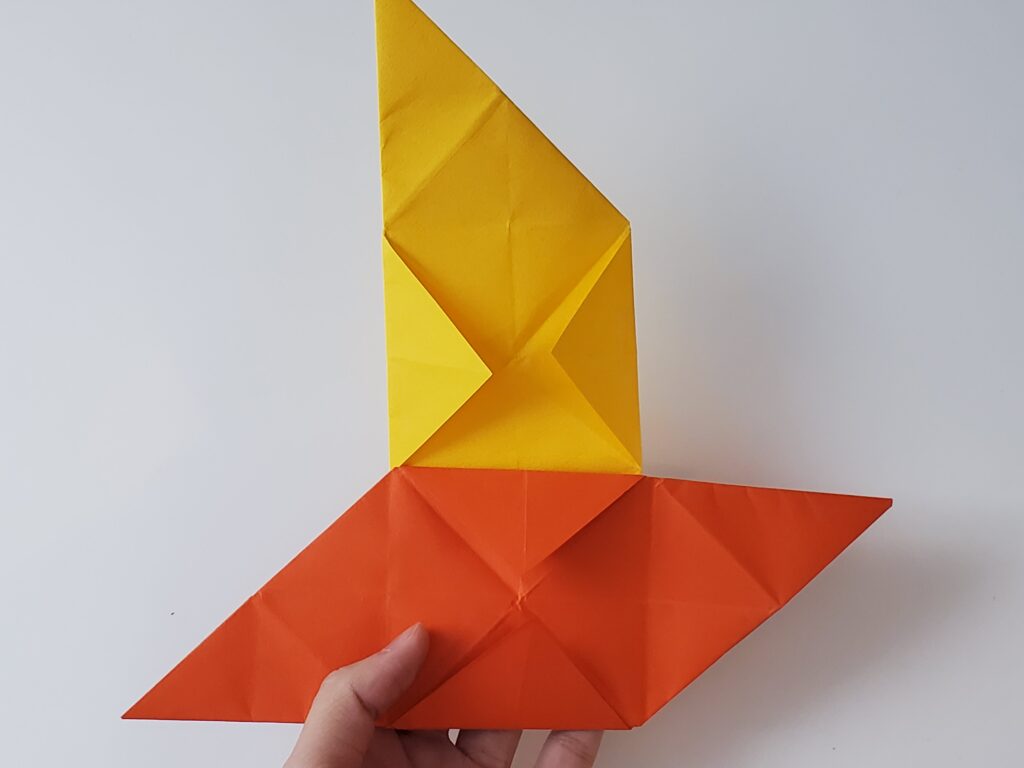
Rotate the combined unit so you will see the inner bottom. The Orange unit should be on the left side and Yellow on the right side (should look somewhat like a pinwheel).
Rotate the combined unit so you have a 90° triangle panel of the Orange unit facing you.
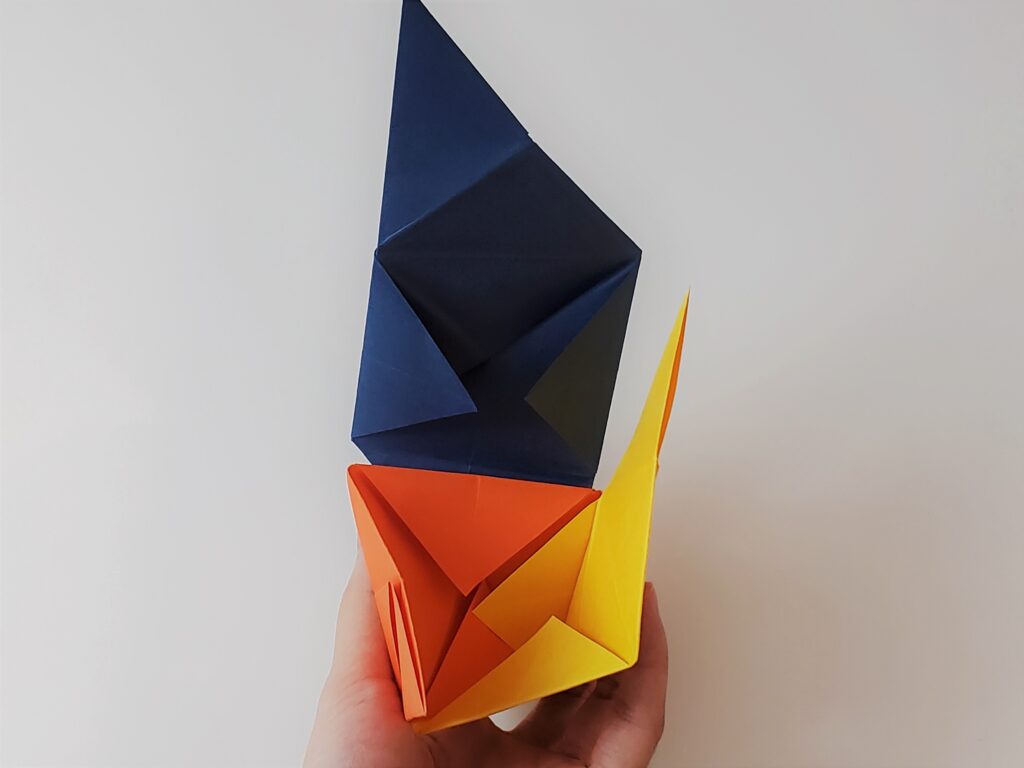
Hold the Blue unit horizontally in your right hand and insert its left corner in the Orange unit’s inner triangle panel.
Rotate the combined unit so you will see the inner bottom. The Blue unit should be on the top, the Orange unit on the left side, and the Yellow unit on the right side (should look somewhat like a pinwheel).
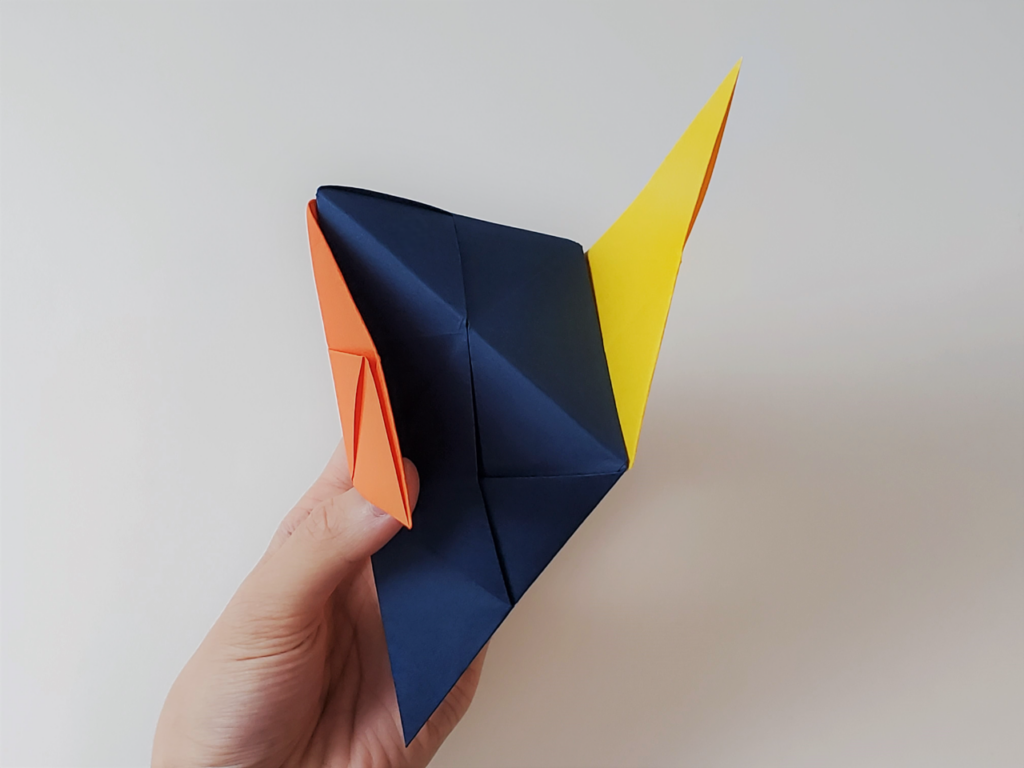
Fold the Blue unit’s remaining flap down towards you. Using the Orange unit’s corner, insert it in the Blue unit’s inner triangle panel on the bottom right. Pinch the sides to shape the combined unit.
Using the Yellow unit’s corner, insert it in the Blue unit’s inner triangle panel on the top left. Pinch the sides to shape the combined unit.
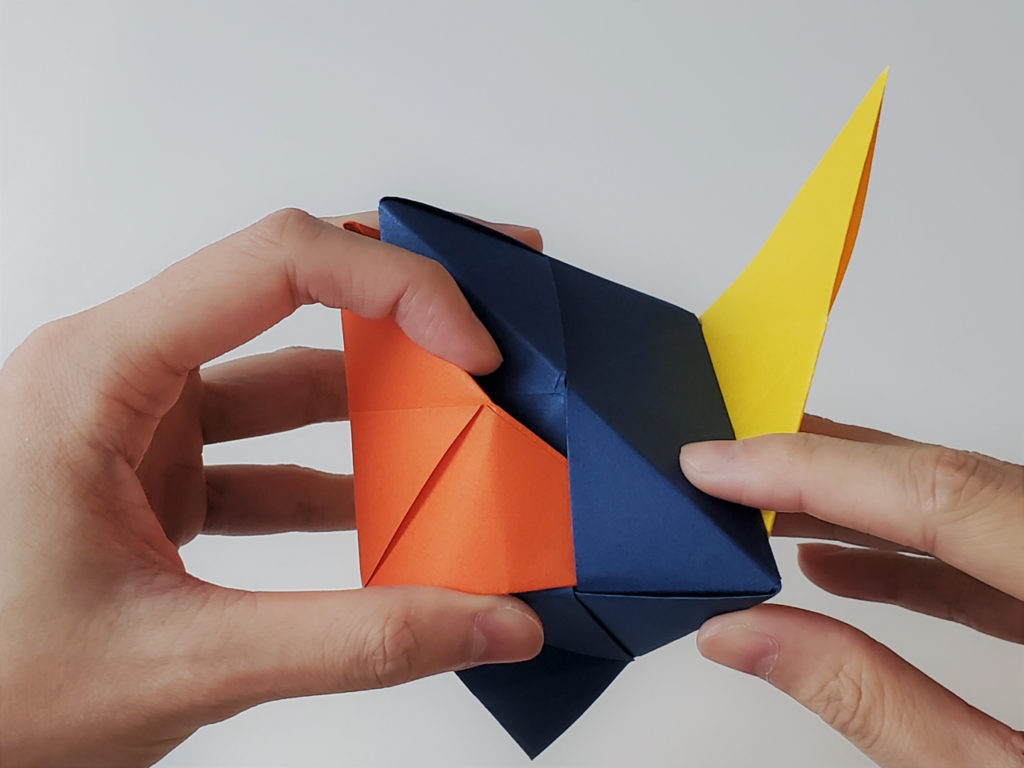
Using the Blue unit’s corner, insert it in the Yellow unit’s inner triangle panel on the bottom. Pinch the sides to shape the combined unit.
Shape the combined unit more by folding the sides towards each other until flat. Repeat for each side until flat.
To “pop” the fidget toy, place your thumb on its top point and another finger underneath, the bottom point. Add pressure and the fidget toy will pop. Repeat steps 11 and 12, 3-4x to have it pop easier.
🎨 Voila! You’ve made your very own pop-it fidget spinner! Enjoy the fun and satisfaction of your handmade creation. Happy crafting, and have a fantastic Fourth of July! ✨