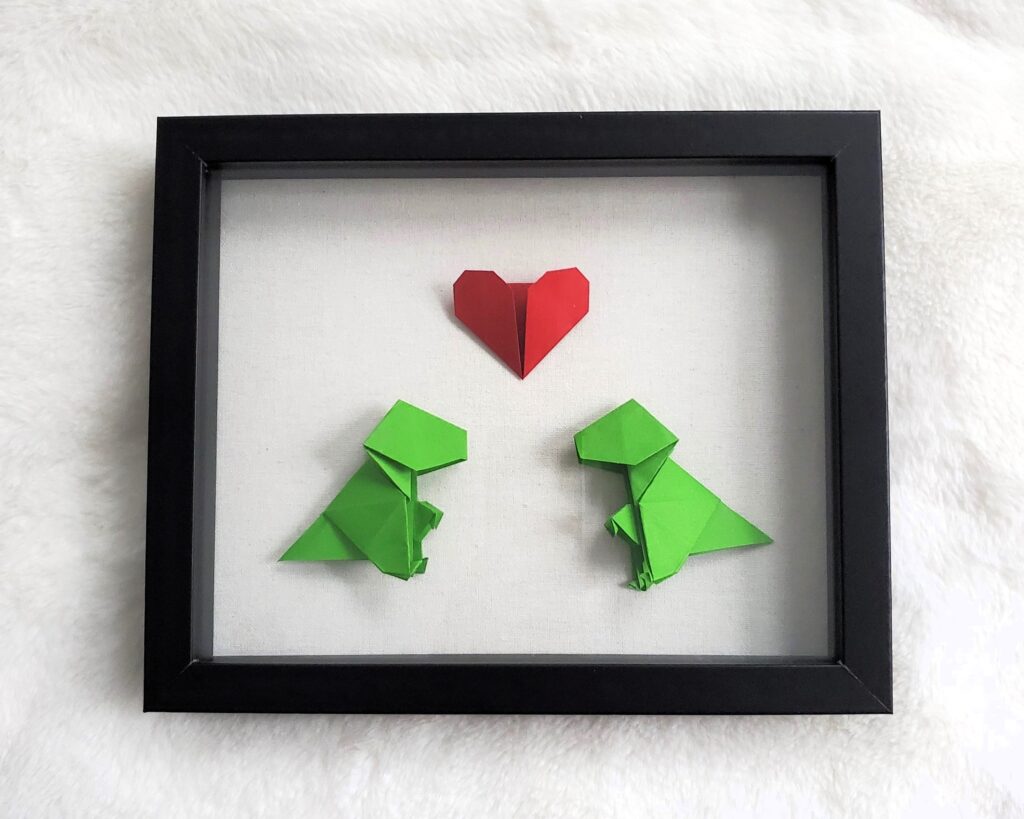
One of my absolute favorite and best-selling creations, the Chibi Dino T-Rex Shadowbox with a Red Heart, has been bringing joy to so many people! These two insanely adorable chibi dinosaur T-Rexes are cozily nestled in a beautifully crafted shadowbox. These little dinos are the epitome of cuteness, fitting seamlessly into any theme for any space. Whether you’re looking for a unique anniversary gift or a charming addition to a nursery room, these chibi dinos are the perfect choice.
So, what exactly does “chibi” mean? Originating from Japan, “chibi” is a slang term that translates to “small” or “short.” In the world of art and design, chibi characters are drawn in an exaggeratedly cute and small form, often with oversized heads and expressive features. This style has taken the world by storm, especially in manga and anime, and has found a special place in my crafting heart. 😊
Now, let’s talk about the inspiration behind this enchanting shadowbox. I have an undeniable love for all things cute, and what’s cuter than dinosaurs? Dino T-Rexes in chibi form are just too adorable to resist! Combining the playful essence of chibi art with the timeless appeal of dinosaurs was a match made in crafting heaven. Each piece is meticulously crafted, blending the whimsy of chibi design with the majestic allure of T-Rexes, resulting in an 8×10 inch treasure that captures hearts instantly.
And the best part? You can create your own Chibi Dino T-Rex Shadowbox! Keep scrolling to find step-by-step instructions and let your creativity run wild. Whether you’re looking for a unique anniversary gift or a charming addition to a nursery room, this shadowbox is sure to bring a smile to anyone’s face. It’s more than just a piece of art; it’s a story brought to life through a burst of inspiration and a whole lot of fun! ✨
If you’d prefer to purchase one instead of making your own, head over to my Etsy shop to get your hands on this delightful piece of art here!
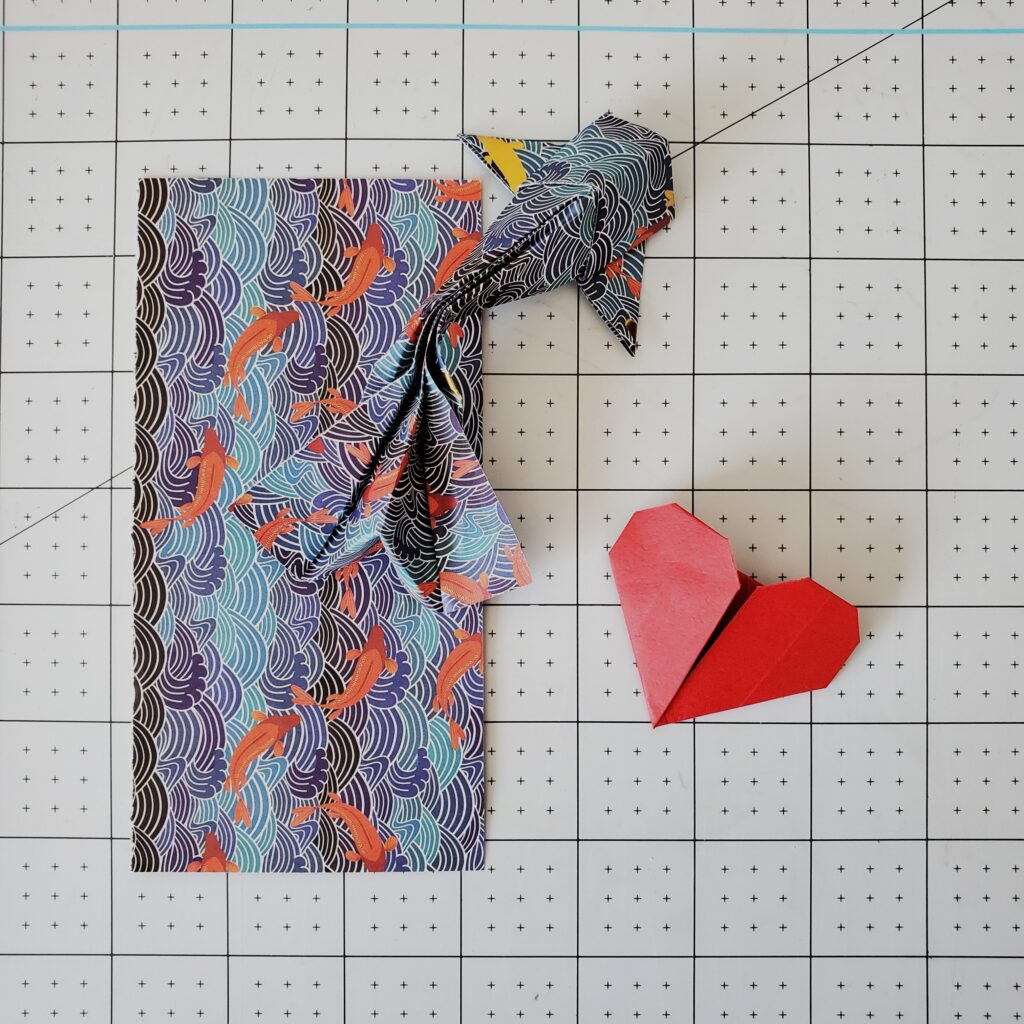
Be sure to watch the tutorial here to learn how to fold your own chibi dino T-Rex!
Steps on How to Make Your Own Chibi Dino T-Rex Shadowbox 🦖
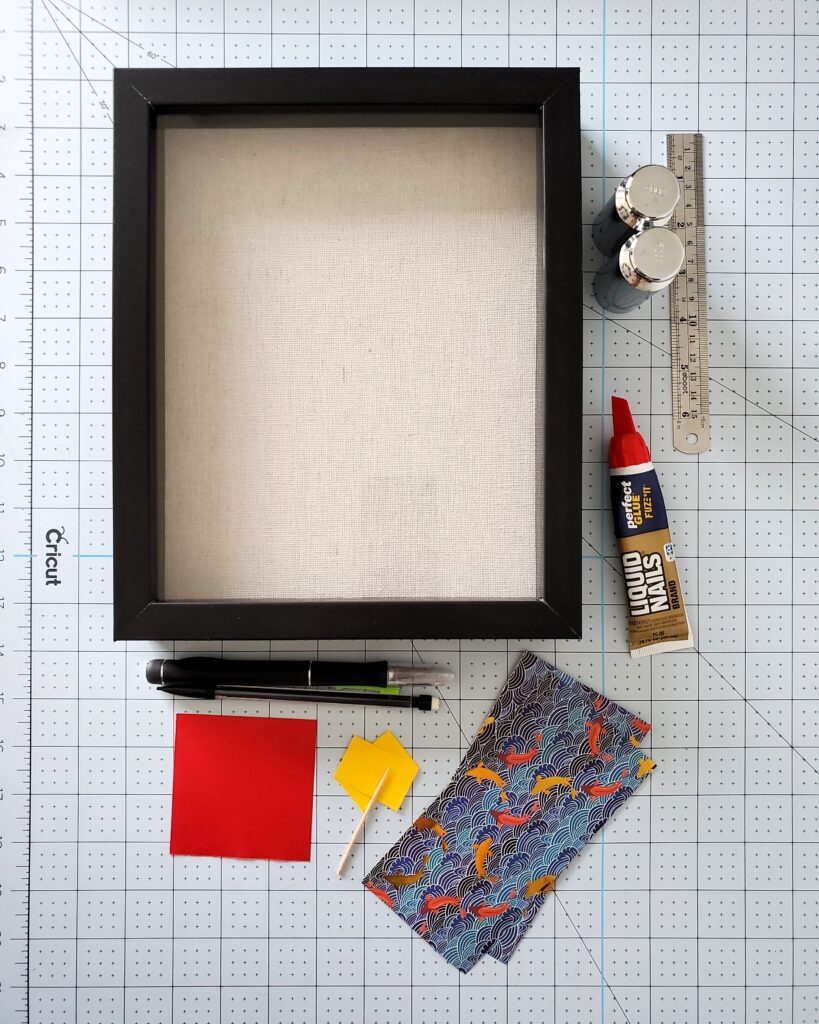
Essential Supplies:
- 8×10 inch shadow box
- 2 sheets of 6×6 inch origami paper or patterned origami paper
- 1 sheet of 2×2 inch origami paper
- Liquid Nails glue
- Sticky notes
- Toothpick
- Individual weights
- Ruler
- X-acto knife
- Pencil
- Cricut mat
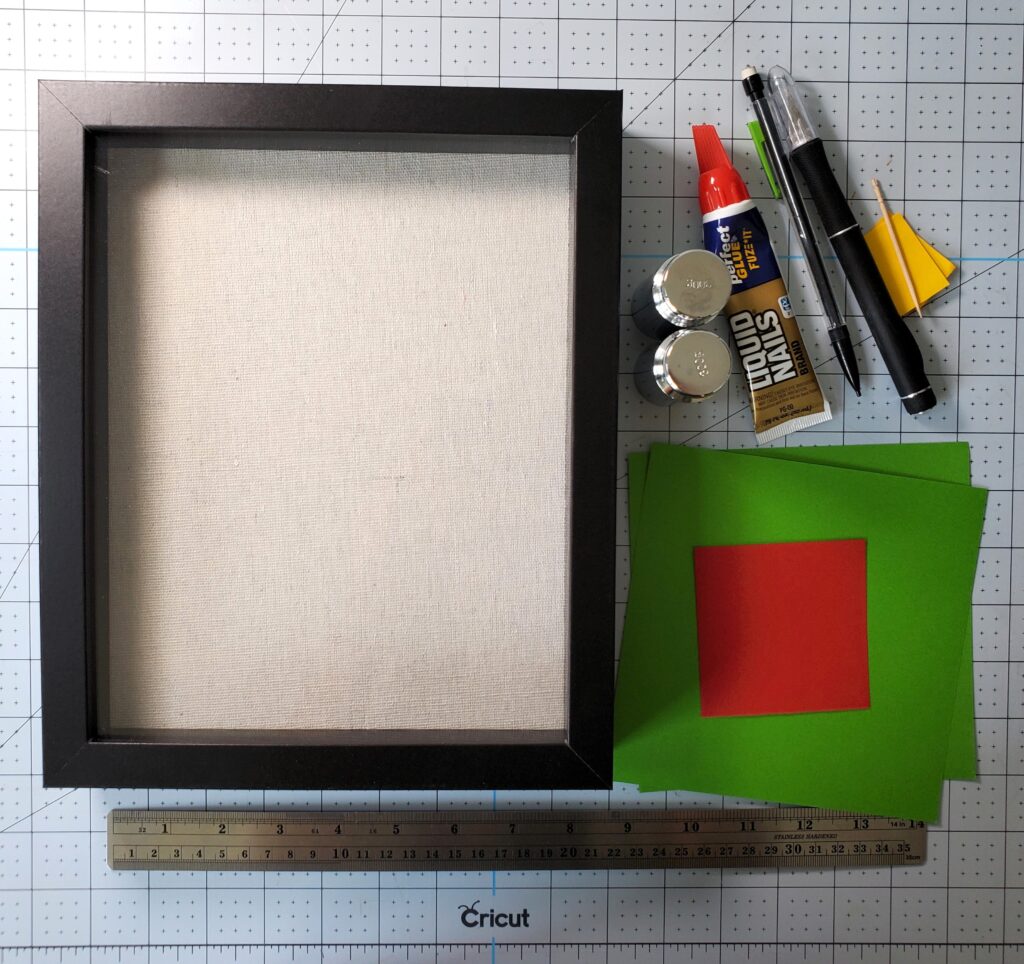
My crafting tools are essential. Liquid Nails glue ensures the pieces stay securely in place. I use toothpicks for precise glue application and sticky notes to protect the paper from the weights I use—individual calibration weights perfect for holding down the paper without damage. My ergonomic X-acto knife makes precise cuts, and my self-healing Cricut crafting mat ensures clean, accurate cuts.
Step-by-Step Instructions:

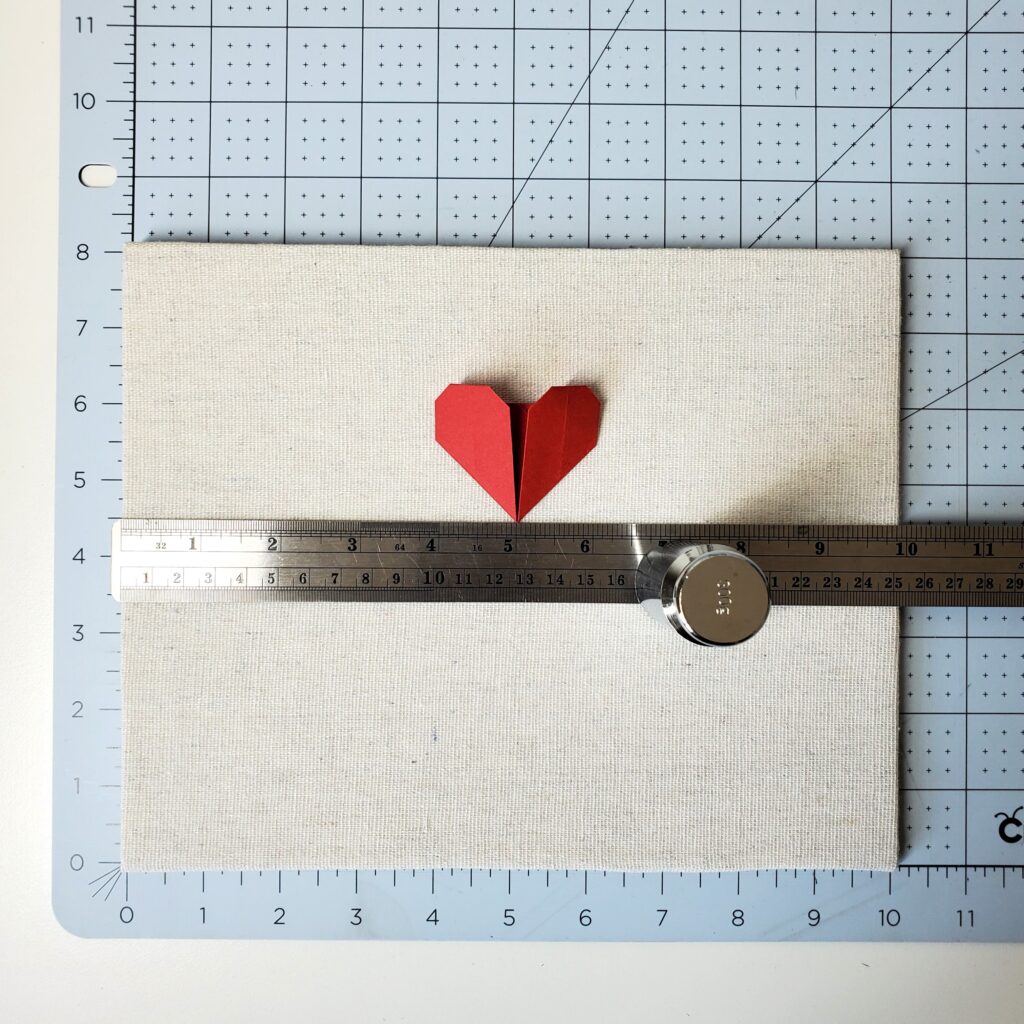
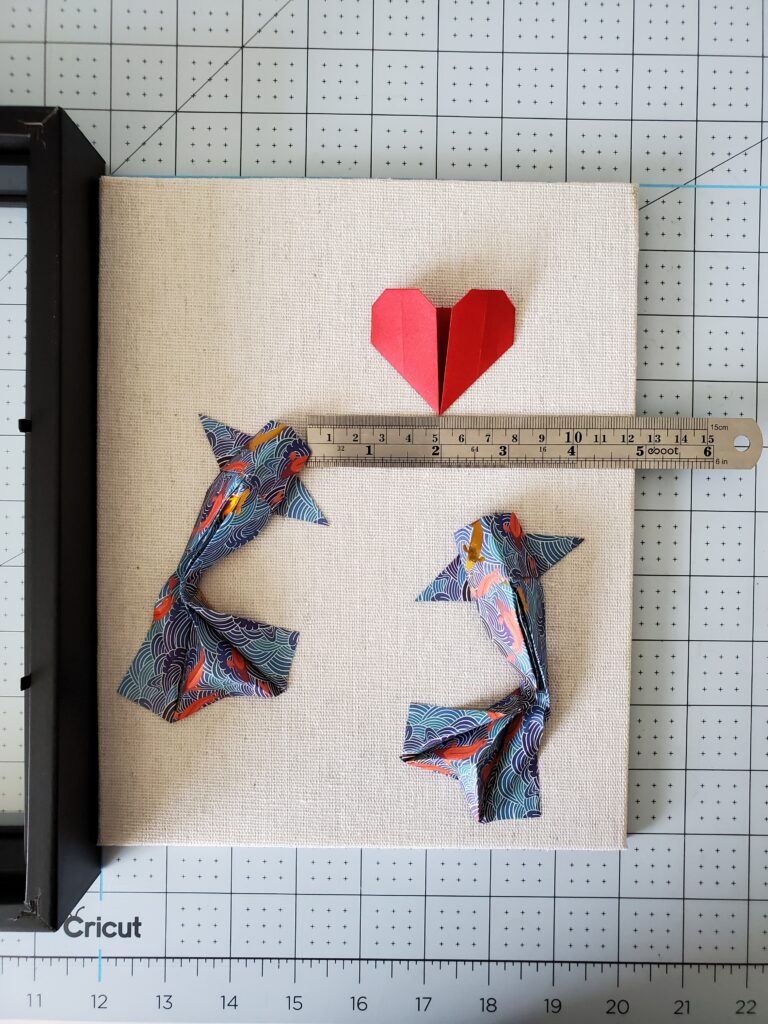
Open the shadowbox and remove the backboard. With the backboard, position the heart slightly above the middle and place the chibi dino t-rexes below on the sides, as shown in the nearing and below pictures. I typically guesstimate their placements, but ensuring they are equal in length. 😅
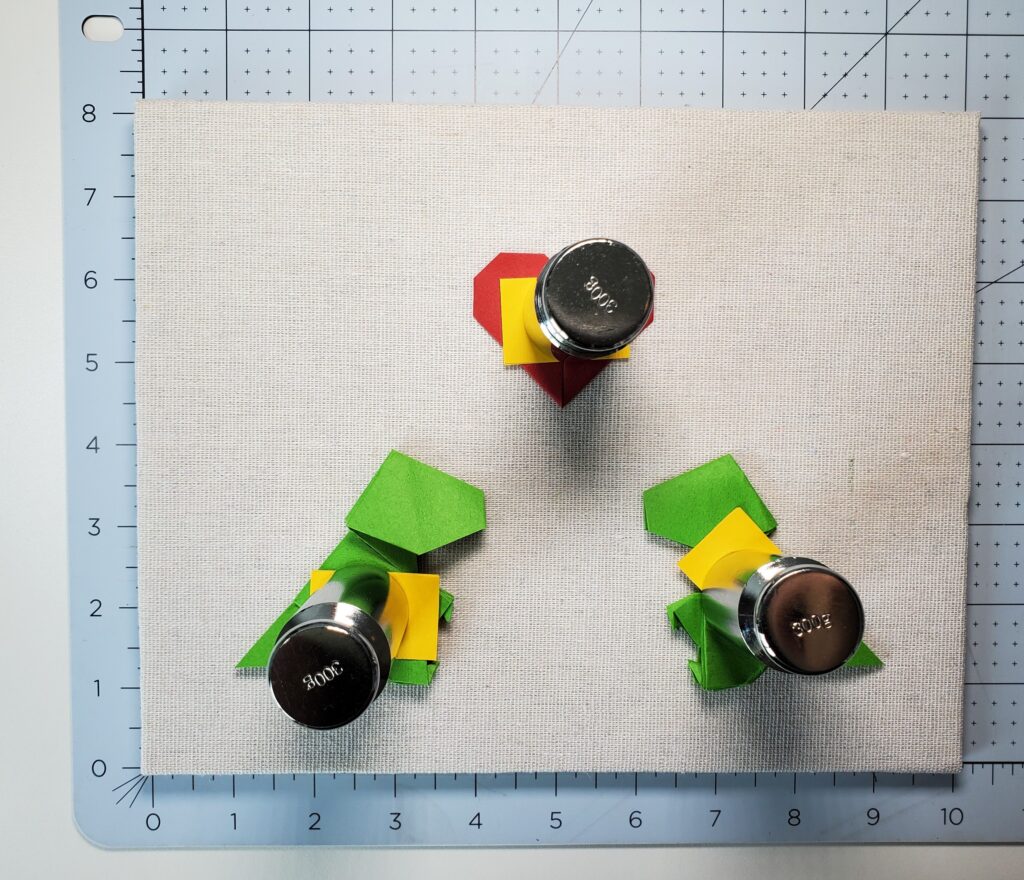
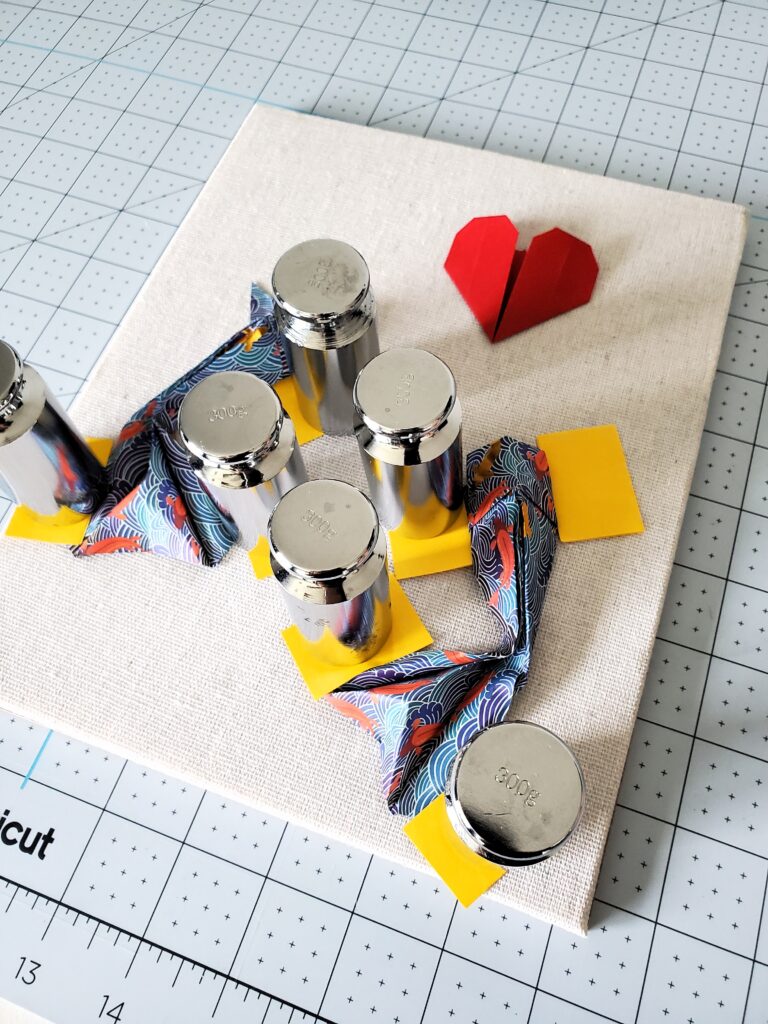
Using a toothpick, apply a small dab of Liquid Nails glue under the heart. Cover the heart with a sticky note and place a weight on top to hold it in place while it dries. Repeat this process for the chibi dino t-rexes: apply glue behind them, cover with sticky notes, and place weights on top. Allow the glue to dry completely. I typically wait 1 hour minimum.
Once the glue is dry, reattach the backboard to the shadowbox frame and secure it.
Ta-da! You’ve crafted your very own chibi dino t-rexes shadowbox! Give yourself a pat on the back 🥳🎉 Please be sure to share your creations with me at @orikim_creations on Instagram! I can’t wait to see all the beautiful chibi t-rexes shadowboxes you make. 🦖
These supplies can be found on my Origami Supplies page.